Migrating data from FTP to Snowflake is a transformative process that empowers you to unlock the full potential of your data. As data flows in from diverse sources, including CRMs, social media, external partners, vendors, and legacy systems, centralizing all this data is a crucial undertaking. This allows you to conduct in-depth analyses and gain comprehensive insights into operations, customer behavior, and market trends.
This guide walks you through two effective methods for achieving this integration. Before diving into these methods, let's first glance over the details to gain a detailed understanding of FTP and Snowflake.
Overview of FTP (as a Source)
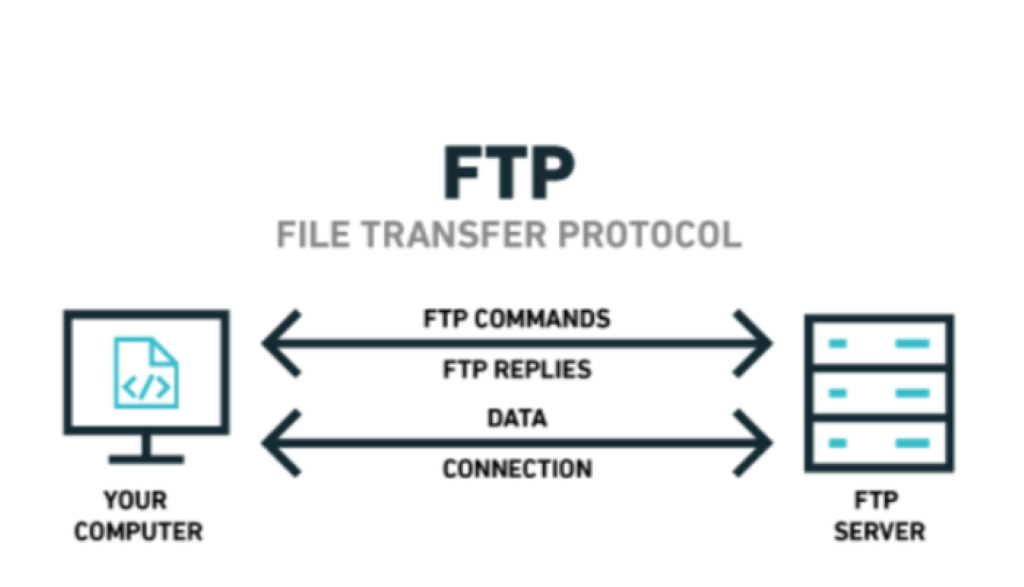
FTP (File Transfer Protocol) is a widely adopted network protocol designed to facilitate secure file transfers between clients and servers within a computer network. It supports file uploads and downloads, empowering clients to exchange data between their local systems and remote servers.
Additionally, the protocol prioritizes safeguarding data integrity and confidentiality by implementing robust user authentication and password protection mechanisms. This makes FTP an essential tool for users seeking reliable file transfer solutions across various applications.
Let’s explore the key features of SFTP/FTP
- Multiple Connections: FTP supports multiple connections simultaneously, enabling efficient file transfers between clients and servers. As a result, FTP can utilize available bandwidth and reduce the overall time required to transfer multiple files.
- Enhanced Data Security: Modern FTP servers address data protection concerns with secured protocols such as SFTP (SSH File Transfer Protocol) and FTPS (FTP Secure). SFTP encrypts data during transmission using the secure shell (SSH) protocol. This ensures that sensitive information remains confidential and protected from unauthorized access.
- Automated Data Transfers for Efficiency: FTP servers offer automation capabilities, enabling you to schedule and execute regular data transfers and continuous updates. It is ideal for scenarios that require frequent data synchronization, such as website content updates, data backups, and continuous data integration. You can save time and effort by automating data transfers, ensuring consistency and accuracy.
Overview of Snowflake (as a Destination)
As a robust data warehouse, Snowflake seamlessly integrates and manages your data and analytics requirements in a unified environment. Its unique data-sharing capabilities enable secure and seamless collaboration between different teams, facilitating data exchange and analytics in real-time.
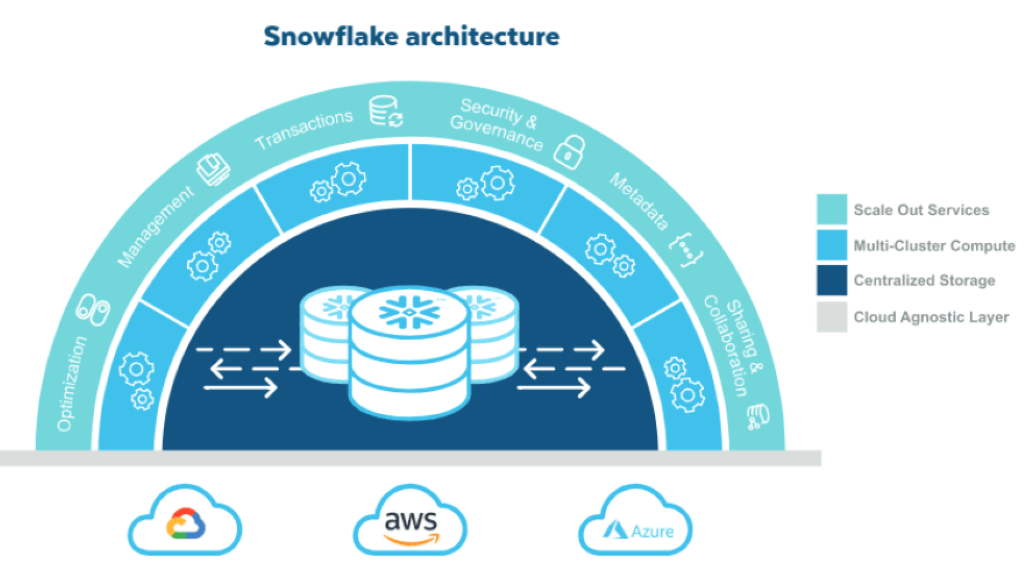
As a fully managed service, Snowflake eliminates administrative complexities. This allows you to derive value from your wealth of data, make data-driven decisions, and gain a competitive edge. Its architecture decouples storage and compute resources, allowing for elastic scaling and efficient resource allocation. This ensures you only pay for your computing resources, reducing costs and increasing flexibility.
Here are some of the important features of Snowflake:
- Auto-Scale Compute: Snowflake's auto-scaling feature dynamically adjusts compute resources based on workload demands. This ensures optimal performance during high-volume data flow and cost-effectiveness during low-demand times.
- In-Depth Data Analytics: Using Snowflake’s advanced analytics capabilities like ML, predictive modeling, and data processing, you can integrate FTP for real-time insights and custom strategies.
- Data Integration Capabilities: Snowflake's native support for semi-structured data, including JSON, XML, and Avro, makes it ideal for integrating data from FTP sources.
How to Integrate SFTP/FTP to Snowflake
This section explores two methods for FTP to Snowflake migration. Let’s dive in!
- The Automated Method: Using no-code tools like Estuary Flow
- The Manual Method: Using the Custom Script Method for FTP to Snowflake Integration
The Automated Method: Load Data From FTP to Snowflake Using No-Code Tools Like Estuary
Estuary Flow is a cloud-based DataOps platform that offers seamless data migration between various sources and destinations. It provides a user-friendly interface and multiple pre-built connectors for effortless data integration from diverse sources to data warehouses like Snowflake.
Estuary's near real-time data synchronization enables quick and efficient data transfer, ensuring data in the target system remains up-to-date. With comprehensive data quality checks, schema validation, and transformation capabilities, Flow empowers you to streamline data workflows and make better data-driven decisions.
Below are the steps to follow for SFTP to Snowflake integration using Estuary Flow:
Prerequisites:
Step 1: Configure SFTP as the Source
- Register for free on the Estuary platform and log into your account.
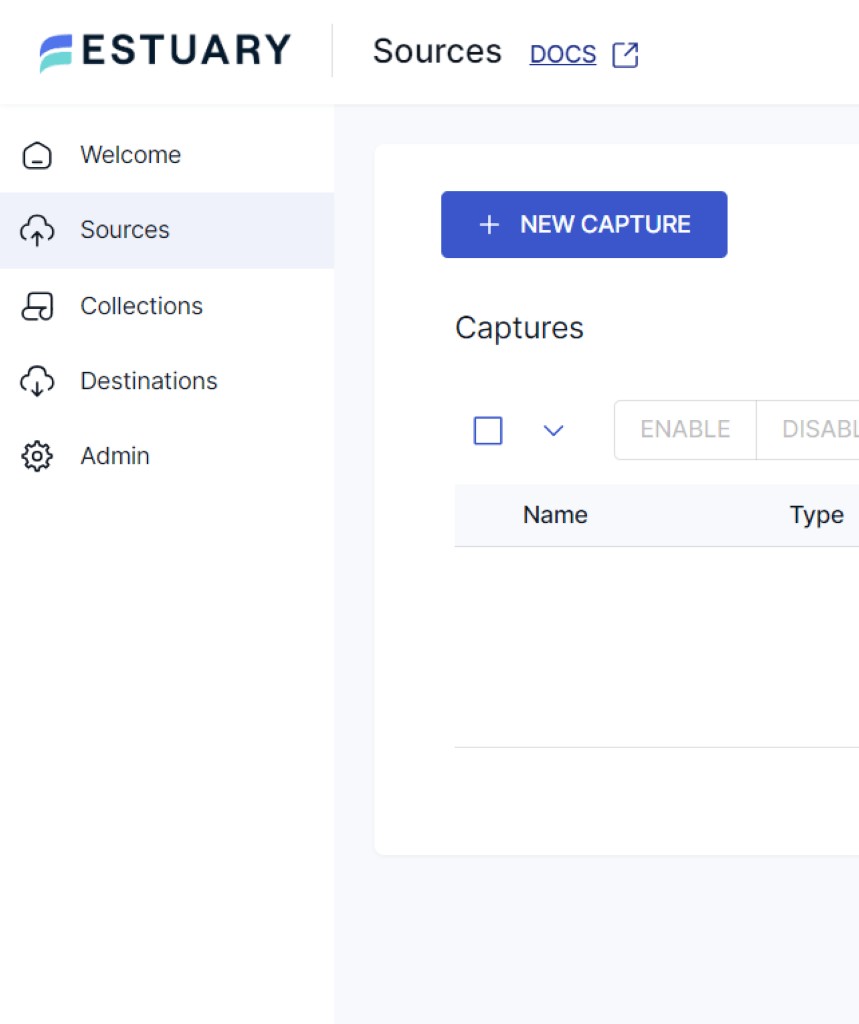
- After logging in, you'll land on the Estuary dashboard. Navigate to the Sources section and click the + NEW CAPTURE button to initiate the setup process.
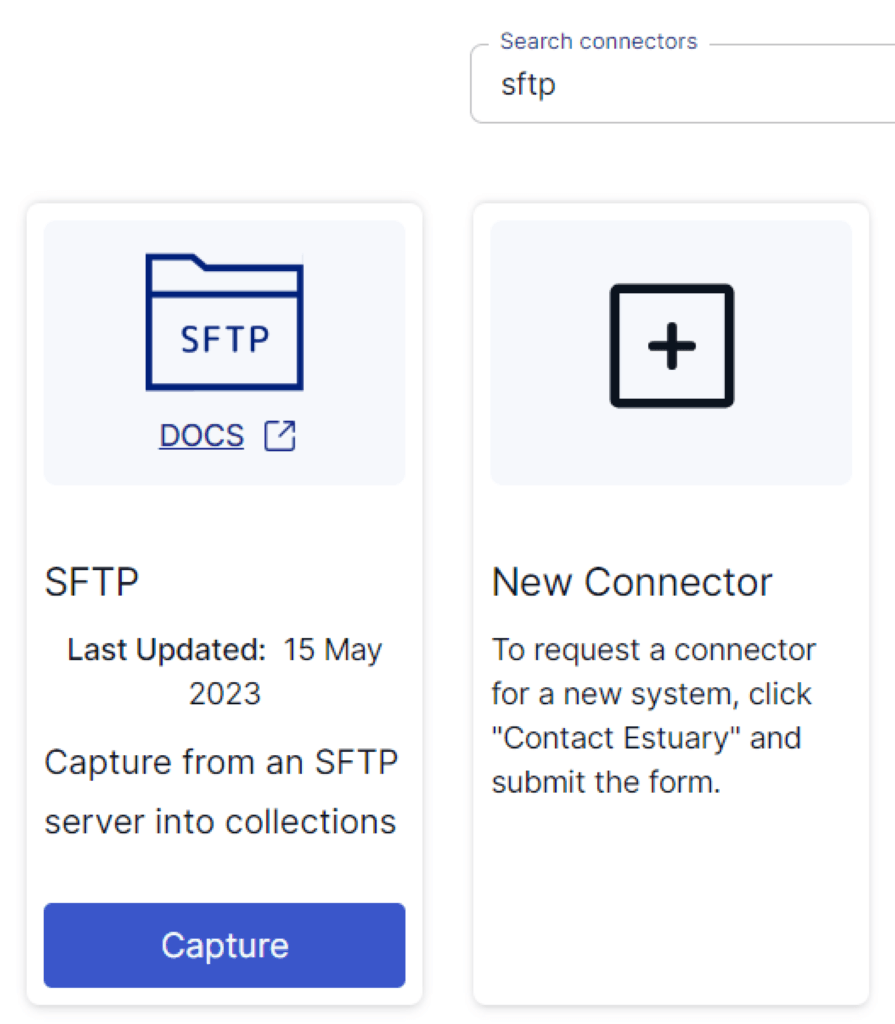
- Use the Search connectors box to find the SFTP connector on the Create Capture page. Click on the Capture button to proceed.
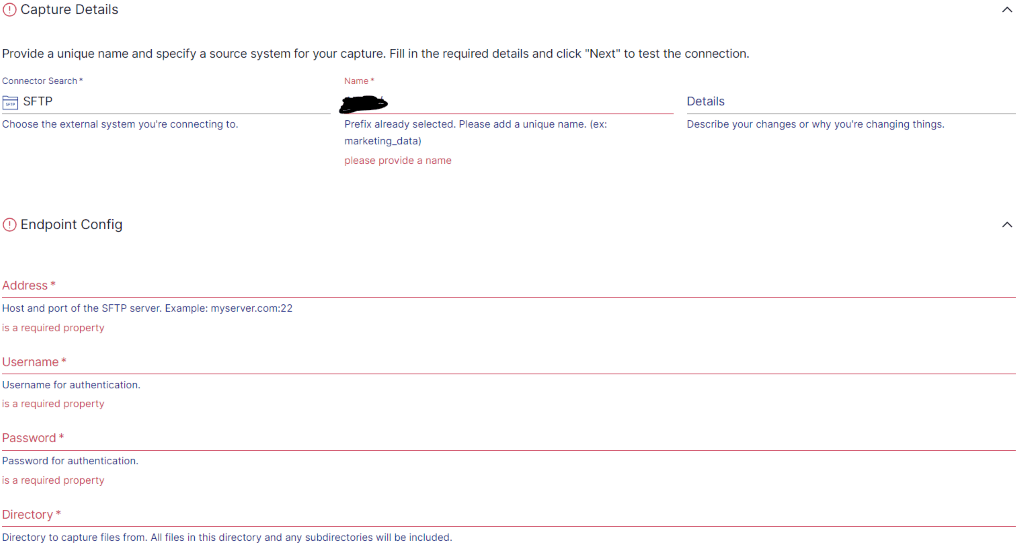
- On the SFTP connector page, fill in all the mandatory fields, including the connector Name, Address, Username, Password, and Directory.
- Once all the required details are entered, click on NEXT and then SAVE AND PUBLISH.
Step 2: Configure Snowflake as the Destination
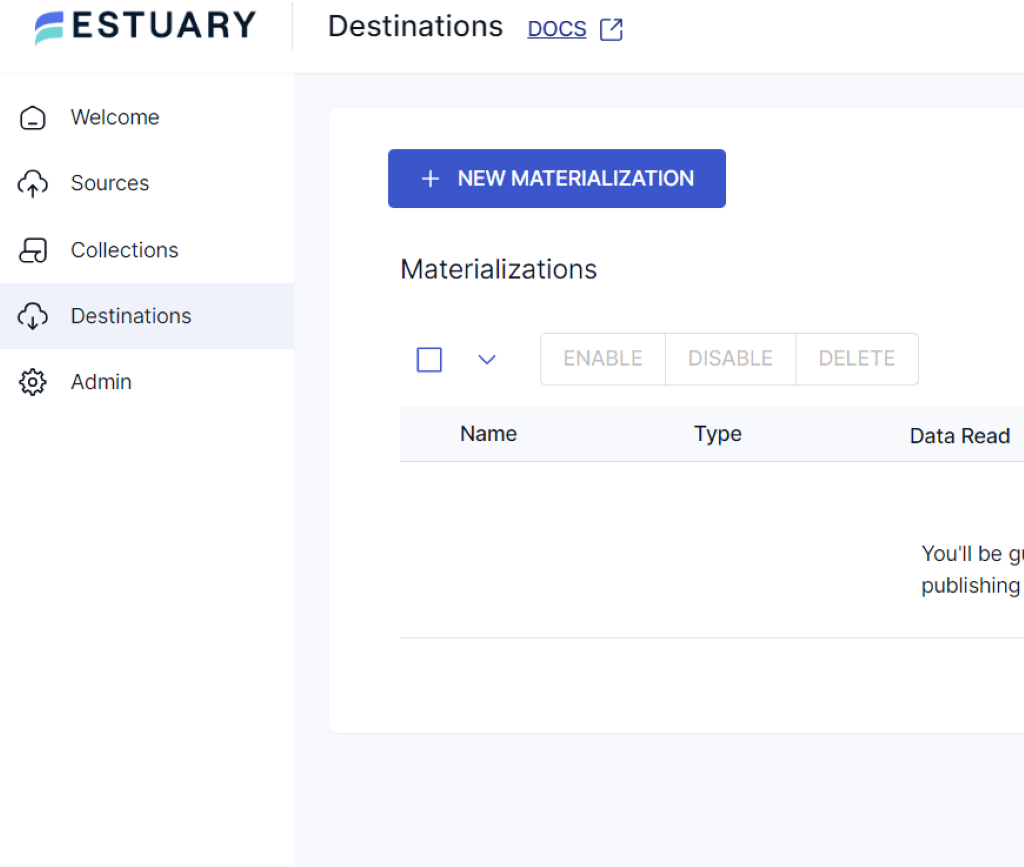
- Now, you have to configure the destination end of the pipeline. Click Destinations from the Estuary dashboard and then click on the + NEW MATERIALIZATION button to proceed.
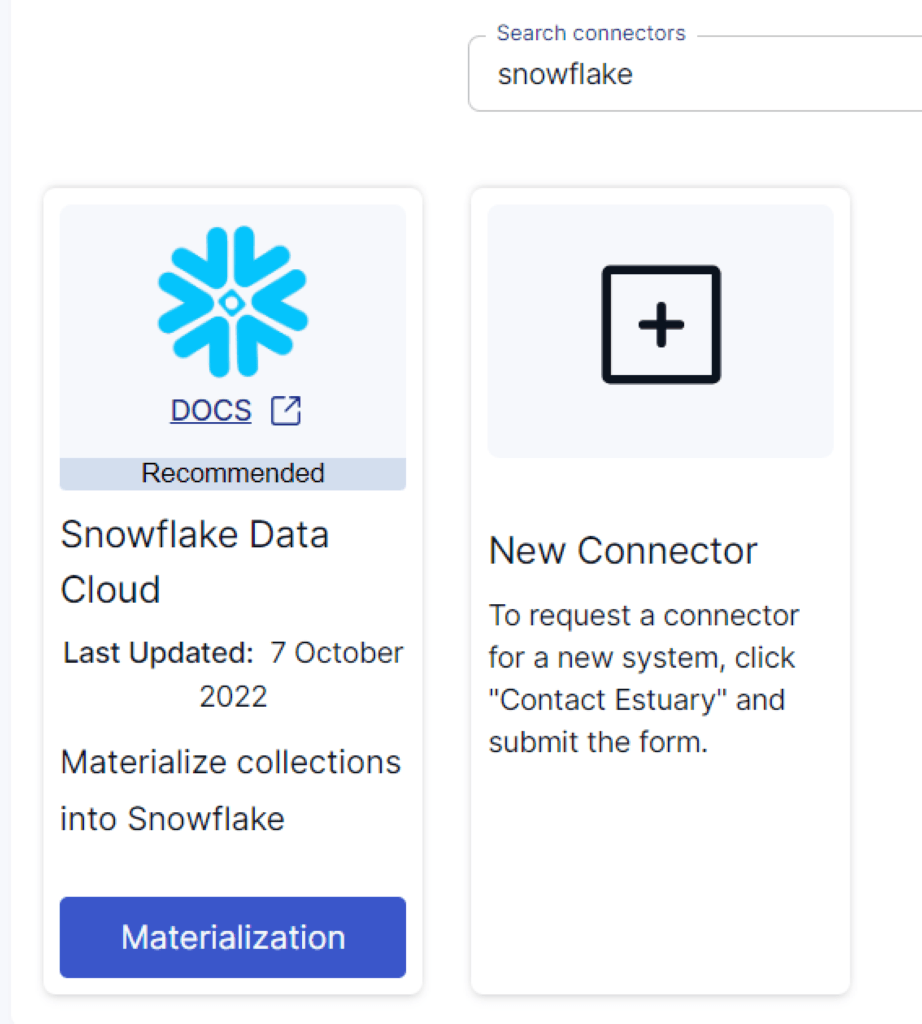
- Enter Snowflake in the Search connectors box on the Create Materialization page. Once you locate the connector, click on the Materialization button to proceed.
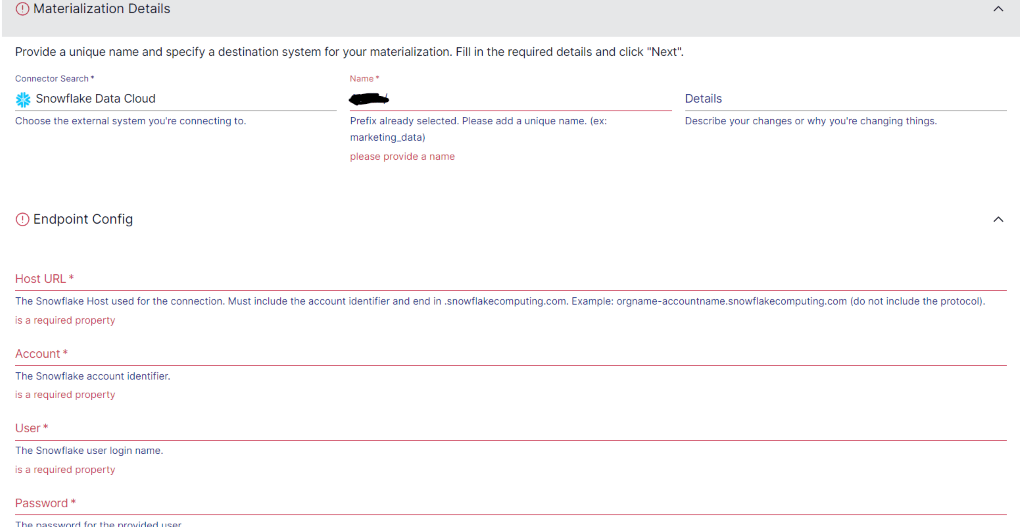
- You’ll be directed to the Snowflake connector page. Provide a materialization Name and fill in the Endpoint Config details, such as the Snowflake Host URL, Account, User, and Password.
- The data collections you previously captured from SFTP may already be populated in the Estuary Flow. If not, use the Source Collections to locate and add them.
- Click on the NEXT button and then SAVE AND PUBLISH. Estuary Flow will continually replicate data from FTP to Snowflake in real time, ensuring your data warehouse remains up-to-date.
- This completes the process of SFTP to Snowflake integration. For more information, refer to the Estuary documentation:
The Manual Method: Using the Custom Script Method for FTP to Snowflake Integration
This manual approach involves the development and implementation of a custom script. The script serves as a bridge between the FTP source and the Snowflake destination, facilitating seamless data transfer.
Before diving into the FTP to Snowflake migration process using custom scripts, it's crucial to fulfill the necessary prerequisites.
Prerequisites:
- FTP Server Access
- FTP Client Library
- Snowflake Client Driver
- Install SnowSQL
Here's a breakdown of the steps involved in transferring data from FTP to Snowflake:
Step 1: Extract Data From FTP
- Install FTP Library: Begin by installing a suitable FTP client library like ftplib using Python. This library is crucial for establishing a connection to the FTP server. It also provides methods to create an FTP session and authenticate with the server using credentials.
- Gather Snowflake Account Details: Collect the necessary Snowflake account details, which include the account name, username, and password. Additionally, install the required Snowflake client driver like JDBC or ODBC to establish a connection to the Snowflake data warehouse.
- Access the FTP Server: Once connected to the FTP server, locate the directory containing the data files. You can use the pwd command (present working directory) to check the current directory on the server. To navigate to a different folder, utilize the cd command (change directory) followed by the desired directory path. Similarly, you can use the lpwd command to see the local machine's current path and the lcd command to change the local directory.
- Data Extraction: To extract the data files, employ the GET command.
To download a specific file, use the following command in the installed FTP library:
plaintextget file_nameTo download multiple files with a common pattern, use the following command:
plaintextmget file_name_pattern- With this, you can successfully download your CSV file from the FTP server to your local machine.
Step 2: Upload Data to Snowflake Internal Stage
- Prepare Internal Stage: Before uploading data to Snowflake, ensure you have set up an internal stage in your Snowflake account. You can upload data to one of the Snowflake stages: Named stage, User stage, or Table stage.
- Install SnowSQL Tool: The SnowSQL tool enables you to execute SQL queries, as well as Data Definition Language (DDL) and Data Manipulation Language (DML) commands. It allows you to manage data loading and unloading tasks. You can execute the following PUT command within the SnowSQL command-line interface.
- Upload Data Files: Use the PUT command to upload them to the Snowflake internal stage. The syntax is as follows:
plaintext PUT file://<path_to_file>/<filename> internalStagename
[ PARALLEL = <integer> ]
[ AUTO_COMPRESS = TRUE | FALSE ]
[ SOURCE_COMPRESSION = AUTO_DETECT]
[ OVERWRITE = TRUE | FALSE ]
Replace <path_to_file> with the specific local directory path containing the files you want to upload, <file_name> with the file name you’re uploading, and <integer> (optional) with the desired number of parallel threads. If OVERWRITE is set to TRUE, the existing file in the stage will be overwritten by the new file. If OVERWRITE is set to FALSE, if the file with the same name exists, an error will be raised.
- The data from your local file has been successfully uploaded and staged in the designated Snowflake internal stage.
Step 3: Load Data into the Snowflake Warehouse
- You can use the COPY INTO command to load the staged data into your Snowflake data warehouse. The syntax is as follows:
plaintextCOPY INTO target_table FROM @internalStagename FILES = ('file_name’);Replace target_table with the name of your Snowflake table. internalStagename with your internal stage name and path.
- Snowflake keeps track of the files using a metadata table to avoid duplicates. This allows organized data transfer from the staging area to the Snowflake data warehouse.
These three steps complete your SFTP/FTP to Snowflake data replication by employing custom scripts. From here, you can also choose to use Snowpipe for continuous loading so that you don’t have to keep using manual copy commands to load your data. To learn more about setting up Snowpipe, visit the documentation here.
Limitations of Using Custom Scripts to Move FTP Data to Snowflake:
While using a custom script approach for migrating data from FTP to Snowflake offers flexibility, it's important to note that it has certain limitations.
- Time-Consuming Process: Creating custom scripts requires significant time and effort for coding, testing, and debugging. This development phase can elongate the overall data migration process.
- Complexity and Maintenance: Maintaining custom scripts over time can be challenging. As your business requirements evolve, scripts might need frequent updates, resulting in ongoing maintenance complexities.
- Lack of Real-Time Synchronization: Migrating data from FTP to Snowflake using custom scripts does not support real-time data synchronization. Changes made in the FTP source won't instantly reflect in Snowflake. The script must be manually triggered or scheduled, which can cause delays in data updates.
The Takeaway
Integrating FTP with Snowflake has several advantages, such as improved scalability, advanced analytics, performance optimization, and streamlined data migration. This guide explored two distinct approaches for migrating data from FTP/SFTP to Snowflake: leveraging automated, no-code platforms like Estuary Flow and using custom ETL scripts. While the custom ETL script method offers flexibility, it has limitations, such as maintenance overhead and a longer migration time.
Data pipeline tools like Estuary Flow provide a compelling solution. Flow’s pre-built connectors, real-time synchronization capabilities, and advanced scalability allow you to seamlessly streamline the data integration process.
Sign up for a free account today and begin building your first pipeline effortlessly between any two supported platforms using Estuary Flow.
Looking to explore more data integration options? Check out these related articles for further reading:
- FTP to BigQuery: Learn how to seamlessly transfer data from FTP servers to Google BigQuery
- SFTP/FTP to Redshift: Dive into the process of securely transferring files from SFTP or FTP servers to Amazon Redshift for powerful data warehousing and analytics

About the author
With over 15 years in data engineering, a seasoned expert in driving growth for early-stage data companies, focusing on strategies that attract customers and users. Extensive writing provides insights to help companies scale efficiently and effectively in an evolving data landscape.


