Real-time analytics is hard. You not only have to stream data from many sources with sub-second latency. You also have to run all the queries in less than a second too.
The integration between Estuary Flow, a real-time change data capture (CDC) platform, and Materialize, an operational data warehouse, makes real-time analytics a lot easier. You can now stream just about any data with <100ms latency into Materialize and run your analytics with end-to-end sub-second performance.
In this tutorial, we’ll walk you through how to connect SQL Server to Materialize in minutes.
Let’s start with some important background information.
What is CDC?
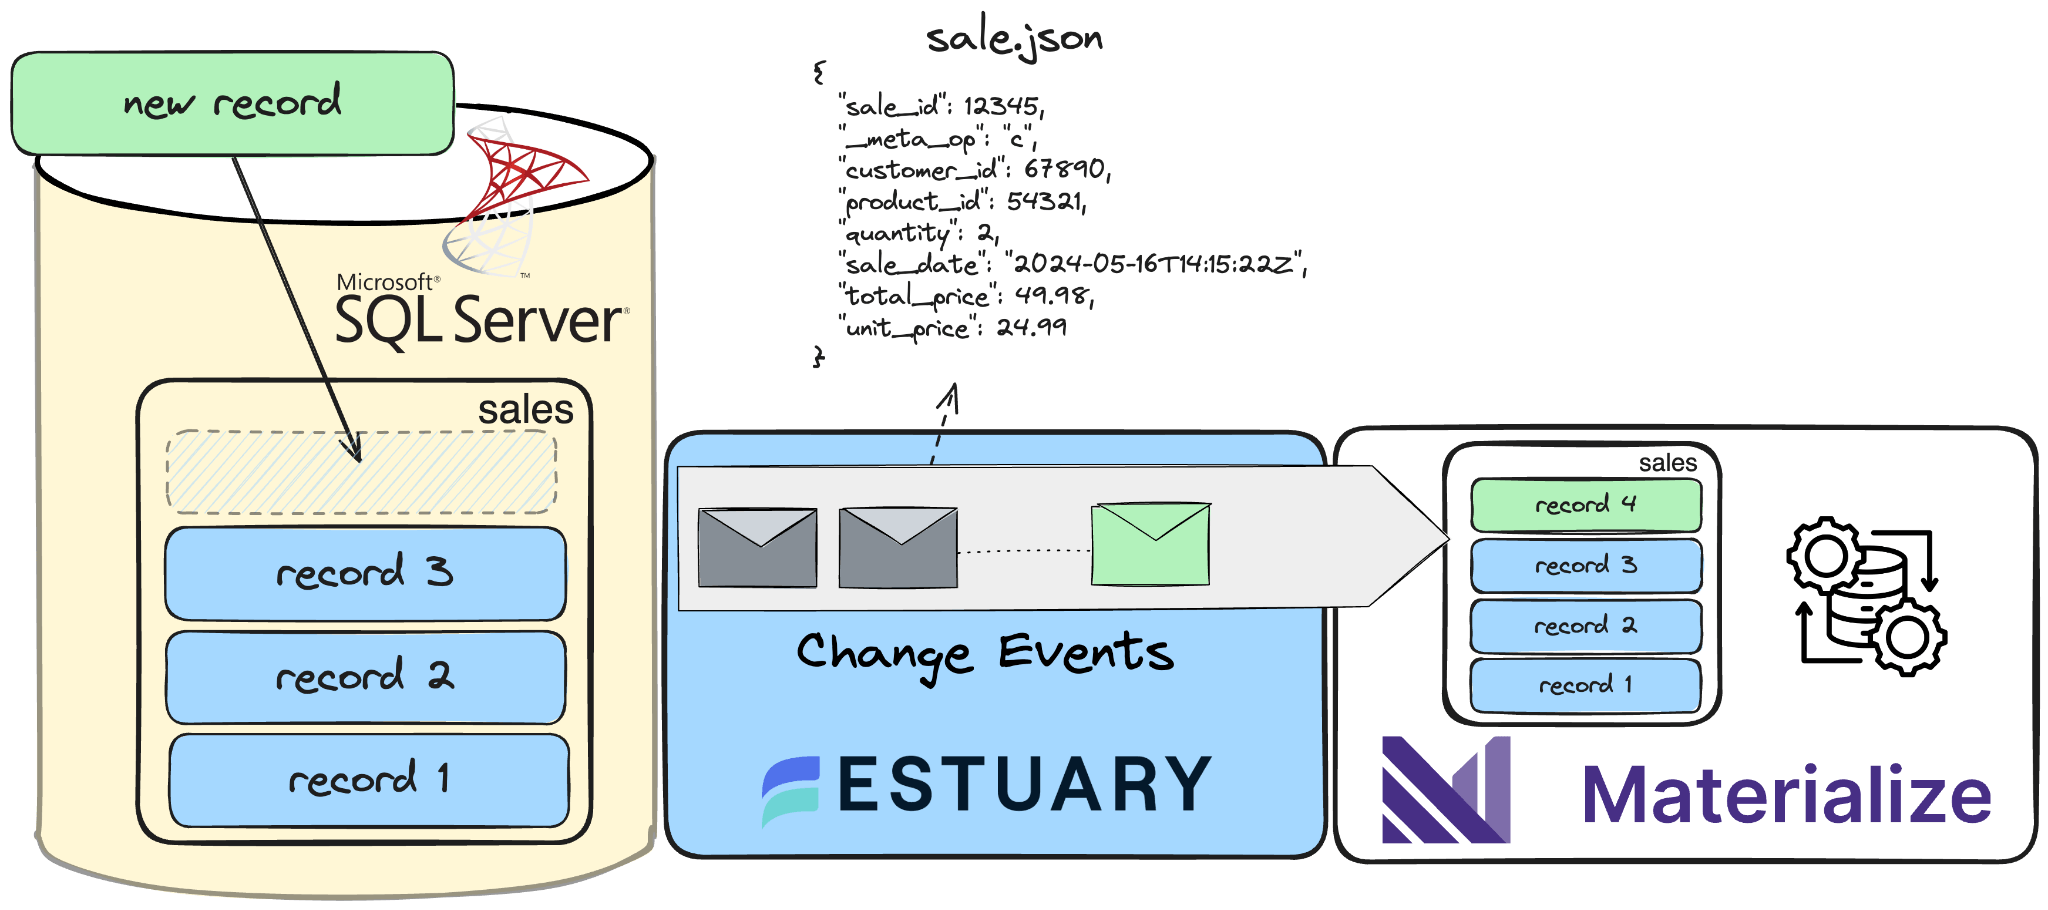
CDC, or Change Data Capture, is a method used to track and capture changes made to data in a database. It enables the real-time capture of insertions, updates, and deletions, providing a continuous stream of changes.
This data stream is invaluable for keeping downstream systems synchronized and up-to-date with the source database, facilitating data replication, data integration, and real-time analytics. In essence, CDC allows organizations to capture and react to data changes as they occur, ensuring data accuracy and timeliness across their systems.
If you are interested in the intricacies of change data capture, head over to this article, where we explain the theory behind it - this is not a requirement for this tutorial, so if you want to dive in head first, keep on reading!
In this tutorial, you’ll be using Estuary Flow to capture change events and Materialize to transform and analyze them. Let’s take a look at the two services in a bit more detail to understand the synergy between them.
Estuary Flow
Estuary Flow is a real-time CDC platform built from the ground up for CDC and streaming. It excels at capturing data from various sources and delivering it to many destinations used for analytics, operations, and AI. With its event-driven architecture, Estuary Flow ensures data is processed and delivered exactly once, with low latency, making it an ideal solution to use with Materialize.
Some key features of Estuary Flow are:
- Fully Integrated Pipelines: Flow simplifies data integration by enabling you to create, test, and adapt pipelines that gather, modify, and consolidate data from multiple sources.
- Change Data Capture (CDC): Always-on CDC that replicates in real-time with exactly-once semantics, backed by cloud storage.
- No-code Connectors: With pre-built connectors for popular data sources and sinks, such as databases and message queues, Flow reduces the need for custom connectors. This speeds up data pipeline deployment and ensures consistency across systems.
Overview of Materialize
Materialize is an operational data warehouse for running real-time SQL transformations, enabling the creation of continuously updated materialized views that reflect changes in underlying data sources instantly.
Key Features
- Real-Time Processing: Provides live updates to views without manual refreshes or batch processing.
- SQL Interface: Uses standard SQL for defining transformations and queries, making it accessible to users familiar with SQL, and integrates with the wider data ecosystem (e.g. dbt).
- Incremental Computation: Updates only changed data, reducing processing time and resource usage.
- Consistency: Respects upstream transaction boundaries and offers the transaction isolation level of “strict serializable”, the highest level of consistency in database systems, so outputs are guaranteed to be consistent with inputs at all times.
- Scalability: Handles high data volumes and frequent updates efficiently.
Estuary Flow + Materialize = ❤️
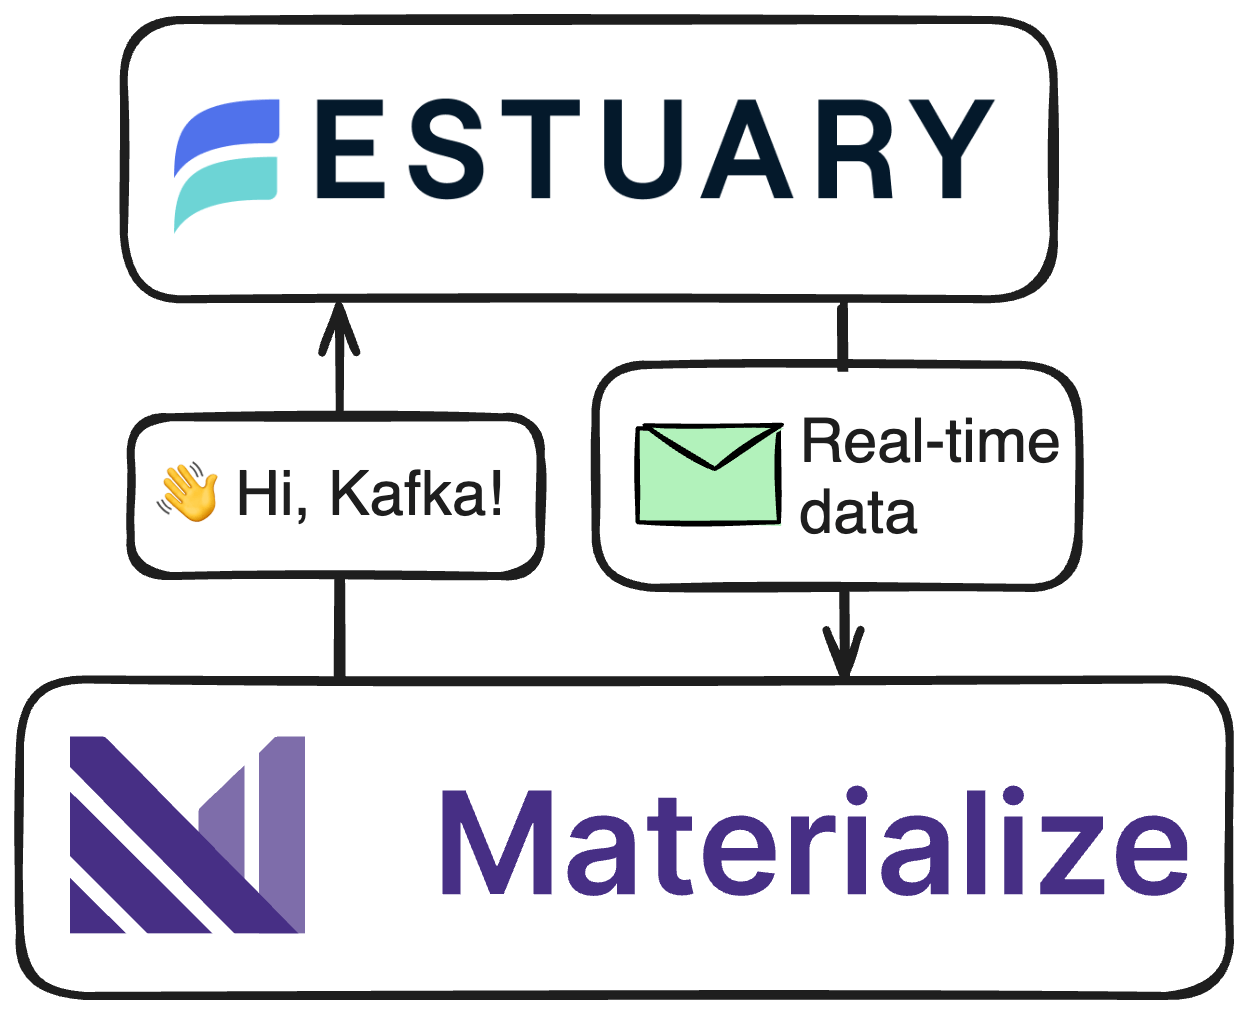
Materialize supports native CDC connectors for PostgreSQL and MySQL, but requires additional tooling to ingest CDC from other source databases. One of the most common combos to ingest CDC into Materialize is using Kafka and Debezium. Despite being a popular CDC architecture, operating Kafka can be too cumbersome for smaller teams, and using Debezium comes with some trade-offs that not all use cases can tolerate. Estuary Flow recently introduced Kafka API compatibility, which means external systems can read data from it as if it were a Kafka cluster — this means that any system that supports ingesting data from Kafka (like Materialize) can now ingest data directly from Estuary Flow.
Kafka API compatibility was the last piece needed to make the integration between Flow and Materialize a breeze! There is no need for any coding, as this functionality is already available out of the box. Configuring both takes a few minutes at most and opens the door to smoother, easier CDC ingestion from databases that aren’t natively supported in Materialize, like SQL Server or Oracle.
Tutorial Overview
The rest of the tutorial will contain step-by-step instructions on how to build an end-to-end CDC pipeline. You’ll learn how to:
- Spin up a local SQL Server instance, stream fake data into it, and prepare it for CDC capture.
- Configure a capture in the Estuary Flow dashboard to ingest change events.
- Set up Estuary Flow as a source in Materialize and create real-time analytical materialized views.
Prerequisites
- Estuary Flow account: if you haven’t registered yet, you can do so here, for free!
- Materialize account
- Docker: for convenience, we provide a Dockerized development environment so you can get started in just seconds!
- ngrok: Flow is a fully managed service. Because the database used in this tutorial will be running on your machine, you’ll need something to expose it to the internet. ngrok is a lightweight tool that does just that.
Setting Up Your Environment
Alright, it’s time to cook! As a reminder, all code used in this tutorial is available in the examples repository.
Step 1. Clone example repository and start SQL Server
Head over to GitHub and clone the Estuary Flow examples repository. Change directories into the one called sql-server-cdc-materialize. This folder contains the source SQL Server database container definition, the data generator script, and the SQL snippets for Materialize.
First, spin up the containers.
plaintextexport NGROK_AUTHTOKEN=<your ngrok token>

docker compose up
After a few seconds, Docker will create three long-running services; one for the database, one for the Python script which continuously loads data into a table, and a third, ngrok, which exposes the database to the internet, so Flow will be able to connect to it.
The init.sql script takes care of all the prerequisites needed to enable CDC, and it also creates the sales table which this data flow will replicate into Materialize.
Step 2: Verify Data Insertion
Look at the logs of the data generator container to verify that records are being inserted into the table.
plaintextdocker logs datagen

Inserted new sale: (83, 57, datetime.datetime(2024, 4, 23, 2, 19, 37, 126905), 1, 69.83, 69.83)
Inserted new sale: (23, 348, datetime.datetime(2024, 4, 10, 3, 48, 29, 39255), 6, 99.51, 597.06)
Deleted sale ID 1063
Updated sale ID 654 with new data: (50, 796, datetime.datetime(2024, 1, 14, 2, 2, 57, 161933), 10, 20.3, 203.0)
Deleted sale ID 406
The data generator script is designed to insert, update, and delete records every second to simulate production traffic.
Step 3: Expose Database with ngrok
Looks good! The last step is to grab the public URL of the database.
plaintextcurl -s http://localhost:4040/api/tunnels | jq -r '.tunnels[0].public_url'

tcp://5.tcp.eu.ngrok.io:19236
Take note of this URL (in the example: 5.tcp.eu.ngrok.io:19236), you’ll use it in the next step! You’re all set here, it’s time to start capturing change events.
Configure SQL Server for CDC
In SQL Server, change data capture utilizes the SQL Server Agent to log insertions, updates, and deletions occurring in a table. So, it makes these data changes accessible to be easily consumed using a relational format. The agent is configured in the Dockerfile provided in the example.
The init.sql script included in the example that runs when the database starts up automates the setup of a new SQL Server database named SampleDB with Change Data Capture (CDC) functionality enabled. It also creates a login and user named flow_capture with the necessary permissions. The script also creates a table named flow_watermarks, which is an internal table used by Flow to keep track of the state of the ongoing replication.
Finally, the script creates a sales table and enables CDC on this table. This setup ensures that SampleDB is prepared for change data capture, without any manual configuration required.
Create SQL Server Capture in Estuary Flow
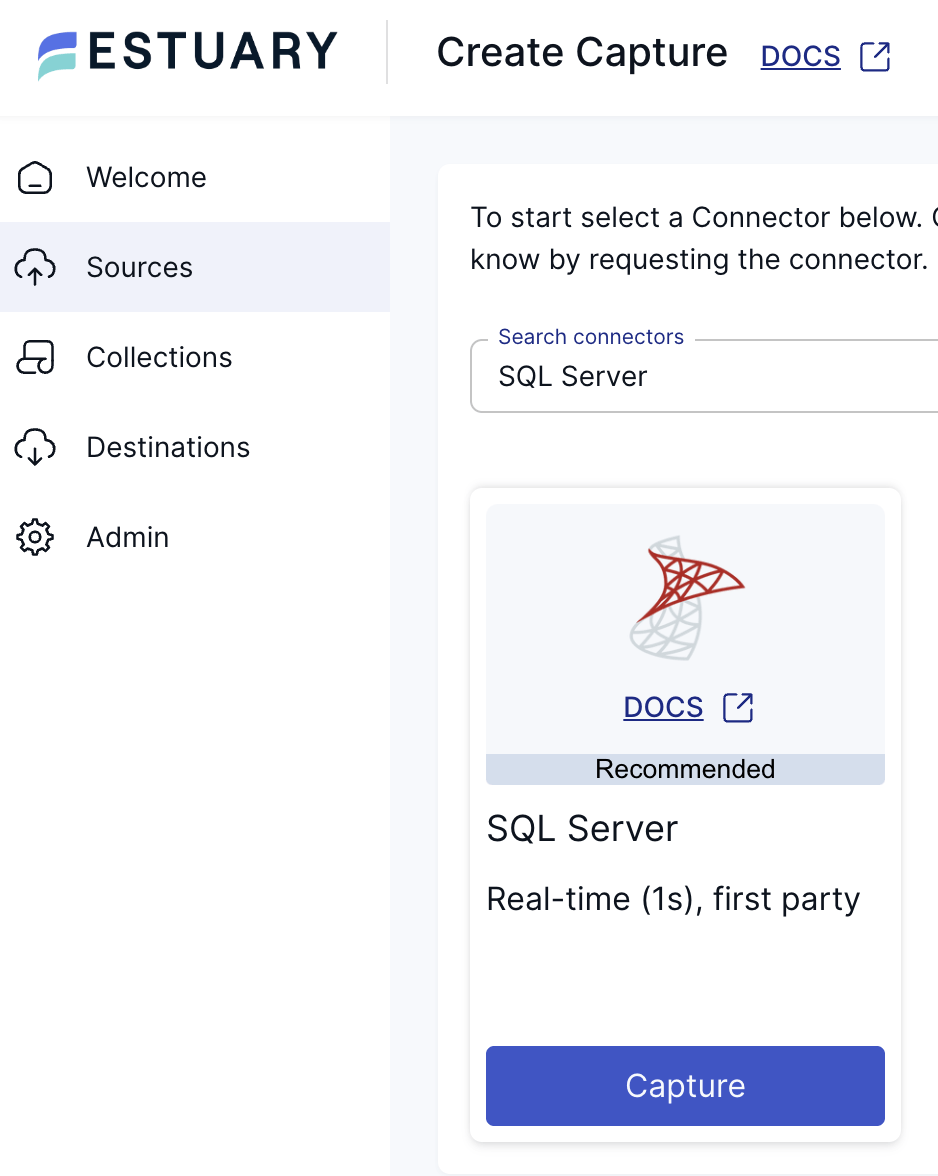
Head over to the Estuary Flow dashboard and create a new SQL Server capture.
During the endpoint configuration, use the URL from the previous step and for the user/password combination, the Dockerized SQL Server container is configured as flow_capture/Secretsecret1. After pressing next, in the following section, you can configure how the incoming data should be represented in Flow as collections.
Captures run continuously: as soon as new documents are made available at the endpoint resources, Flow validates their schema and adds them to the appropriate collection.
Estuary Flow writes all change data into collections, which are append-only durable logs similar to a WAL. Like replication, Estuary Flow transactionally guarantees change data, including the modified chunks.
Collections are a real-time data lake. Documents in collections are stored indefinitely in your cloud storage bucket (or may be managed with your regular bucket lifecycle policies). This means that the full historical content of a collection is available to support future data operations and perform backfills without going back to the source.
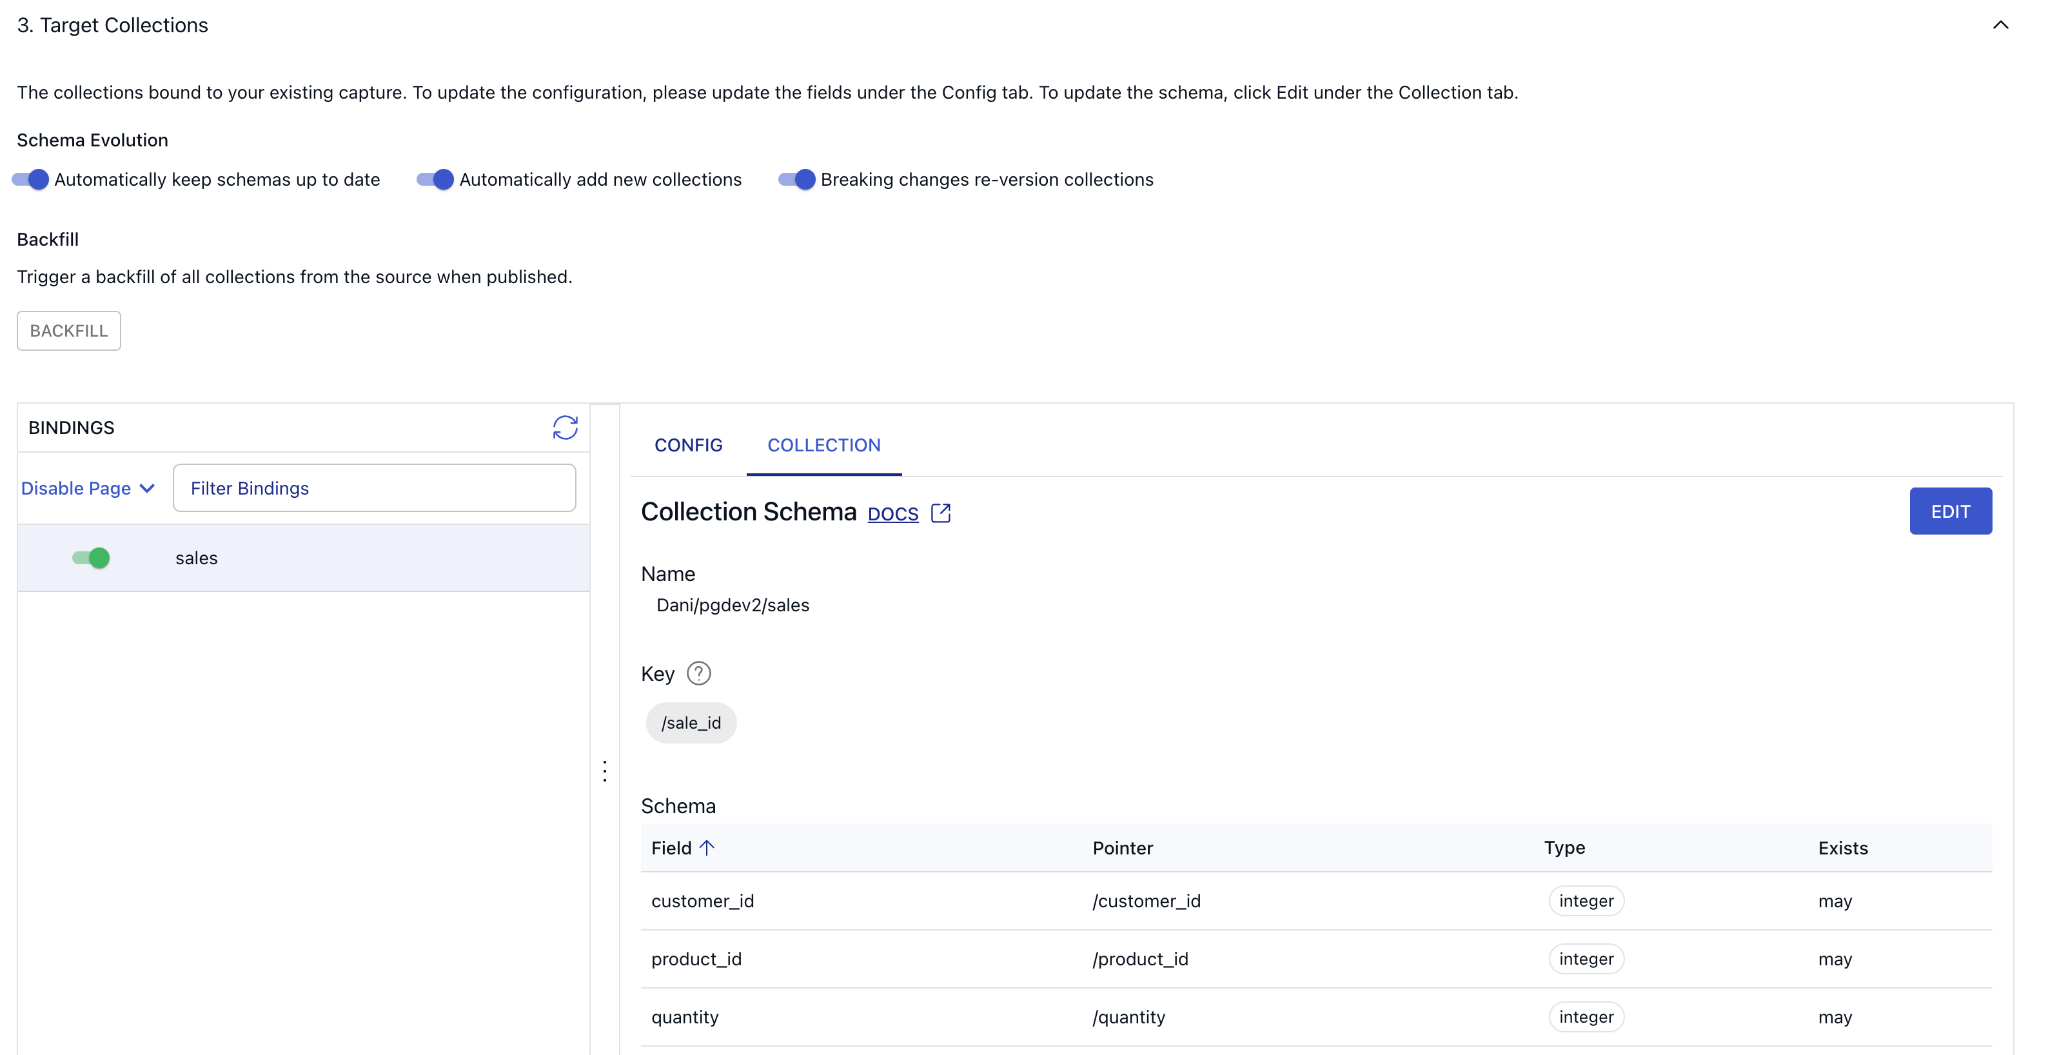
To see how Flow parsed the incoming records, click on the “Collection” tab and verify the inferred schema looks correct.
Note, that the bridge between this collection and Materialize is fundamentally different from how Estuary Flow handles traditional materializations such as with using the Snowflake or BigQuery materialization connectors. These traditional connectors connect to an external destination system and bind one or more Flow collections to resources at the endpoint, such as database tables.
Estuary and Materialize think about materializing data in a destination the same way. In this case, Materialize is managing the materialization directly from collections into Materialize, which then also runs all the compute.
Configure Materialize
Head over to Materialize, and using the SQL shell, set up a Kafka source to ingest data from Estuary Flow (via the new Kafka API).
Step 1: Create a New Secret & Create Connection
Generate your token from the Estuary dashboard at Estuary API Dashboard. Replace the placeholder token in the command below with your actual token.
As mentioned earlier, the connection between the two systems is made possible by Estuary Flow’s Kafka-API compatibility layer and Materialize’s Kafka source connector. To connect to Estuary Flow and Flow’s schema registry, you first need to create a connection that specifies access and authentication parameters.
plaintextCREATE SECRET estuary_refresh_token AS
  'your_generated_token_here';

CREATE CONNECTION estuary_connection TO KAFKA (
    BROKER 'dekaf.estuary.dev',
    SECURITY PROTOCOL = 'SASL_SSL',
    SASL MECHANISMS = 'PLAIN',
    SASL USERNAME = '{}',
    SASL PASSWORD = SECRET estuary_refresh_token
);

CREATE CONNECTION csr_estuary_connection TO CONFLUENT SCHEMA REGISTRY (
    URL 'https://dekaf.estuary.dev',
    USERNAME = '{}',
    PASSWORD = SECRET estuary_refresh_token
);
Once created, a connection is reusable across multiple CREATE SOURCE statements.
Step 2: Create a Source for SQL Server
Define a source that reads from a Kafka topic, using the previously created connections and specifying the data format.
plaintextCREATE SOURCE sqlserver_sales
  FROM KAFKA CONNECTION estuary_connection (TOPIC '<name-of-your-flow-collection>')
  FORMAT AVRO USING CONFLUENT SCHEMA REGISTRY CONNECTION csr_estuary_connection
    ENVELOPE UPSERT;
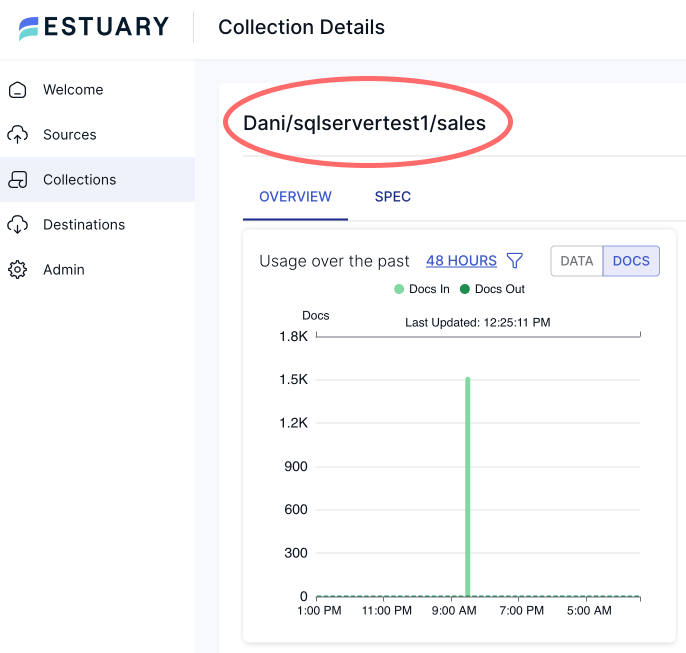
Make sure to replace <name-of-your-flow-collection> with the full name of your collection from Estuary Flow; you can grab this value from the Flow dashboard.
Creating Real-Time Materialized Views
Let’s take the sales data for a spin! Execute the below SQL to create a view that defines tracks anomalous events.
plaintextcreate view sales_anomalies as
  with recent_sales as (
    select * from sqlserver_sales
    where mz_now() <= sale_date + interval '7 days'
  ),
  rolling_avg as (
    select
    customer_id,
    avg(total_price) as customer_spend_avg
    from recent_sales
    group by customer_id
  )
  select
    a.customer_id, a.customer_spend_avg, s.product_id, s.quantity, s.sale_date, s.sale_id, s.total_price, s.unit_price
  from recent_sales s join rolling_avg a using(customer_id)
  where s.total_price > 1.5 * a.customer_spend_avg;

create index on sales_anomalies (customer_id);
In this example, we create a view that uses the mz_now() function to analyze sales over a sliding 7 day window. Any sales that are more than 1.5 times the average for that customer are flagged as anomalies. Such notifications may warrant immediate action, like an automated message to the customer asking if the purchase is legitimate.
A view is simply an alias for a SELECT statement. The magic happens in Materialize when we create the index. When we create the index, we tell Materialize ‘I am interested in these results. Please keep them up-to-date.’ Then Materialize creates a long-running dataflow that incrementally updates results as new records arrive.
Because the results are updated with every write, reads don’t put additional load on the system. That means the index can serve fresh results with low latency even with a large number of concurrent reads. Additionally, Materialize will deliver these results with strict serializability, meaning you will never misfire an alert due to eventual consistency.
Now many concurrent users of an embedded analytics application can look up anomalous sales data with millisecond latency and sub-second freshness.
Materialize is also amazing when it comes to handling multiway joins, which can be particularly useful for complex analytical queries involving multiple related tables.
Imagine if we also had customers and products tables in addition to the sales table. We could create a view that joins these tables to analyze sales over a sliding 7-day window. This view would include customer and product information, and flag any sales that fit the criteria as anomalies. By creating an index on this view, Materialize would keep the results up-to-date in real-time, allowing for low-latency reads even with complex joins and ensuring consistent and accurate alerts.
Materialize's extensive SQL support (including recursive SQL) allows you to run queries of any complexity that you might require to automate operational decisions.
Conclusion
By combining Estuary Flow and Materialize, we leaned on the strengths of both platforms to create a robust and efficient CDC pipeline. This integration allowed us to automate data ingestion, streamline transformations, and maintain exactly-once semantics, ultimately enabling more informed and timely business decisions.
We hope this tutorial has provided you with the knowledge and tools to implement your own CDC pipeline and leverage the full potential of Estuary Flow and Materialize in your data transformation projects.
If you want to learn more, make sure you read through the Estuary documentation.
You’ll find instructions on how to use other connectors here. You can connect to just about any source and use exactly the same method to ingest into Materialize. There are more tutorials here.
Also, don’t forget to join the Estuary Slack Community!

About the author
Dani is a data professional with a rich background in data engineering and real-time data platforms. At Estuary, Daniel focuses on promoting cutting-edge streaming solutions, helping to bridge the gap between technical innovation and developer adoption. With deep expertise in cloud-native and streaming technologies, Dani has successfully supported startups and enterprises in building robust data solutions.


