In the world of data engineering and development, it is a common yet crucial task to extract or capture data from Postgres. For most, finding a reliable and efficient way to perform this operation is an essential step in making the most of their data-driven projects. But it is not always straightforward.
This often brings data engineers to face a range of challenges, from understanding the basic extraction methodologies to implementing advanced Change Data Capture (CDC) mechanisms for real-time data changes.
This demands much planning, yet not all IT teams have the expertise required for capturing data from PostgreSQL, leading to challenges like suboptimal data extraction methods, data integrity issues, and inefficiencies in leveraging the full potential of the database.
Today’s guide aims to solve these problems. We’ll discuss 6 different methods to facilitate data capturing and streaming from a PostgreSQL database. By the time you are done reading this 7-minute guide, you’ll know the benefits of all 6 approaches and what to choose for effectively capturing data from PostgreSQL for your needs.
The Importance Of CDC For PostgreSQL
In modern data architectures, SQL databases like Postgres are typically the most up-to-date data storage systems because they can handle transactional workloads. On the other hand, storage systems like data warehouses are necessary for analytical applications as they can handle complex queries and large-scale data processing.
Together, they form a complementary data architecture that supports both transactional and analytical use cases. This scenario creates a data integration challenge because businesses need to transfer the latest data from Postgres to their data warehouse and other systems promptly, reliably, and with minimal performance impact.
This is where CDC comes in. It can meet all these requirements when implemented correctly.
CDC identifies changes in a source data system, allowing downstream systems to act on these changes and update target systems with new information.
Postgres is a popular choice for CDC because of several key advantages:
- Ease of setup: PostgreSQL allows for simple CDC configuration and makes it accessible for businesses of all sizes.
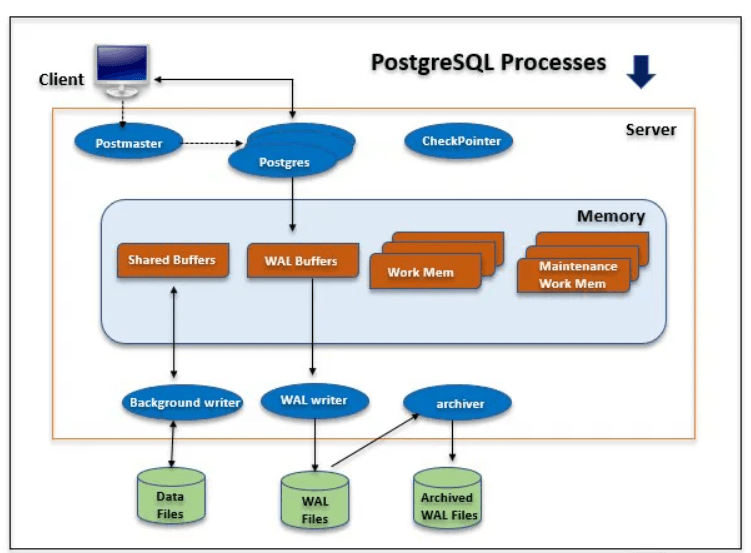
- Compatibility with real-time CDC methods: PostgreSQL’s write ahead log (WAL) allows real-time data capture to ensure up-to-date information across systems.
- Robust and reliable performance: PostgreSQL’s stability and fault tolerance ensure consistent data capture even in the face of errors or downtime.
- Scalability: As your data grows, PostgreSQL can handle the increasing volume while maintaining efficient data capture.
How To Capture & Extract Data From PostgreSQL: 6 Proven Methods
When working with PostgreSQL, extracting data from the database for reporting, analysis, or other purposes is necessary. For this, data extraction methods ensure efficient and accurate data extraction from your Postgres database. Let’s take a look at 6 of the most efficient ones.
PostgreSQL CDC With Estuary Flow
Estuary Flow, our cloud-based data integration platform, allows users to easily export data from PostgreSQL with real-time CDC, even for those without extensive SQL experience. With our platform, you can configure export settings according to your specific requirements.
Whether you need to export the entire database or just a few tables, Estuary Flow allows you to customize the export process effortlessly. You can select the desired tables, start the CDC pipeline, and connect your data to its final destination with just a few clicks.
Let’s see how you can use Estuary Flow to retrieve information from a locally hosted PostgreSQL database, starting with the required prerequisites. Note that hosted databases in major cloud platforms are also supported.
1.1. Prerequisites
To prepare your PostgreSQL database, make sure you have:
- Logical replication enabled (
wal_level=logical) - User role with the
REPLICATIONattribute - Replication slot (optional)
- Publication for the set of tables with change events
- Watermarks table (for accuracy when backfilling preexisting table contents)
1.2. Configure PostgreSQL
For a self-hosted PostgreSQL instance, you have two options – use a database superuser role or create a new user with just the required permissions.
- Option 1 (Superuser role): Change the WAL level by modifying the postgresql.conf file or running
ALTER SYSTEM SET wal_level = logical; in your PostgreSQL instance, then restart the PostgreSQL service. - Option 2 (Restricted setup): Connect to your PostgreSQL instance and follow these steps:
Step 1: Create a new user and password:
plaintextCREATE USER flow_capture WITH PASSWORD 'secret' REPLICATION;Step 2: Assign the appropriate role:
If using PostgreSQL v14 or later, assign the role to the user using:
plaintextGRANT pg_read_all_data TO flow_capture;If using an earlier version, you have to use the following:
plaintextALTER DEFAULT PRIVILEGES IN SCHEMA public GRANT SELECT ON TABLES to flow_capture;
GRANT SELECT ON ALL TABLES IN SCHEMA public, <other_schema> TO flow_capture;
GRANT SELECT ON ALL TABLES IN SCHEMA information_schema, pg_catalog TO flow_capture;
Step 3: Create the watermarks table, grant privileges, and create a publication:
plaintextCREATE TABLE IF NOT EXISTS public.flow_watermarks (slot TEXT PRIMARY KEY, watermark TEXT);
GRANT ALL PRIVILEGES ON TABLE public.flow_watermarks TO flow_capture;
CREATE PUBLICATION flow_publication;
ALTER PUBLICATION flow_publication ADD TABLE public.flow_watermarks, <other_tables>;
Replace <other_tables> with the list of tables you want to capture changes from.
Step 4: Set the Write-Ahead Log level to logical and restart PostgreSQL:
plaintextALTER SYSTEM SET wal_level = logical;Restart the PostgreSQL service for the change to take effect.
1.3. Configure Estuary Flow
In the Estuary Flow web application, create a new Capture and choose the PostgreSQL connector type. Fill in the required information like the PostgreSQL database address, username, password, and publication name.
1.4. Start Capturing Changes
Once you’ve configured the Estuary Flow connector, it will start capturing changes from your PostgreSQL database and storing them in one or more Flow collections.
1.5. Materialize to a Destination
Create a materialization to push the captured data from Postgres to any supported destination.
Learn more about Postgres capture in our docs, and sign up for free here!
Using Logical Replication For Real-Time Data Changes
Logical replication is a powerful method to extract and replicate data from a PostgreSQL instance in real time. It captures and streams data changes from the source database to a target database by tracking changes in the write-ahead log (WAL) and transferring them using replication slots.
It’s the same mechanism underlying real-time CDC. Here, you’ll use it to replicate data to a different Postgres instance.
2.1. Enable Logical Replication On The Source PostgreSQL Instance
a. Open the postgresql.conf file on the source PostgreSQL instance.
b. Modify the following parameters:
plaintextwal_level = logical
max_replication_slots = 5
max_wal_senders = 5
c. Save the changes and restart the PostgreSQL service.
2.2. Grant Replication Privileges To A PostgreSQL User
a. Connect to the source PostgreSQL instance using a superuser role.
b. Execute the following SQL command to grant the necessary privileges:
plaintextALTER USER your_user WITH REPLICATION;2.3. Set Up The PostgreSQL Change Data Capture (CDC) Mechanism
a. Create a replication slot on the source database:
plaintextSELECT * FROM pg_create_logical_replication_slot('your_slot_name', 'pgoutput');b. Configure the target database to receive data changes:
- On the target PostgreSQL instance, create a new table with the same structure as the table you want to replicate.
- Connect to the target PostgreSQL instance using a superuser role.
- Execute the following SQL command to create a subscription:
plaintextCREATE SUBSCRIPTION your_subscription_name
CONNECTION 'host=your_source_host port=your_source_port dbname=your_source_db user=your_user password=your_password'
PUBLICATION your_publication_name
WITH (copy_data = false);
2.4. Create A Publication On The Source Database
a. Connect to the source PostgreSQL instance using a superuser role.
b. Execute the following SQL command to create a publication:
plaintextCREATE PUBLICATION your_publication_name FOR TABLE your_table_name;2.5. Verify That The Changes Are Replicated
Perform INSERT, UPDATE, or DELETE operations on the source table and check if the changes are reflected in the target table.
By following these steps, you can efficiently capture data changes in real time and replicate them to another Postgre database for analysis or reporting purposes, leveraging the logical decoding plugin.
Pro-Advice: Make sure to replace placeholders like your_user, your_slot_name, and your_publication_name with your own values.
Using Triggers In PostgreSQL For CDC
Using triggers in PostgreSQL is a reliable method for extracting and monitoring data changes in real time for small-scale use cases. Triggers are activated when specific events such as INSERT, UPDATE, or DELETE occur on a table. This method enables you to monitor and analyze the changes in the PostgreSQL database effectively.
Here's how you can implement CDC with Triggers in PostgreSQL for extracting data:
3.1. Create A Dedicated Table For Change Records
The first step is to create a new table for storing the captured change data. To do this, use:
plaintextCREATE TABLE change_records (
    id SERIAL PRIMARY KEY,
    operation CHAR(1),
    table_name TEXT,
    row_data JSONB,
    changed_at TIMESTAMP NOT NULL DEFAULT NOW()
);
3.2. Create A Trigger Function
Next, create a trigger function that logs changes to the Change_Records Table.
plaintextCREATE OR REPLACE FUNCTION log_changes()
RETURNS TRIGGER AS $$
BEGIN
    IF (TG_OP = 'DELETE') THEN
        INSERT INTO change_records (operation, table_name, row_data)
        VALUES ('D', TG_TABLE_NAME, row_to_json(OLD));
        RETURN OLD;
    ELSIF (TG_OP = 'UPDATE') THEN
        INSERT INTO change_records (operation, table_name, row_data)
        VALUES ('U', TG_TABLE_NAME, row_to_json(NEW));
        RETURN NEW;
    ELSIF (TG_OP = 'INSERT') THEN
        INSERT INTO change_records (operation, table_name, row_data)
        VALUES ('I', TG_TABLE_NAME, row_to_json(NEW));
        RETURN NEW;
    END IF;
    RETURN NULL;
END;
3.3. Attach The Trigger Function To The Desired Table(s)
The trigger functions need to be attached to tables you want to monitor for changes.
plaintextCREATE TRIGGER log_changes_trigger
AFTER INSERT OR UPDATE OR DELETE ON your_table
FOR EACH ROW EXECUTE FUNCTION log_changes();
3.4. Query The Change_Records Table
Finally, to extract the change data, run the following query on the Change_Records table.
plaintextSELECT * FROM change_records ORDER BY changed_at;Extracting Data Using pgAdmin
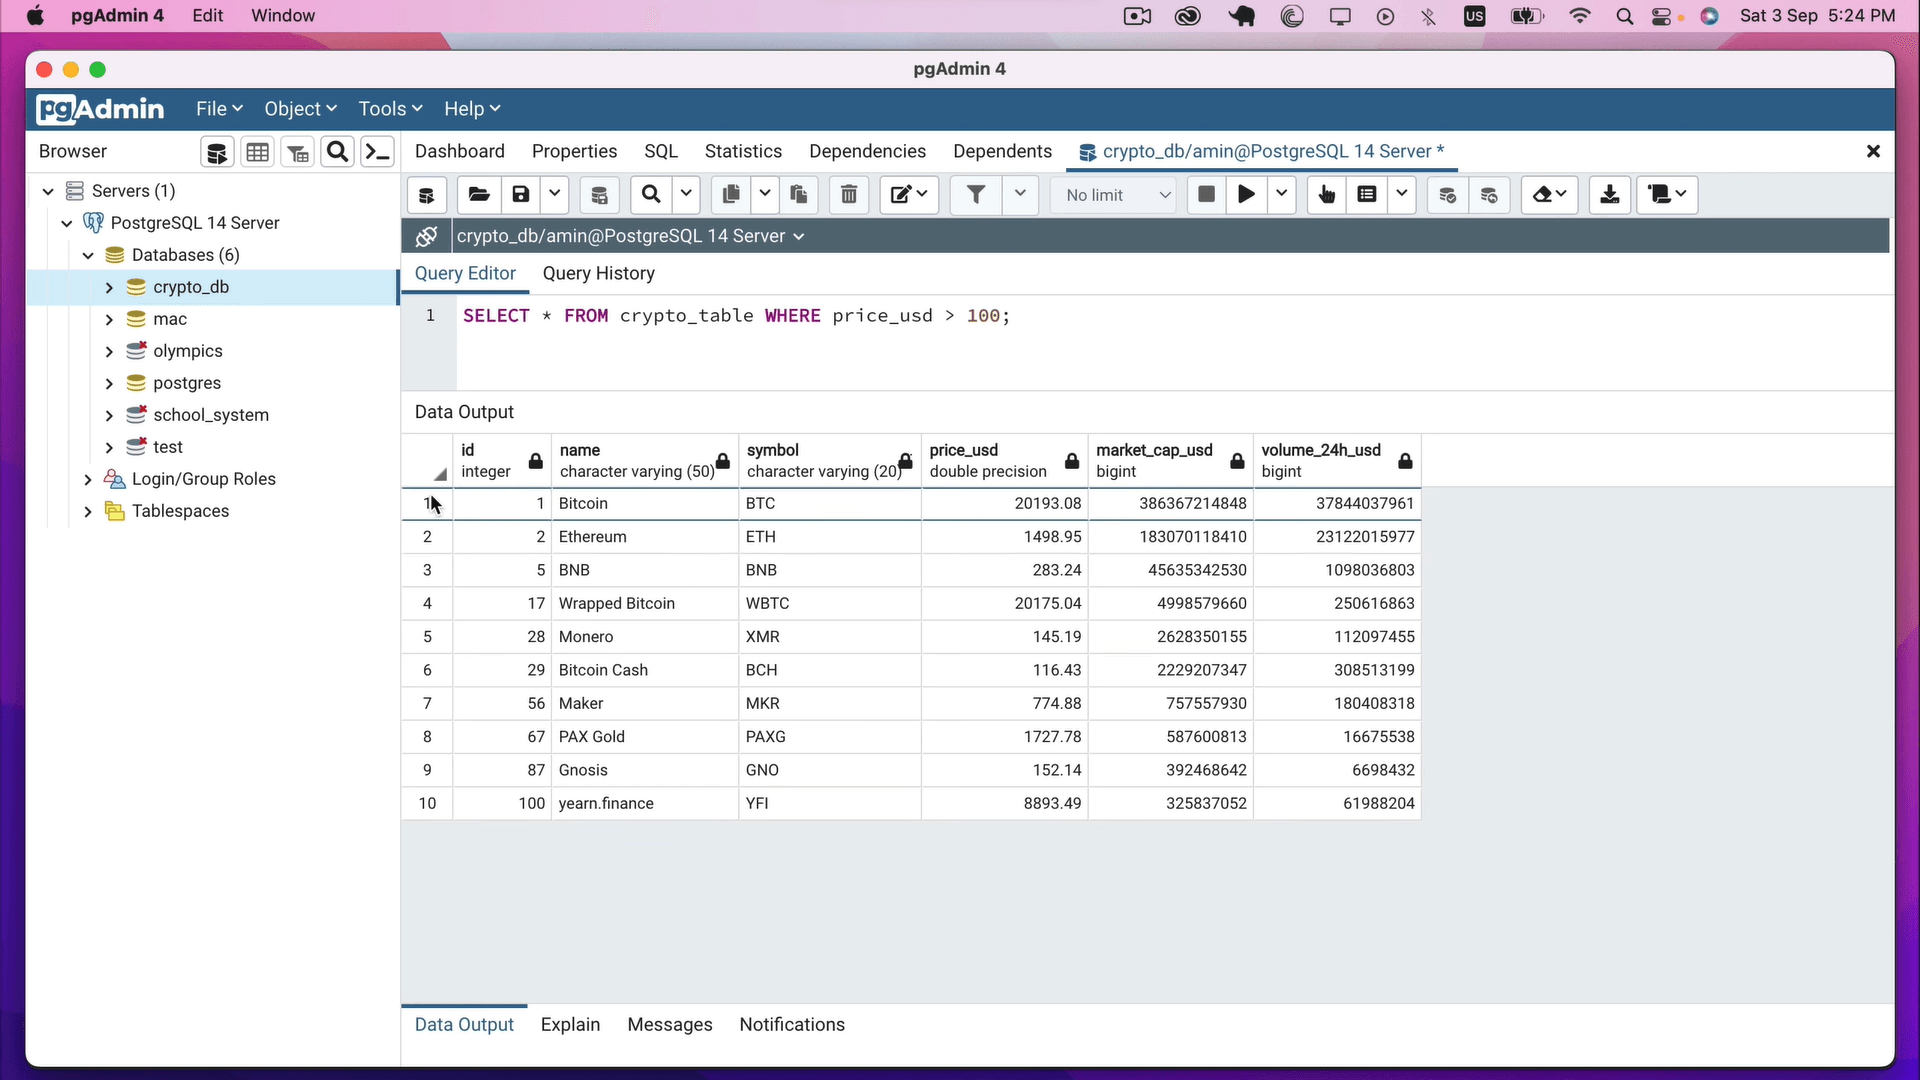
If you're looking to extract data from your PostgreSQL database, there's a widely acclaimed solution that stands out – pgAdmin. This powerful open-source PostgreSQL administration tool has gained great popularity for its seamless database management capabilities. With pgAdmin, you can easily navigate through your databases, tables, and data, simplifying the data extraction process to a great extent.
This is a useful option if you need to extract tables from Postgres once (not on an ongoing basis).
So let's see how to use it.
4.1. Connecting To PostgreSQL Server
Open pgAdmin and locate the server you want to connect to in the Object browser. Right-click on the server and select ‘Connect Server’. Enter the login credentials and click OK. When the connection is successful, you should see the server name in the Object browser.
4.2. Accessing Tables In The Server
Once connected to the server, you can access the tables by following these steps.
- Expand the Databases folder in the Object browser.
- Find the database that contains the table you want to extract data from and expand the schema that contains the table.
- Expand the Tables folder to see a list of all the tables in that schema.
- Locate the table you want to extract data from and right-click on it.
- Choose the option "View/Edit Data" and then click on the "All Rows" tab. This will open a new window that displays all the rows in the table.
4.3. Pulling Data From The Server
Follow these steps for pulling the data from the table.
- Select the rows you want to extract by clicking on the checkboxes next to each row. If you want to extract all the rows in the table, select the checkbox next to the "ID" column header to select all the rows.
- Click on the "Export" button at the top of the window. After clicking a new window will appear where you can choose the desired file format for exporting the data.
- Choose the format your destination database supports and click on the "OK" button. Name the file and save it.
Using psql Command-line Tool For Data Extraction
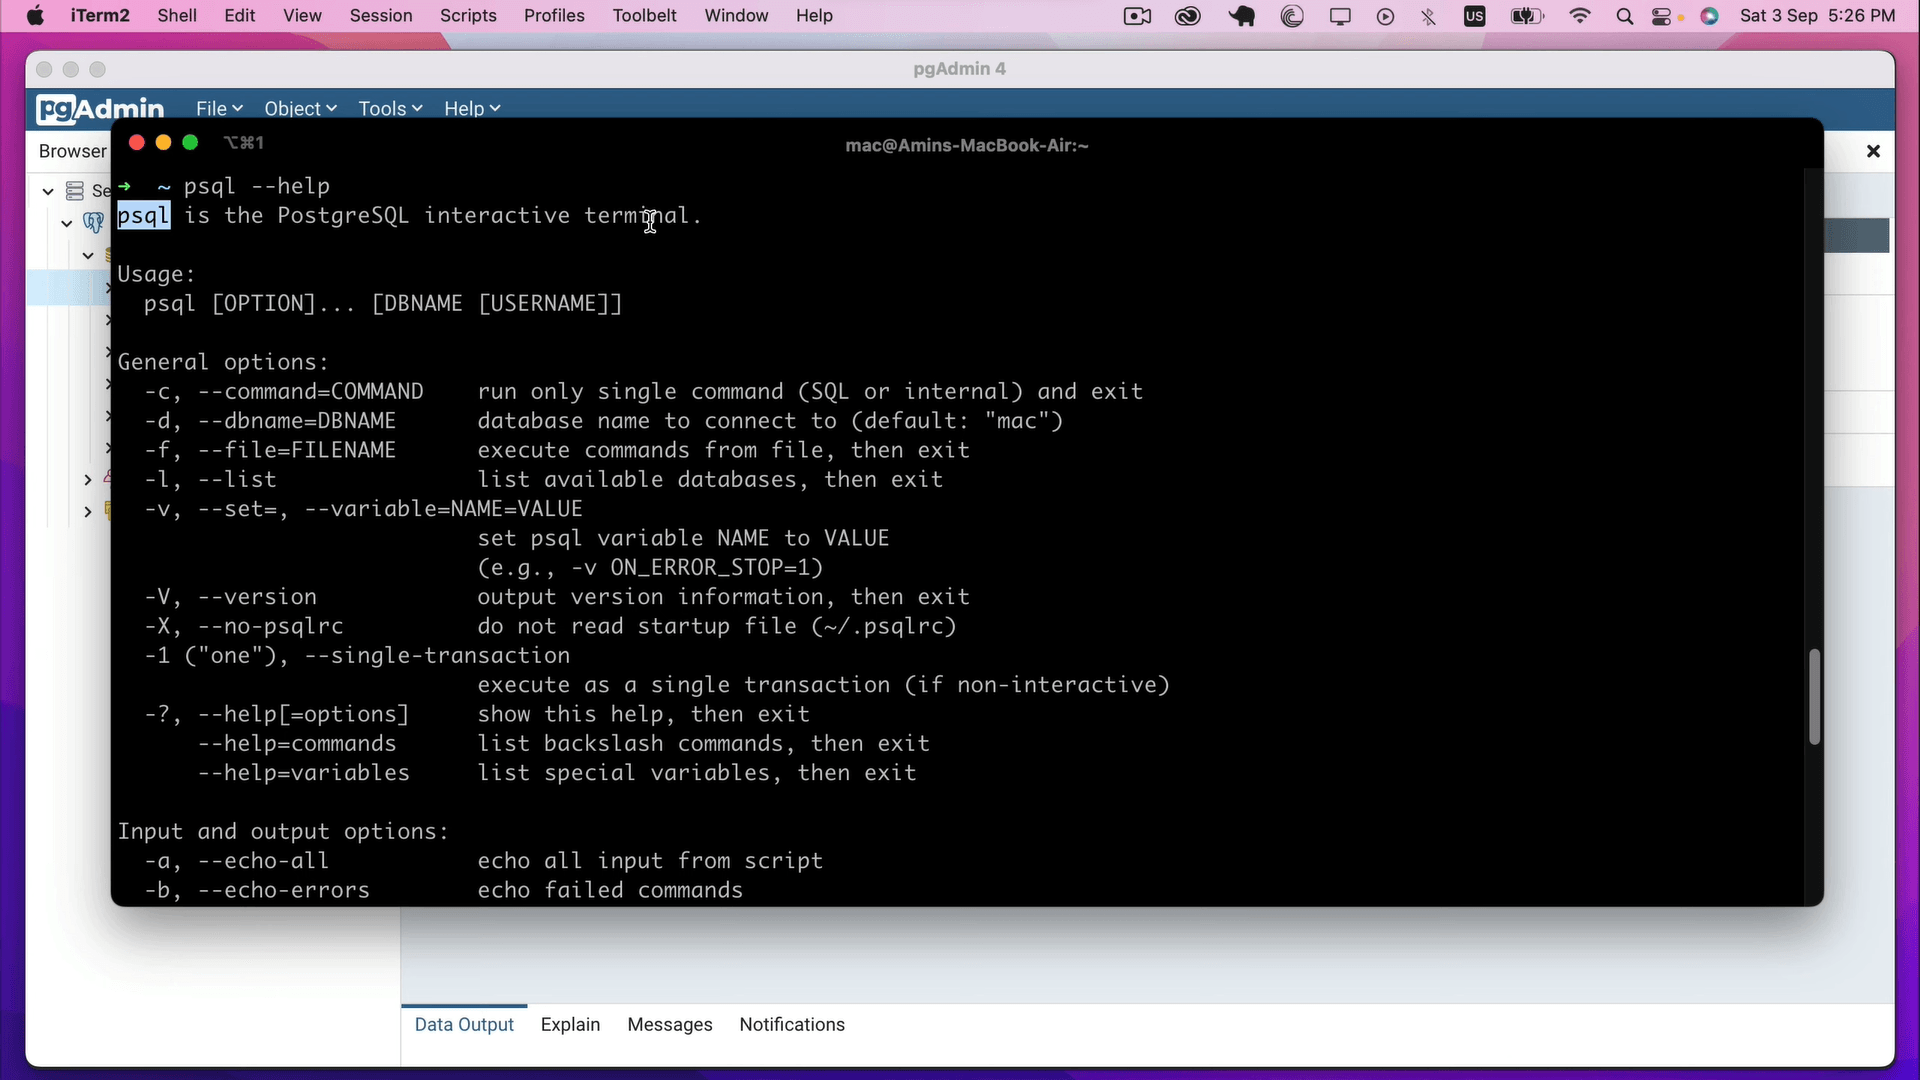
PostgreSQL also offers a command-line tool called psql using which you can interact with the PostgreSQL database from the command line. It’s an easy way to grab data using a SQL query. To get started with data extraction using psql, follow these simple steps:
5.1. Connecting To PostgreSQL Server
To connect to the PostgreSQL server using psql, provide the database credentials like username, password, hostname, and port number. Open your terminal or command prompt and type the following command:
plaintextpsql -U username -h hostname -p portnumber -d database_nameNote: Replace the username, hostname, port number, and database name with your database credentials.
5.2. Accessing Tables In The Server
Once you connect to the PostgreSQL server using psql, access the tables by using the following command which will display all the tables available in the connected database.
plaintext\dt5.3. Pulling Data From The Server
To pull data from the PostgreSQL server using psql, use the SELECT statement followed by the table name. Consider this for an example – to pull all the data from the "users" table, type the following command:
plaintextSELECT * FROM users;You can also filter the data using the WHERE clause. For instance, if you want to pull the data from the "users" table where the age is greater than 18, use the following command:
plaintextSELECT * FROM users WHERE age > 18;To sort the data in ascending or descending order, use the ORDER BY clause. So if you want to pull the data from the "users" table where the age is greater than 18 and order the result in descending order, type the following command:
plaintextSELECT * FROM users WHERE age > 18 ORDER BY age DESC;Using Python For PostgreSQL Data Extraction
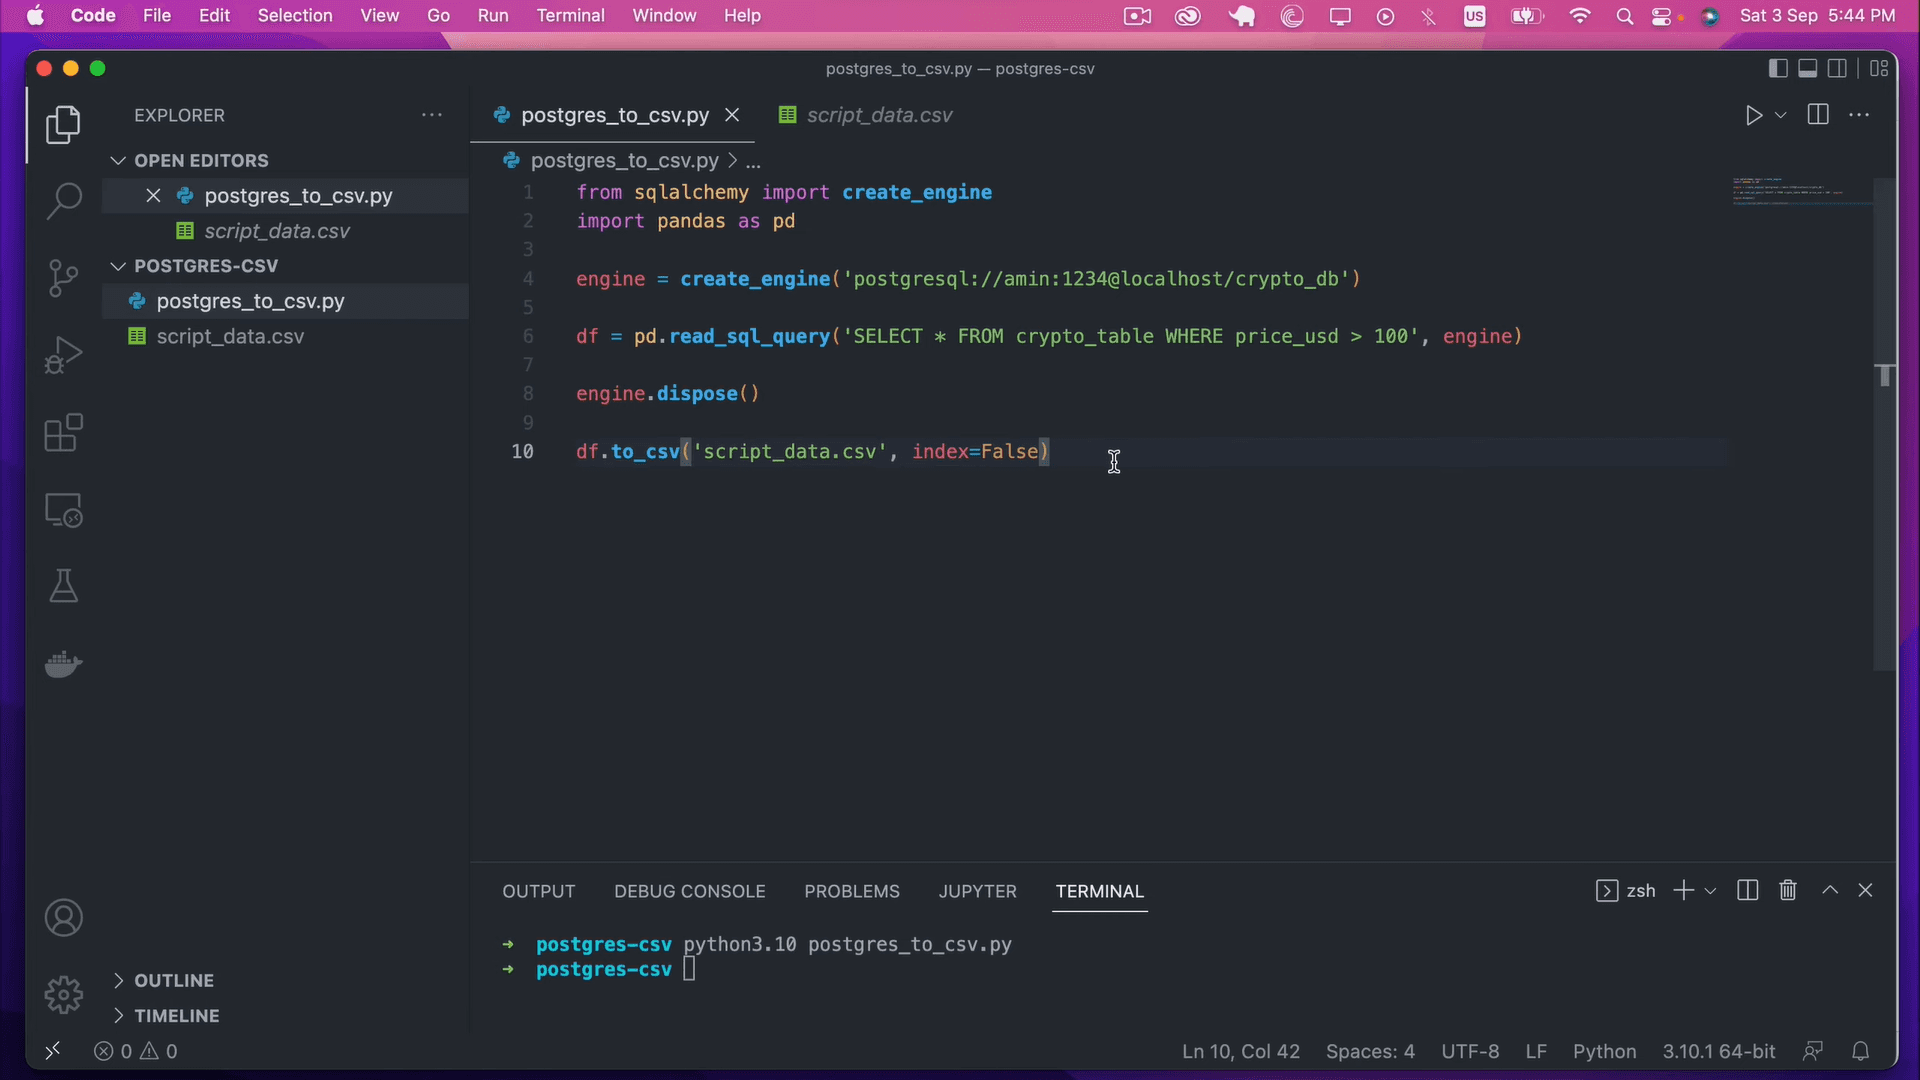
Python is a powerhouse when it comes to data analysis and manipulation because of its remarkable versatility and user-friendly nature. Its extensive libraries and rich ecosystem make it the perfect tool for extracting data from PostgreSQL databases.
Follow this step-by-step process to efficiently retrieve data from PostgreSQL using Python.
6.1. Connecting To PostgreSQL Server
To connect to a PostgreSQL server using Python, we need to first install the psycopg2 package. We can do this using pip, the Python package manager:
plaintextpip install psycopg2Once we have installed psycopg2, we can connect to a PostgreSQL server using the following code:
plaintextimport psycopg2
conn = psycopg2.connect(
    host="your_host_name",
    database="your_database_name",
    user="your_user_name",
    password="your_password"
)
Use the connect() method of psycopg2 in the above code to establish a connection to the PostgreSQL server. Provide the hostname, database name, user name, and password for the server to which you want to connect.
6.2. Accessing Tables In The Server
Once connected to a PostgreSQL server using Python, we can access the tables in the server using SQL queries. We can execute SQL queries using the cursor object we create from the connection object.
plaintextcur = conn.cursor()
cur.execute("SELECT * FROM your_table_name;")
rows = cur.fetchall()
In the above code, we create a cursor object from the connection object and then use the execute() method of the cursor object to execute an SQL query that selects all the rows from a table named "your_table_name".
We then use the fetchall() method of the cursor object to retrieve all the rows that were selected by the SQL query.
6.3. Pulling Data From The Server
Once we retrieve the rows from the server, we can manipulate the data using Python. For example, we can print the data to the console:
plaintextfor row in rows:
    print(row)
Here, we loop through the rows that we retrieved from the server and then print each row to the console.
We can also write the retrieved data to a file, such as a CSV file, using Python’s built-in CSV module:
plaintextimport csv
with open("output.csv", "w") as f:
    writer = csv.writer(f)
    writer.writerows(rows)
Here, we used the open() function to create a file named "output.csv" in write mode and then used the writerows() method of the csv.writer object to write the rows that we had retrieved from the server to the file.
You can then use With Python libraries such as Pandas and Numpy to easily transform and analyze the data retrieved from the server.
Conclusion
Extracting data from PostgreSQL is important for data management in organizations. With many tools and methods available, finding the perfect solution is quite tricky. The key to effective data capture lies in understanding your data requirements, using the appropriate tools, and having a solid strategy in place.
Our Estuary Flow platform can significantly simplify this process, allowing you to capture changes in real time and ensure data integrity and consistency. With Estuary, you can focus more on leveraging your data rather than managing it.
You can try Estuary Flow for free by signing up here or you can get in touch with our team to discuss your specific needs.
Explore PostgreSQL in depth and uncover its full range of capabilities with these essential insights.

About the author
With over 15 years in data engineering, a seasoned expert in driving growth for early-stage data companies, focusing on strategies that attract customers and users. Extensive writing provides insights to help companies scale efficiently and effectively in an evolving data landscape.


