Amazon SQS to Snowflake integration offers a robust combination of cloud-based storage and advanced data warehousing capabilities. This involves transferring message queue data from Amazon SQS, a highly scalable and reliable messaging service, to Snowflake, a comprehensive cloud data platform.
Migrating from Amazon SQS to Snowflake offers several benefits, including real-time data analysis, enhanced data query performance, reduced infrastructure complexity, and streamlined data pipelines.
This article will give you a brief overview of both platforms and show you how to transfer data from Amazon SQS to Snowflake effectively.
Amazon SQS Overview
Amazon Simple Queue Service (SQS) is a robust and easily manageable message queuing service provided by AWS, offering scalability and reliability for cloud applications. It facilitates the seamless transmission of large volumes of messages at varying throughput levels without loss, ensuring message integrity.
Amazon SQS operates as a crucial buffer between application components responsible for receiving data and those tasked with processing it within the system. This ensures that data can be collected at one end while being processed at another without the two processes impacting each other directly.
In cases of processing delays or challenges, SQS queues tasks, allowing processing servers to address them when resources are available. This mechanism ensures that work is never lost due to resource limitations. Among Amazon SQS’s strengths is at least once delivery, ensuring each message is delivered at least once, enhancing overall system reliability. SQS is particularly valuable for message-oriented architecture-based applications, contributing to the seamless data flow within a cloud environment.
Snowflake Overview
Snowflake is a cloud-based data warehousing solution that seamlessly integrates with various data sources for efficient data storage, integration, and analytics. It supports extensive structured and semi-structured data, allowing you to manage diverse data sets in a single platform. Snowflake’s streamlined approach makes it a practical choice when dealing with various data types.
Designed with a fine-tuned cloud-native architecture, Snowflake ensures compatibility across major cloud platforms like AWS, Azure, and Google Cloud. An additional benefit is Snowflake's elasticity, which allows it to dynamically scale computing resources to match workloads and optimize the utilization of resources.
Snowflake’s multi-cluster shared data architecture ensures concurrent data access by multiple users without compromising performance. It also facilitates secure data sharing, allowing organizations to share live data safely internally or with external partners.
2 Reliable Ways to Stream Amazon SQS to Snowflake
- Method 1: Using Estuary Flow to upload Amazon SQS to Snowflake
- Method 2: Using the manual method to upload Amazon SQS to Snowflake
Method 1: Using Estuary Flow to Upload Amazon SQS to Snowflake
Powerful data pipeline tools like Estuary Flow offer a seamless solution for uploading data from Amazon Simple Queue Service to Snowflake. With Flow, users can effortlessly configure data ingestion pipelines that fetch messages from SQS queues and load them directly into Snowflake tables. This streamlined process eliminates the need for manual intervention, ensuring efficient and timely data transfers.
Estuary Flow provides a user-friendly interface for designing and managing these pipelines, allowing users to specify data transformation rules, set up pipeline executions, and monitor performance metrics with ease. By leveraging the capabilities of Estuary Flow, organizations can optimize their data workflows and unlock the full potential of their Snowflake data warehouses.
Pre-requisites
Let’s look at what you’ll need to connect SQS to Snowflake using Flow:
Step 1: Configure Amazon SQS as the Source
- Sign in to your Estuary account and select the Sources option on the left-side pane of the dashboard.
- Click the + NEW CAPTURE button on the top left corner of the Sources page.
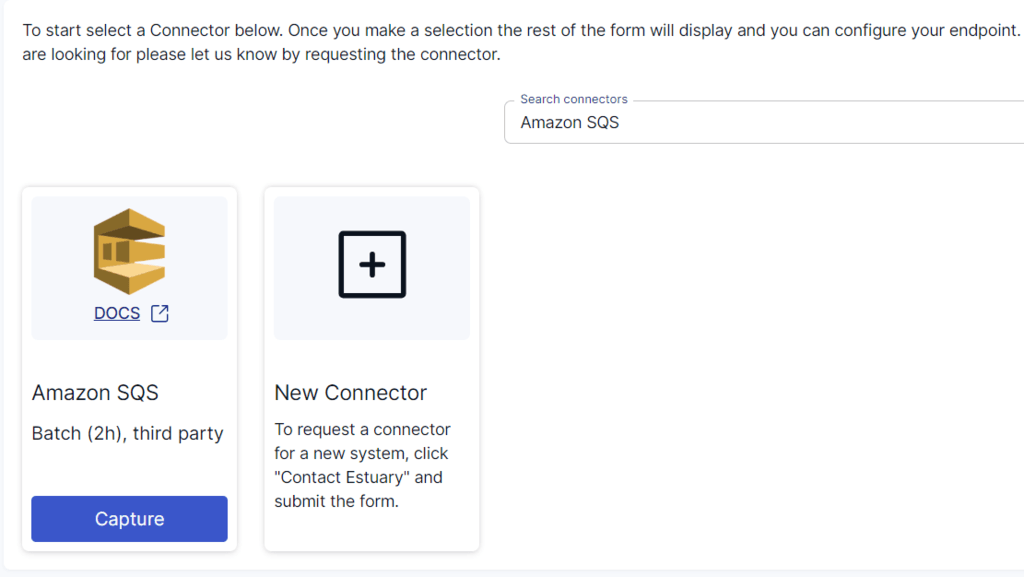
- Use the Search connectors field to search for the Amazon SQS connector. Click on the Capture button of the connector when it appears in the search results.
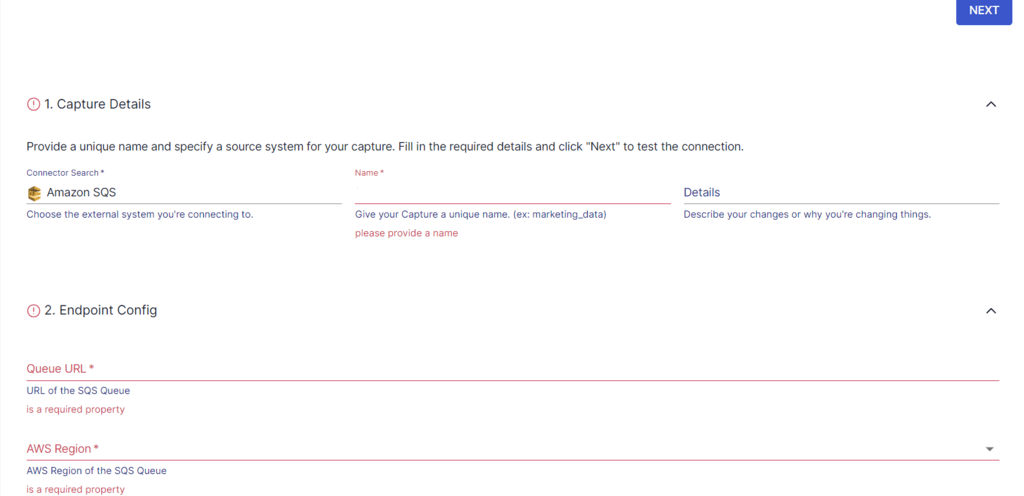
- On the Amazon SQS connector configuration page, fill in the mandatory fields. Provide a unique Name for the capture, Queue URL, and AWS Region, among others.
- Click on NEXT > SAVE AND PUBLISH. The connector will capture data from Amazon SQS into Flow collections.
Step 2: Configure Snowflake as the Destination
- The completion of a successful capture will result in a pop-up window with the relevant details. To proceed with setting up the destination, click on MATERIALIZE COLLECTIONS.
Alternatively, click on Destinations on the left-side pane of the dashboard, followed by + NEW MATERIALIZATION.
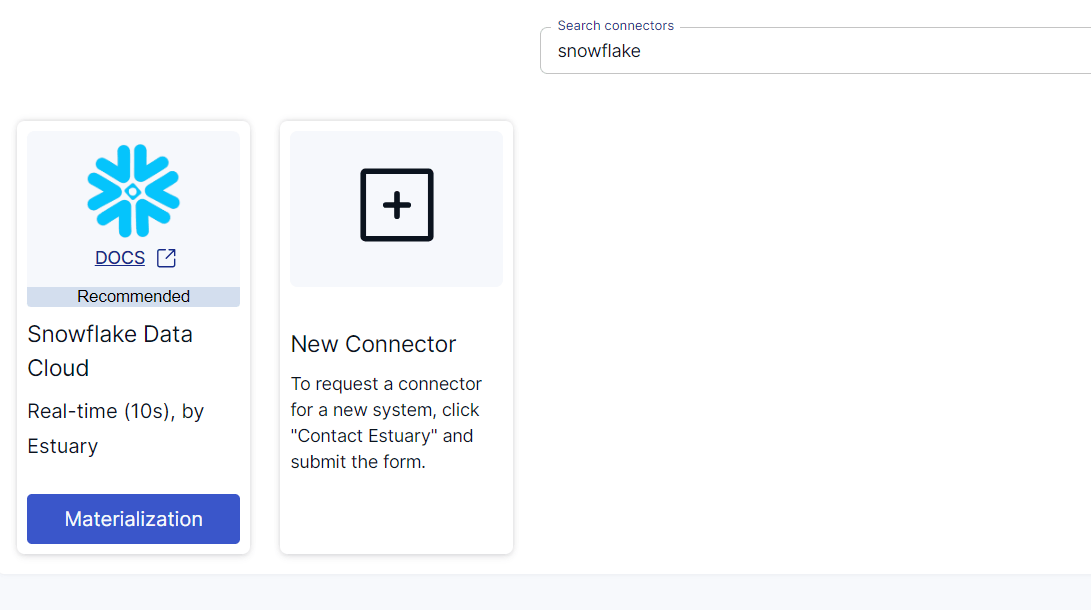
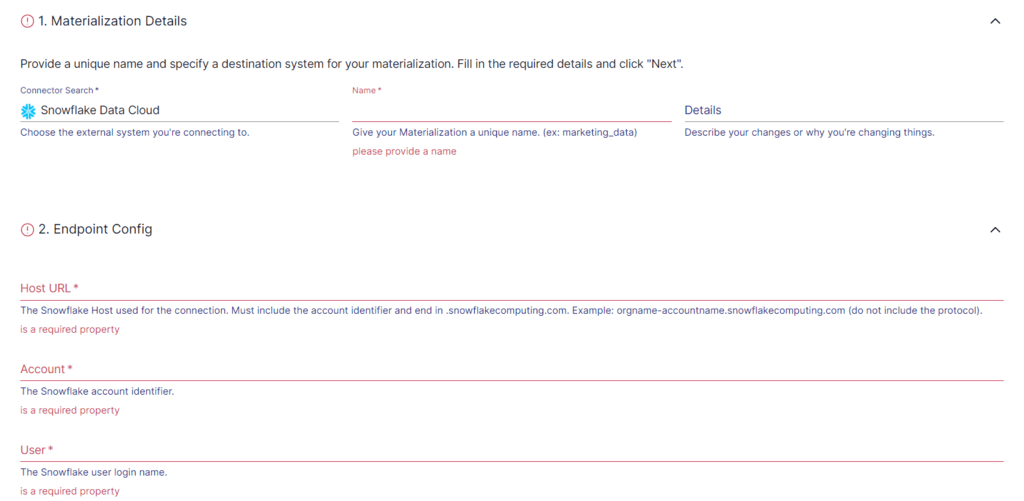
- Search for the Snowflake connector using the Search connectors field. Click on its Materialization button when you see it in the search result.
- You will be redirected to the Create Materialization page. Provide the relevant details, including a Name for the materialization, Host URL, Account, User, and Password, among others.
- Consider using the Source Collections section to select a capture to link to your materialization. This is handy if the collections from the capture weren’t automatically added to the materialization.
- Click on NEXT > SAVE AND PUBLISH. This will materialize Flow collections into tables in Snowflake.
Method 2: Using the Manual Method to Upload Amazon SQS to Snowflake
To manually transfer the data from Amazon SQS to Snowflake, begin by moving the data from Amazon SQS to S3 through a scheduled Lambda function. Then, transfer the data from S3 to Snowflake.
The Lambda function executes at predefined intervals, processing SQS messages generated within the specific time frame. It then utilizes API calls to initiate a multipart S3 upload.
Let’s dive into how you can establish a scheduled Lambda function to transfer data from Amazon SQS to Amazon S3.
Step 1: Sign in to the AWS Console and Configure the Execution Role
- Sign in to the AWS Console and navigate to the Lambda console.
- Choose Create a New Function. This step is to create an AWS Lambda function for extracting messages from the SQS queue.
- When configuring the execution role, opt for creating a new execution role that comes with Lambda permission.
- Utilize a blueprint consisting of pre-implemented code snippets serving as a prototype to illustrate user examples. Look for the “hello-world” blueprint using the search box and select it.
Step 2: Create a Function
- Click on Create a function and click on + Add trigger.
- In the trigger search menu, search for Cloudwatch events, which schedule the Lambda functions.
Step 3: Create a New Rule
- Choose Create a New rule.
- Set the rule type as scheduled expression, which takes a cron expression. Enter a valid cron expression aligning with your execution strategy.
- The Lambda function will include code for accessing SQS and performing a multipart upload to S3. It's essential to note that S3 requires multi-part uploads for single file uploads exceeding 500 MB.
- Activate the Lambda function by selecting Create a function. Once configured, AWS CloudWatch generates events based on the cron expression and schedules, and triggers the Lambda function.
Step 4: Create AWS IAM Policy
- In the AWS Console, navigate to IAM > Policies > Create Policy.
- Use the following code on the JSON tab.
plaintext{
"Version": "2012-10-17",
"Statement": [
{
"Effect": "Allow",
"Action": [
"s3:GetObject",
"s3:GetObjectVersion"
],
"Resource": "arn:aws:s3:::<bucket>/<prefix>/*"
},
{
"Effect": "Allow",
"Action": [
"s3:ListBucket",
"s3:GetBucketLocation"
],
"Resource": "arn:aws:s3:::<bucket>",
"Condition": {
"StringLike": {
"s3:prefix": [
"<prefix>/*"
]
}
}
}
]
}
Note: Change the <bucket> name and <prefix> accordingly.
- Enter the policy name as snowflake_access to create the policy.
Step 5: Create AWS IAM Role
- Navigate to Access Management > Roles > Create role.
- Select Trusted entity type > AWS account > Another AWS account.
- Enter a 12-digit Account ID and 4-digit External ID.
- Name the role as mysnowflakerole; attach the IAM policy created in the previous step.
- Find an Amazon Resources Name (ARN) on the summary page. It will look like this: arn:aws:iam::965746391279:role/mysnowflake
Step 6: Load Data into Snowflake
- Use the COPY INTO command to load data from S3 to Snowflake.
You can use the file format option, as shown in the following example:
plaintextcopy into abc_table
from s3://snowflakebucket/data/abc_files
credentials=(aws_key_id='$KEY_ID' aws_secret_key='$SECRET_KEY')   file_format = (type = csv field_delimiter = ',');
Alternatively, you can use the pattern matching option, as shown below:
plaintextcopy into abc_table
from s3://snowflakebucket/data/abc_files
credentials=(aws_key_id='$KEY_ID' aws_secret_key='$SECRET_KEY')   pattern='*test*.csv';
Step 7: Use Snowpipe for Automatic Data Loading
If you were to run the COPY INTO command every time to load a data set into a table, it could get time-consuming and effort-intensive. Instead, you can use automatic data loading using Snowpipe. This Snowflake feature automatically detects and ingests staged files when they’re available in the S3 buckets.
- First, create an integration object in Snowflake by running the following command:
plaintextCREATE STORAGE INTEGRATION S3_Snowflake
TYPE = EXTERNAL_STAGE
STORAGE_PROVIDER = S3
ENABLED = TRUE
STORAGE_AWS_ROLE_ARN = 'arn:aws:iam::965746391279:role/mysnowflake'
        # Plug in your own bucket name here
STORAGE_ALLOWED_LOCATIONS = ('s3://<bucket>/')
Note: You need to add your own 12-digit number in this string, from the previous step.
- Create an external Snowflake stage to extract data from S3 via Snowpipe.
Run the following code on your Snowflake worksheet:
plaintextcreate stage mystage
url = ‘s3://yourbucket/’
        # We created this in the previous step
storage_integration = S3_Snowflake; - Next, you need to create an auto-ingesting Snowpipe that will help with near-real-time data streaming. Here’s the code to run on the Snowflake worksheet:
plaintextcreate pipe S3_Snowflake auto_ingest=true as
copy into streaming_table
from @mystage
file_format = (type = 'CSV');- Finally, create an event notification on S3 to inform the Snowpipe when a new file is uploaded to the S3 bucket.
- On the S3 bucket, click Properties > Create Event Notification.
- Enter an appropriate name and choose All object create events.
- In the Destination section, choose SQS queue.
- Enter the SQS queue ARN, then click Save changes.
Limitations of the Manual Method
- The Lambda functions have a 15-minute execution limit and a practical memory limit of 3008 MB.
- While dealing with many SQS events, there is a risk of exceeding these constraints, leading to potential message drops.
- The manual method requires additional optimizations for large data files.
Challenges to Address:
Although data transfer from Amazon SQS to Snowflake brings forth several benefits, you must also be aware of potential challenges that may arise during the process. Some include:
- Latency Concerns: Your chosen data transfer method may introduce latency due to network delays or processing times, impacting real-time applications. To mitigate this, you can optimize transfer protocols and consider asynchronous processes for smoother and more responsive data transfer.
- Resource Limitations: Manual methods or serverless architectures face constraints like execution time limits, potentially disrupting the data transfer. You can address this challenge by optimizing code efficiency, breaking down large transfers, and selecting infrastructure aligned with resource requirements.
- Error Handling and Data Consistency: Unexpected errors during data transfer, such as message drops, can compromise data consistency. You must develop a robust error-handling mechanism, implement data validation checks, and consider transactional approaches to maintain data integrity.
In Summary
Integrating Amazon SQS to Snowflake provides you with a powerful solution for cloud-based storage and modern data warehousing. Using SQS’s scalability and cost-effectiveness alongside Snowflake’s advanced analytics features enables you to store and analyze various data types efficiently.
There are two methods you can use for loading Amazon SQS to Snowflake. The use of AWS Lambda function coupled with Snowpipe is reliable, but it has drawbacks such as being complex, time-consuming, and effort-intensive.
Estuary Flow provides you with an efficient and user-friendly approach for data transfer from Amazon SQS to Snowflake. With an intuitive interface, 200+ readily-available connectors, and real-time streaming capabilities, Flow is a fully managed solution that simplifies traditionally complex data integration tasks.
Try Flow for free by signing up now. Whether you want to move your data from SQS to Snowflake, SQS to Redshift, or simply from S3 to Snowflake, Estuary Flow provides an intuitive platform to help you build robust data pipelines.
FAQs
What is Amazon SQS used for?
Amazon Web Services offers a simple queue service called Amazon SQS that allows you to send, store, and receive messages between various software components, regardless of volume.
Is Amazon SQS similar to Kafka?
Apache Kafka and Amazon SQS are both messaging systems designed for efficient asynchronous communication and can handle large volumes of messages. Their main difference lies in the complexity of the setup. Amazon SQS adopts a fully managed approach, while Kafka requires manual configuration.
Is Snowflake an ETL tool?
No, Snowflake is not an ETL tool. It is primarily a cloud-based data warehousing service.

About the author
With over 15 years in data engineering, a seasoned expert in driving growth for early-stage data companies, focusing on strategies that attract customers and users. Extensive writing provides insights to help companies scale efficiently and effectively in an evolving data landscape.


