Migrating databases is an important step when you aim to improve your data handling capabilities and ensure scalability. While PostgreSQL has been a preferred choice for many, growing organizations often require more advanced solutions to handle increased data volumes and complex workloads. This is why migrating from PostgreSQL to AlloyDB has become a novel approach for scaling businesses.
An AlloyDB Postgres integration can help enhance data management and analytical capabilities. This serves as a strategic solution if you seek to modernize your application and require faster query performance. There’s also the added benefit of automatic scaling to efficiently manage fluctuating workloads without manual intervention.
In this guide, we will look at two different approaches to migrating to AlloyDB from Postgres. We’ve prepared step-by-step tutorials, so there is no need to worry about being overwhelmed; all you need to do is decide which method best suits your needs!
Introduction to PostgreSQL
PostgreSQL, also known as Postgres, is an open-source object-relational database management system. It is designed to handle a range of workloads, from single machines to data warehouses or web services.
Among the many benefits of Postgres is its extensibility. You can create your own data types and custom functions and write code from different programming languages without recompiling your database. Additionally, PostgreSQL supports advanced data types and performance optimization features. This makes it suitable for storing and querying complex data structures.
Although Postgres aligns with SQL standards, it is highly customizable. It supports stored procedures in various programming languages, including Python, Java, C, C++, and its own PL/pgSQL, which is similar to Oracle’s PL/SQL.
Postgres is designed to help developers develop applications, empower administrators to ensure data integrity, and create fault-tolerant environments. Whether your data set is large or small, PostgreSQL has high scalability for effective data management.
What Is AlloyDB?
AlloyDB is a fully managed PostgreSQL-compatible database service developed by Google Cloud. It combines the versatility of PostgreSQL with enhancements for performance, scalability, and availability. This makes it suitable for a wide range of applications, including large-scale analytical workloads and traditional transactional databases.
Google’s AlloyDB offers significant performance improvements over standard PostgreSQL, especially for complex queries and high-concurrency workloads. This is primarily because of the AlloyDB architecture, which separates compute and storage, allowing each to scale independently.
Connecting to AlloyDB is straightforward for applications with standard PostgreSQL protocols and techniques. Once connected, the application interacts with the database using familiar PostgreSQL query syntax.
Beneath the surface, AlloyDB employs a cloud-based hierarchy of components to enhance data availability and optimize query performance. Google Cloud provides administrative tools, allowing you to monitor the health of your AlloyDB deployment and adjust its scale and size to match the evolving demands of your workload.
Reliable Methods for AlloyDB Postgres Integration
You can migrate your data from PostgreSQL to AlloyDB using any of the following methods:
- The Automated Way: Using SaaS Tools Like Estuary Flow for AlloyDB Postgres Integration
- The Manual Approach: Using Database Migration Service for AlloyDB Postgres Integration
The Automated Way: Using Estuary Flow for AlloyDB Postgres Integration
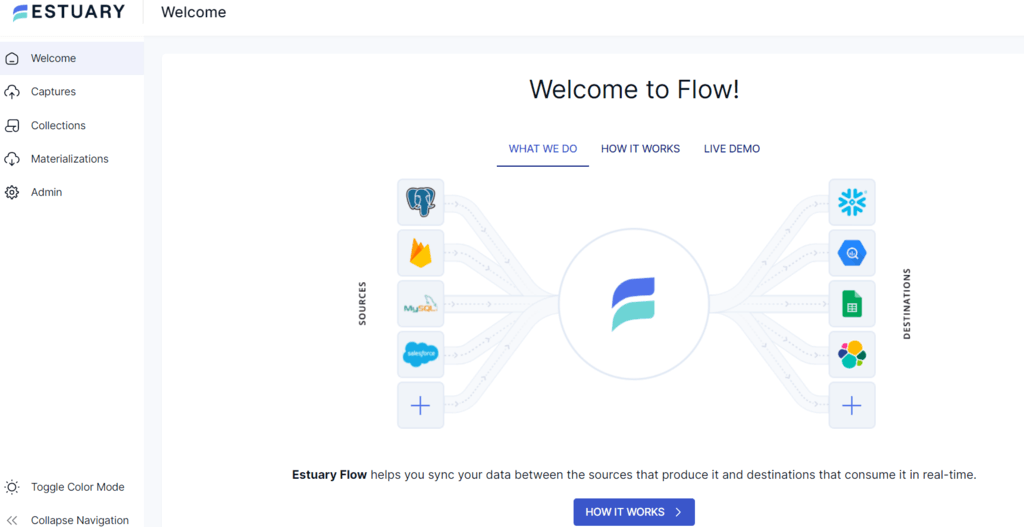
Estuary Flow is an efficient real-time integration tool that offers improved scalability, reliability, and integration capabilities. You can use Flow to transfer data from PostgreSQL to AlloyDB in just a few clicks and without in-depth technical expertise.
Whether you are new to Estuary Flow or a regular user of the platform, follow this simple step-by-step process to easily migrate PostgreSQL to AlloyDB.
Prerequisites
Before you get started, make sure you’ve read through the prerequisites for these platforms below. You’ll also need an Estuary account (which is free and only takes a few clicks!).
Step 1: Configure PostgreSQL as the Source Connector
- After signing in to your Estuary account, click on the Sources option on the left-side pane of the dashboard.
- Next, click the + NEW CAPTURE button on the top left corner of the Sources page.
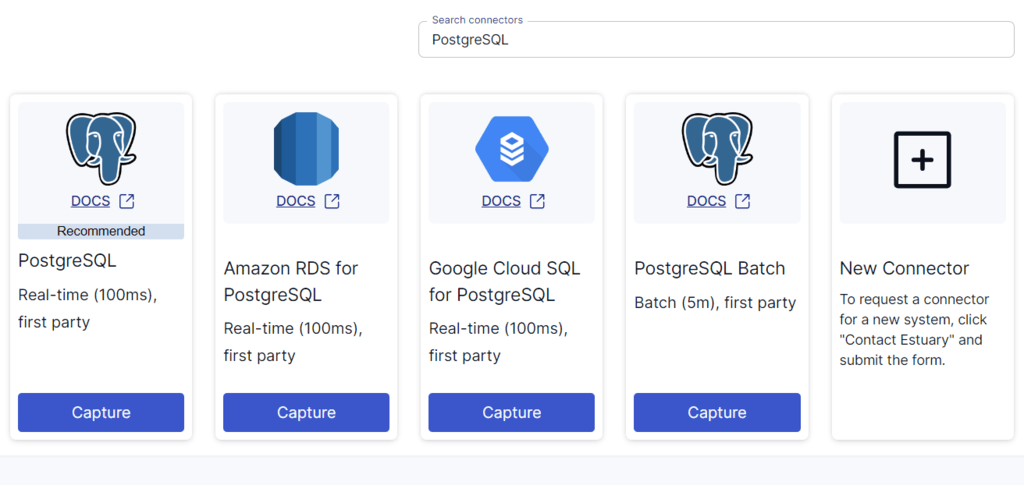
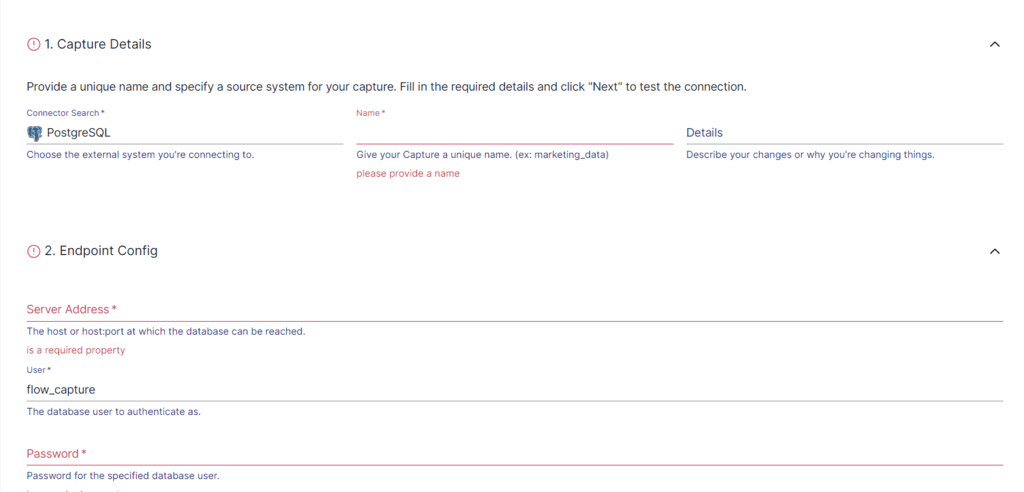
- Use the Search connectors field to search for the PostgreSQL connector. When you see the connector in the search results, click on its Capture button.
- You will be redirected to the PostgreSQL connector configuration page. Fill in the required details, including a Name for the capture, Server Address, and Password.
- After providing the details, click on NEXT > SAVE AND PUBLISH. The connector will use Change Data Capture (CDC) to continuously capture updates in the Postgres database into one or more Flow collections.
Step 2: Configure AlloyDB as the Destination
- After configuring the data source, you will see a pop-up with the capture details. To proceed with setting up the destination end of the pipeline, click on the MATERIALIZE COLLECTIONS option.
Alternatively, you can navigate back to the dashboard and select Destinations > + NEW MATERIALIZATION.
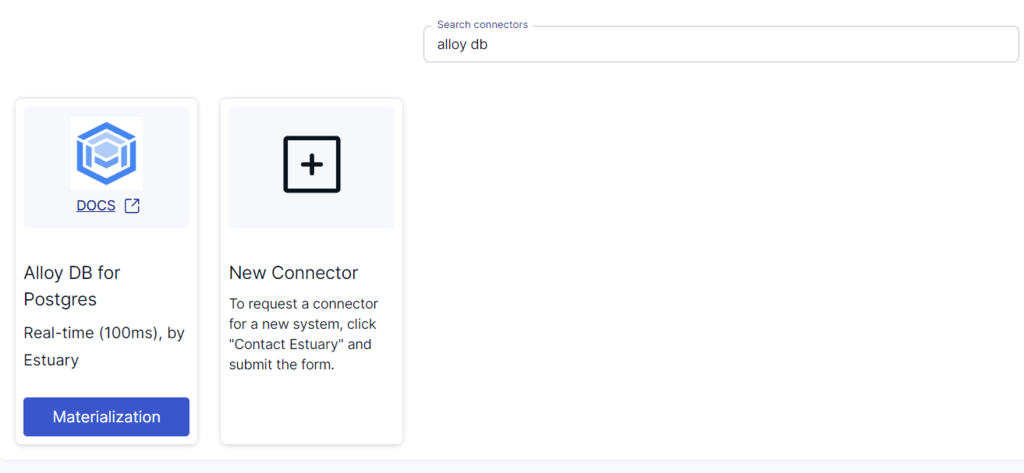
- Search for the Alloy DB connector and click its Materialization button when you see it in the search results.
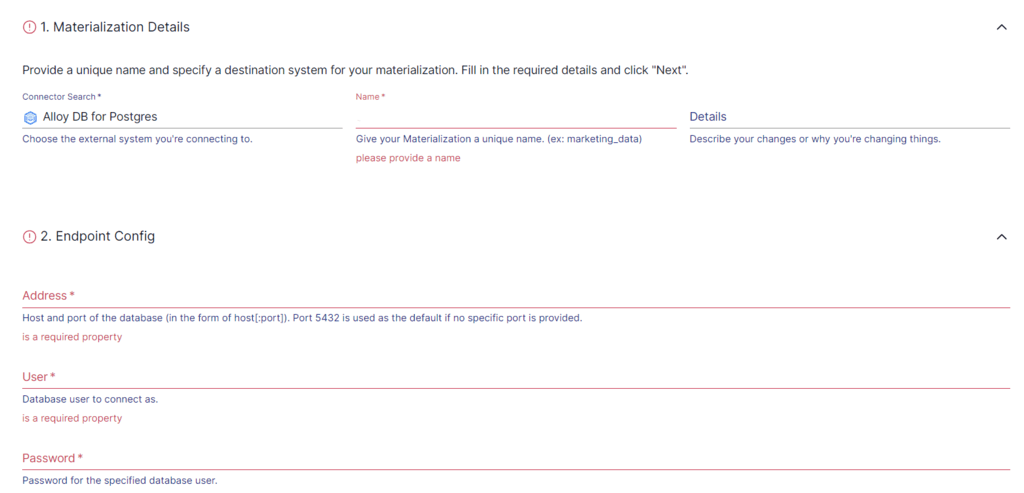
- You will be redirected to the Create Materialization page, where you must provide all the relevant details, such as the Address, User, and Password, among others.
- While collections added to your capture will automatically be added to your materialization, you can use the Source Collections section to select a capture to link to your materialization.
- Then, click on NEXT > SAVE AND PUBLISH. The connector will materialize Flow collections into AlloyDB tables, completing the AlloyDB Postgres integration.
Key Benefits of Using Estuary Flow
- No-Code Configuration: You do not need prior knowledge of coding for data extraction and loading when using Estuary Flow. There are about 200+ readily available source and destination connectors that you can effortlessly configure for your data integration pipeline.
- Resource Optimization: By streamlining data management, it helps in the efficient allocation of resources. This makes the work of developers easier as they can now focus on interpreting results.
- Transformations: Estuary Flow supports both batch and streaming transforms, and the ability to use TypeScript and SQL for any type of batch or streaming compute.
- Scalability: Estuary Flow is designed for seamless horizontal scalability to accommodate fluctuating data volumes and workloads. It can power active workloads at 7 GB/s from any size database.
The Manual Approach: Using Database Migration Service for AlloyDB Postgres Integration
Let’s look into another method that you can use for migrating data from PostgreSQL to AlloyDB. Here are the basic steps required for manual migration:
Step 1: Set Up the Google Cloud Project and Enable APIs
- Access the Google Cloud console and select or create a project. Confirm if billing is enabled.
- Enable the Database Migration Service API.
- Ensure your user account has the Database Migration Admin role.
Step 2: Define the Connection Profile
- Navigate to the database migration service connection profile page.
- Click CREATE PROFILE.
- Choose PostgreSQL as the source database engine.
- Enter the Connection profile name (for instance, pg14-source).
- Enter the connection page details, including Hostname, Port, Username, and Password.
- Select a region in the Connection profile region to save this connection profile, and click CREATE.
Step 3: Create a Migration Job
- Go to the database migration service migration job page.
- Click CREATE MIGRATION JOB.
- Set a name in the Migration job name field, and choose AlloyDB for PostgreSQL as the destination engine.
- Select the destination region and set the Migration job type to Continuous.
- Review and save generated prerequisites; click SAVE & CONTINUE.
Step 4: Configure Source Connection Profile
- Select a connection profile from the Select source connection profile list.
- Click SAVE & CONTINUE.
Step 5: Create a Destination AlloyDB Cluster
- Choose the cluster type and configure the cluster details.
- Configure the primary instance, specifying an Instance ID, machine type, and optional flags.
- Click SAVE & CONTINUE > CREATE DESTINATION & CONTINUE, and wait for the destination instance creation.
Step 6: Set Up Connectivity
- Choose VPC peering as the networking method from the Connectivity method drop-down list.
- Review your source database VPC network.
- Click CONFIGURE & CONTINUE and complete the connection profile configuration.
Step 7: Test and Create the Migration Job
- Review the migration job setting.
- Click TEST JOB to ensure the configuration is correct.
- If the test passes, click CREATE & START JOB to start the migration.
Step 8: Verify the Migration Job
- Navigate to the AlloyDB Clusters page in the Google Cloud console.
- Locate the read replica entry associated with your migration job.
- Click the Activate cloud shell icon in the page’s upper right region.
- Click Authorize in the Authorize Cloud Shell dialog box, if it appears.
- At the Enter password prompt, provide the password you set or that database migration service generated during the creation of the Alloy DB instances.
- For the postgres prompt, enter \list to list the databases. Confirm that you see your source database instance listed.
- Also enter \connect SOURCE_DB_NAME on the postgres prompt. The prompt will change from postgres to SOURCE_DB_NAME.
- On the SOURCE_DB_NAME prompt, enter \dt to view the tables associated with the instance.
- Grant the necessary permission by entering GRANT alloybexternalsync to USER; at the SOURCE_DB_NAME prompt.
- Enter SELECT * from TABLE_NAME; at the SOURCE_DB_NAME prompt to see the replicated information from a table in your source database instance.
- Confirm that the displayed information matches the correct data in the table.
Step 10: Promote the Migration Job
- Return to the Migration jobs page, select the migration job you want to promote and wait for the replication delay to approach zero.
- Click PROMOTE to promote the migration job and get your new AlloyDB instance ready to use.
You can also read more about this migration process here.
Drawbacks Associated With Using the Database Migration Service for AlloyDB Postgres Connection
Here are the main drawbacks associated with using DMS for the AlloyDB Postgres migration.
- Database migration service does not support read replicas that are in recovery mode.
- You can only migrate the extensions and procedural languages that AlloyDB supports for PostgreSQL.
- Databases created after the migration job has begun do not get migrated.
- If an encrypted database requires customer-managed encryption keys to decrypt the databases and the database migration does not have access to those keys, then the database is not migrated.
- Up to 2000 connection profiles and 1000 migration jobs can exist at any given time. These resource limitations within the service could impact large-scale migrations or organizations that manage numerous migrations simultaneously.
Conclusion
Migrating data from PostgreSQL to AlloyDB offers multiple benefits if you want to scale your database solutions and enhance performance. You can opt for Google’s Database Migration Service to execute this migration. While this method comes with challenges around compatibility and encryption, it is a reliable method to manually migrate data from Postgres to AlloyDB.
SaaS tools like Estuary Flow can help overcome common hurdles for a streamlined AlloyDB Postgres integration. Efficiency, scalability, CDC, and a rich set of connectors make Estuary Flow an impressive choice for your real-time data integration needs. Consider this no-code data migration platform to seamlessly and securely transfer your data.
Do you want to migrate data between some other source-destination set? Sign up for Estuary Flow today and get started; we’ve got you covered!

About the author
With over 15 years in data engineering, a seasoned expert in driving growth for early-stage data companies, focusing on strategies that attract customers and users. Extensive writing provides insights to help companies scale efficiently and effectively in an evolving data landscape.


