Moving your data from Notion, a productivity software, into Snowflake, a cloud-based data warehouse platform, establishes a robust data management solution. You can use Snowflake’s sophisticated data analytics features to conduct complex queries and comprehensively analyze your Notion data. This enables the extraction of valuable data insights, streamlining business processes, and enhancing decision-making.
Whether you’re looking for impressive scalability, advanced analytics, or integration with BI platforms, Snowflake has it all. Migrating your data from Notion to Snowflake could be exactly what your business needs for optimal operational efficiency.
In this post, we’ll explore the most reliable ways to migrate Notion data to Snowflake. Let’s dive in!
Notion — The Source
Notion is an all-in-one workspace application that enables you to build, customize, and connect your workspaces better. It is a centralized data capture platform with functions to connect, structure, organize, and visualize data. You can collaborate with teams of any size and use Notion as the central access source. Notion’s architecture is designed to arrange data into movable blocks; these blocks consist of pages, pages are structured within databases, and database views make the data accessible.
Key Features of Notion
- Collaborative Functionality: Notion facilitates various collaborative features, such as inviting team members to your workspace, assigning tasks, and leaving comments and mentions.
- Advanced Editing: Notion lets you personalize content using advanced editing functionalities, including code blocks, mathematical equations, and embedded files.
- API Integration: Notion offers API access for developers to integrate custom applications and services effortlessly.
- Mobile Application: With its mobile application, Notion ensures accessibility to your workspace while on the move. The app presents a user-friendly interface, allowing for page and block creation, editing, and team collaboration from any location.
Snowflake — The Destination
Snowflake is a cloud-based data warehousing platform that functions as a fully managed service with leading cloud providers like AWS, Azure, and Google Cloud. This strategic positioning enables Snowflake to use these cloud providers' robust and scalable infrastructure.
Snowflake’s architecture is organized into three layers—storage, computing, and cloud service—each possessing independent scalability. This unique feature allows for separate storage and compute components scaling, ensuring efficient resource utilization.
Key Features of Snowflake
- Data-sharing Capabilities: Snowflake introduces innovative capabilities, facilitating secure and efficient live, up-to-date sharing among internal teams and external partners. This collaborative environment fosters enhanced insights and informed decision-making.
- Scalability: Snowflake exhibits remarkable scaling capabilities to accommodate evolving data requirements. Its scalability feature guarantees that outcomes consistently align with your needs.
- Zero-copy Cloning: Snowflake’s zero-copy cloning feature enables data creation, testing, and deployment without impacting storage or performance. This feature enhances agility in developing new features, conducting experiments, or troubleshooting issues.
- Integration and Compatibility: Snowflake effortlessly connects with various popular BI, ETL, and data visualization tools. Its cloud-native architecture integrates with cloud providers such as Azure, AWS, or GCS.
How to Move Data From Notion to Snowflake
The two easiest ways to achieve Notion to Snowflake integration:
- The Automated Method: Use Estuary Flow to Connect Notion and Snowflake
- The Manual Approach: Use Custom Code for Notion to Snowflake Integration
The Automated Method: Use Estuary Flow to Connect Notion and Snowflake
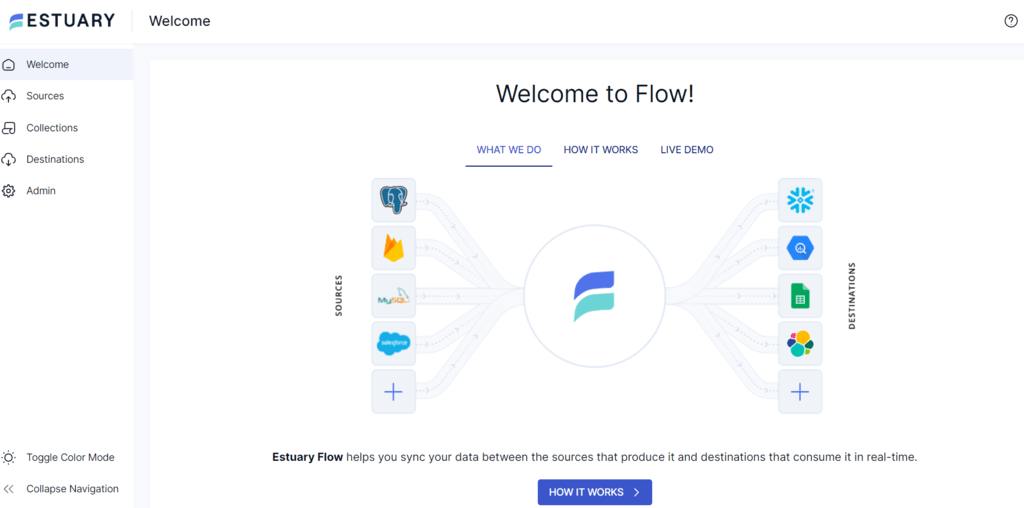
Cloud-based extract, transform, load (ETL) solutions like Estuary Flow empower you to streamline the data integration process and processing workflows to unlock the full potential of your data. It can also simplify connecting Notion to Snowflake to transfer your data in near real-time. How does it work, you may ask? Let’s look at what advantages Flow provides if you’re looking to set up ultra-efficient workflows.
Benefits of Estuary Flow
- Comprehensive Library of Connectors: Estuary Flow has an extensive collection of 200+ pre-built connectors, offering a wide range of options for integrating data from diverse sources to the desired destination. With these connectors, you can effortlessly move data without writing any code.
- Data Cleansing Capabilities: Flow facilitates data cleansing during the transformation process, allowing you to clean, filter, and validate data. Using techniques like change data capture (CDC), Estuary Flow ensures it captures only the up-to-date data. Also, by using streaming SQL and Javascript, you can seamlessly shape your data as it flows.
- Minimal Technical Skill Requirements: Flow simplifies the migration process between Notion and Snowflake, requiring just a few clicks. As a result, individuals with varying experience levels can effectively use this tool to carry out the task, eliminating the need for extensive technical knowledge.
Now, let’s go through the step-by-step guide to using Estuary Flow for migration from Notion to Snowflake. First, sign up for a free Estuary account!
Prerequisites
Step 1: Configure Notion as the Source Connector
- Sign in to your Estuary Flow account, and you will be redirected to the dashboard.
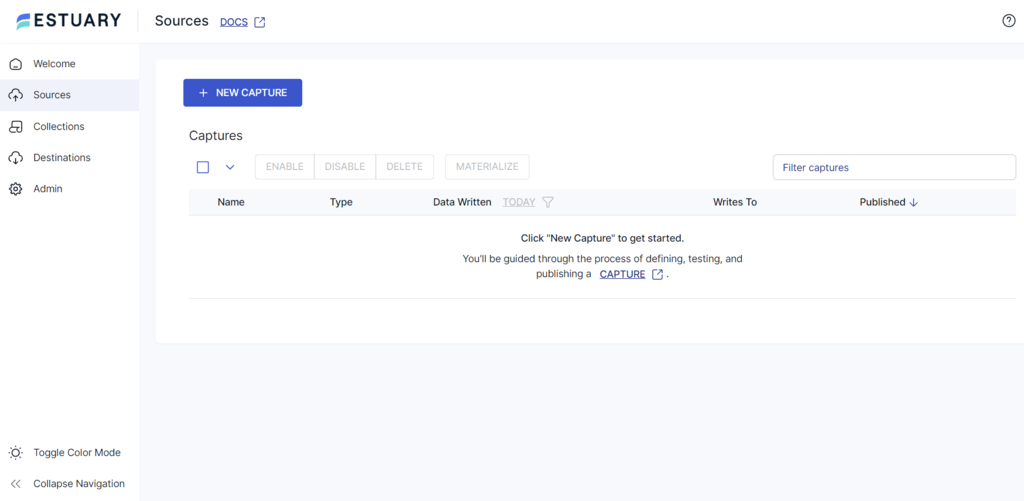
- To start configuring Notion as the source on Estuary Flow, click the Sources option on the left navigation pane.
- Click the + NEW CAPTURE button at the top of the Sources page.
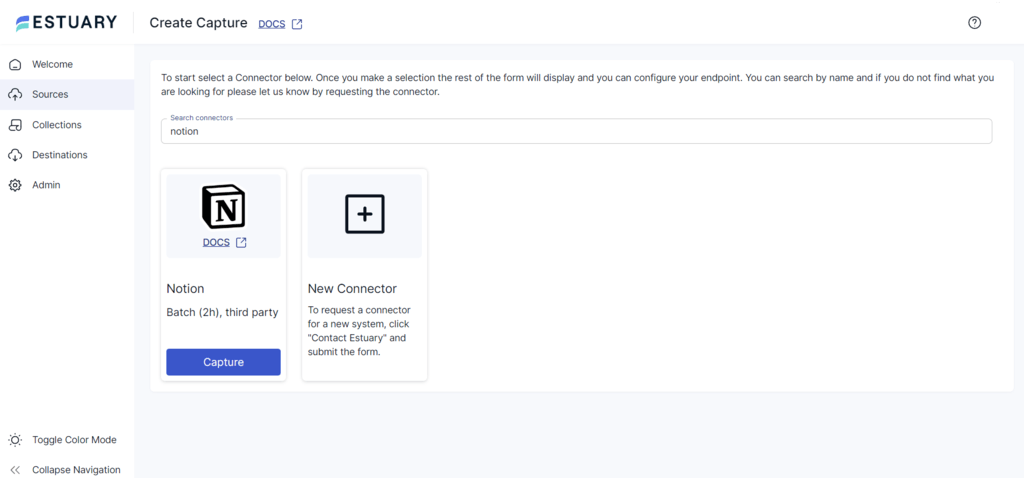
- Type Notion in the Search connectors field to see the list of available connectors, then click the Capture button of the Notion connector.
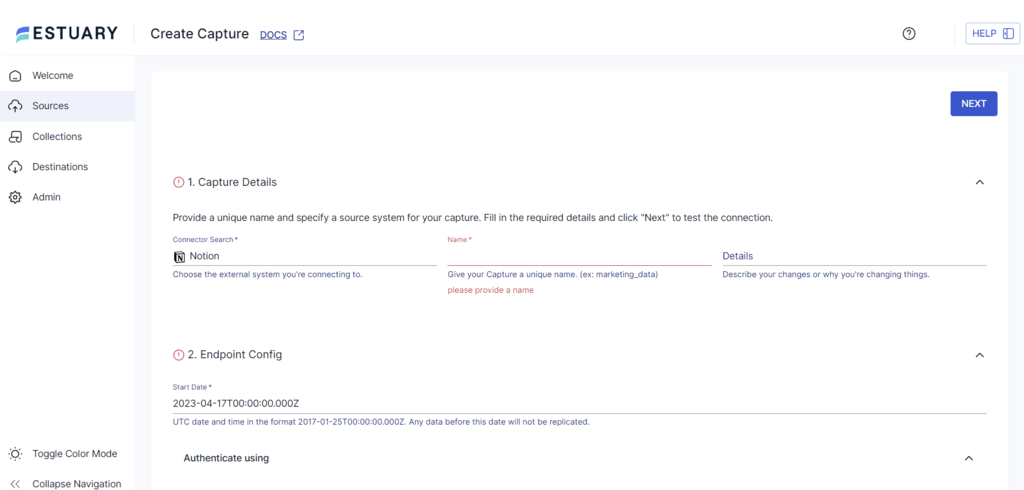
- On the Create Capture page, provide a unique Name for the capture and a Start Date. Then, authenticate your Notion account using OAUTH 2.0 or the ACCESS TOKEN option.
- Click NEXT > SAVE AND PUBLISH. The connector will capture data from Notion into Flow collections via the Notion API.
Step 2: Configure Snowflake as the Destination Connector
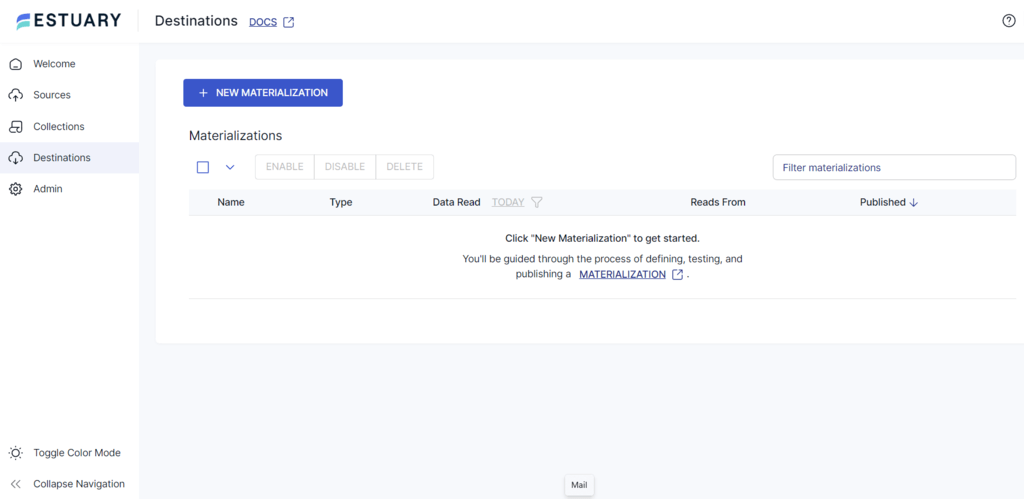
- Click the Destinations option on the left navigation pane. This will redirect you to the Destinations page.
- Click the + NEW MATERIALIZATION button.
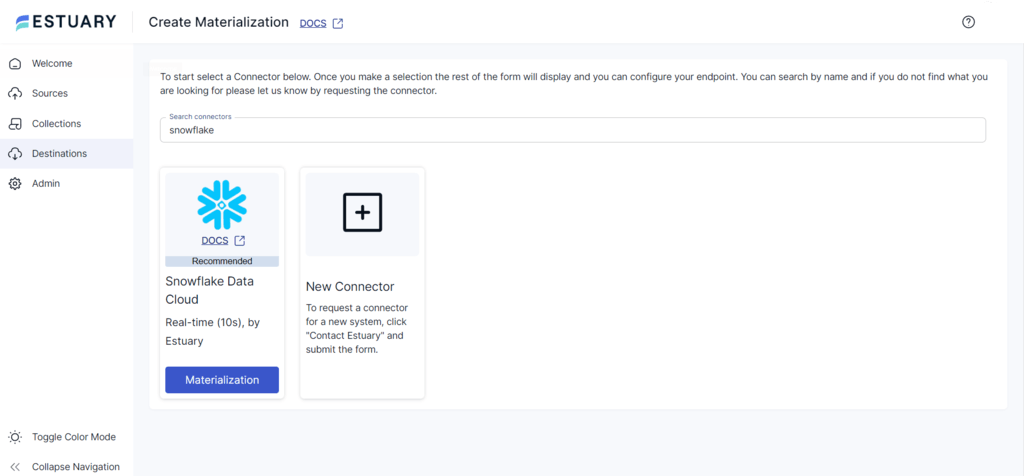
- Search for Snowflake in the Search Connectors field. The connector will appear in the search results. Click on its Materialization button to proceed with the configuration.
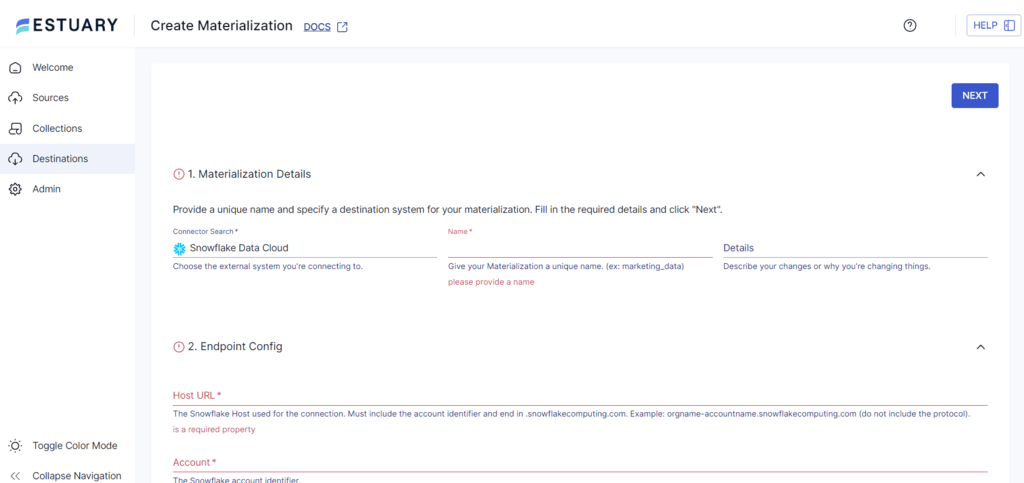
- Specify the necessary details on the Create Materialization page, such as Name, Host URL, Account, Database, and Schema, among others.
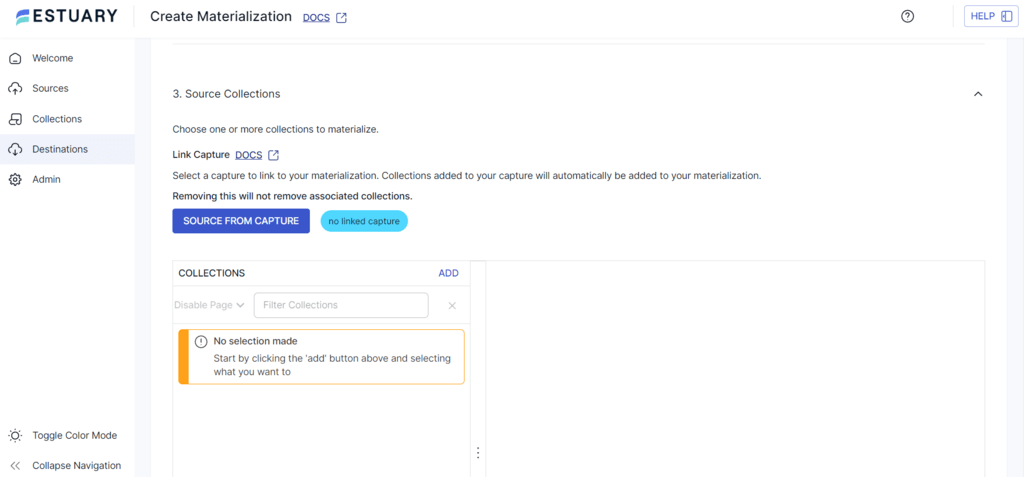
- Click the SOURCE FROM CAPTURE button to link data from capture collections to your materialization.
- Finally, complete the Snowflake destination connector configuration by clicking NEXT > SAVE AND PUBLISH. The connector will materialize Flow collections into tables in a Snowflake database.
The Manual Approach: Use CSV Export/Import for Notion to Snowflake Integration
Now, let’s explore the steps to transfer data from Notion to Snowflake using CSV files.
Step 1: Export Data from Notion as CSV
You can export the data on the Notion page as a Markdown file, with the entire page as a CSV and Markdown file for each subpage. To download data as CSV, follow these steps:
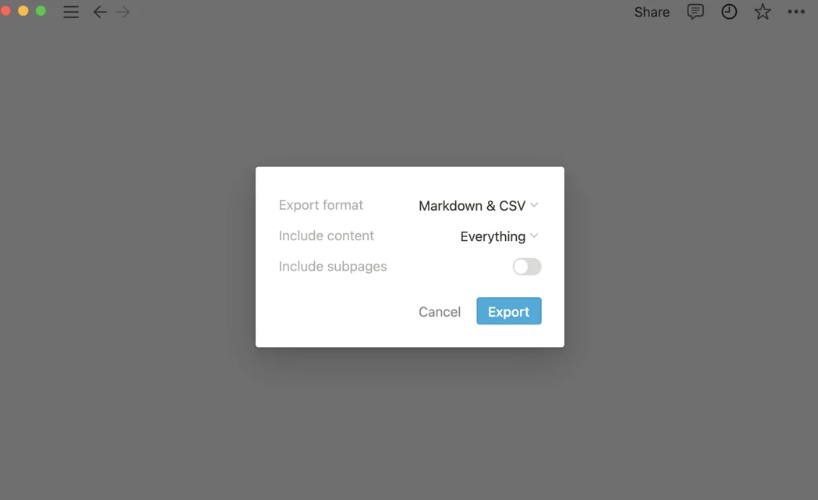
- Click the triple dot icon on the top right corner of any Notion page and click the Export button from the given options.
- Select Markdown & CSV as the export format from the dropdown and specify the necessary details based on your needs.
- Click the Export button to download a zip file to your local system.
- You can open the downloaded CSV files in various formats, such as Excel or Google Sheets, to view them.
- The Markdown files can be opened as plain text with markdown syntax.
Step 2: Load CSV to Snowflake
Prerequisite: You need a Snowflake account to load CSV into a Snowflake table.
Here are the steps to connect to Snowflake and load CSV into Snowflake tables using CLI.
- Sign in to your Snowflake account.
- Select a Database.
plaintextCreate a named file format describing a staged data set to access the Snowflake table.

CREATE [ OR REPLACE ] FILE FORMAT [ IF NOT EXISTS ] TYPE = { CSV | JSON | AVRO | ORC | PARQUET | XML } [ formatTypeOptions ] [ COMMENT = '' ]- Using a CREATE statement, create a Snowflake table.
plaintext
CREATE [ OR REPLACE ] TABLE [ ( [ ] , [ ] , ... ) ] ;- Import CSV into Snowflake from your local system.
- Load CSV data to the destination table created earlier.
Depending on the structure of your data and Snowflake’s requirements, you may need to preprocess the data before loading it into Snowflake. This preprocessing may include cleaning, formatting, or restructuring the data using custom code. You would also have to track the execution of the data movement process and troubleshoot any potential issues.
Drawbacks of Using CSV Export/Import to Move Data from Notion to Snowflake
- Imports may fail as Snowflake doesn't proactively convert the empty strings into numeric ones. You must write a custom code to convert the empty strings to numeric ones.
- A CSV export to move data from Notion to Snowflake can be time-consuming. This includes the time required to extract data from Notion and manually load it into Snowflake.
Conclusion
There are two methods for transferring data from Notion to Snowflake, but the one you choose should align with your data requirements. The custom method is repeatable, but it’s also time-consuming and demands more technical expertise.
No-code SaaS tools like Estuary Flow offer enhanced scalability, accommodate diverse data volumes, and provide a user-friendly platform to help businesses manage extensive databases. Opting for Estuary Flow can help mitigate the need for repetitive and resource-intensive tasks. With over 200+ pre-built connectors, you can effortlessly link various data sources without the need for complex scripts.
Register for a free Estuary Flow account to effortlessly move your data between various platforms. Just a few clicks are all it takes to get things started!

About the author
With over 15 years in data engineering, a seasoned expert in driving growth for early-stage data companies, focusing on strategies that attract customers and users. Extensive writing provides insights to help companies scale efficiently and effectively in an evolving data landscape.


