This guide will walk you through setting up Change Data Capture (CDC) for your Neon PostgreSQL database using Estuary Flow. This setup will allow you to replicate data from your Neon database to external destinations in real-time, such as Snowflake, Databricks, Iceberg, or even other PostgreSQL databases.
Why CDC is Great for Data Replication
Here are a few points to illustrate why log-based CDC is the best way to replicate data in real-time from PostgreSQL databases such as Neon.
- Real-time Data Synchronization: CDC enables you to keep multiple systems in sync with minimal delay, ensuring data consistency across your entire data ecosystem.
- Reduced Load on Source Systems: CDC minimizes the impact on your source database's performance by only capturing and transferring changed data.
- Efficient Data Integration: CDC facilitates efficient ETL (Extract, Transform, Load) processes by focusing only on changed data, reducing processing time and resource usage.
- Historical Change Tracking: CDC can provide a detailed audit trail of data changes, which is crucial for compliance and data governance.
Why Estuary Flow is The Best Option for Neon CDC
- Native Integration with Neon: Estuary Flow offers native support for Neon PostgreSQL, making it easy to set up and manage CDC pipelines from your Neon database to various destinations.
- Real-time Data Pipelines: With Estuary Flow, you can create real-time data pipelines that capture and process data changes as they occur, enabling up-to-the-minute analytics and decision-making.
- Automated Schema Management: Estuary Flow automatically detects schema changes in your source database and propagates these changes to your target systems, reducing manual intervention and potential errors.
- Wide Range of No-Code Connectors: Estuary Flow supports a variety of source and destination connectors, allowing you to easily integrate your Neon PostgreSQL data with popular data warehouses, analytics platforms, and other databases.
Prerequisites
Before you begin, make sure you have:
- An Estuary Flow account (you can start for free, no credit card is required!)
- A Neon account
Step 1: Enable Logical Replication in Neon
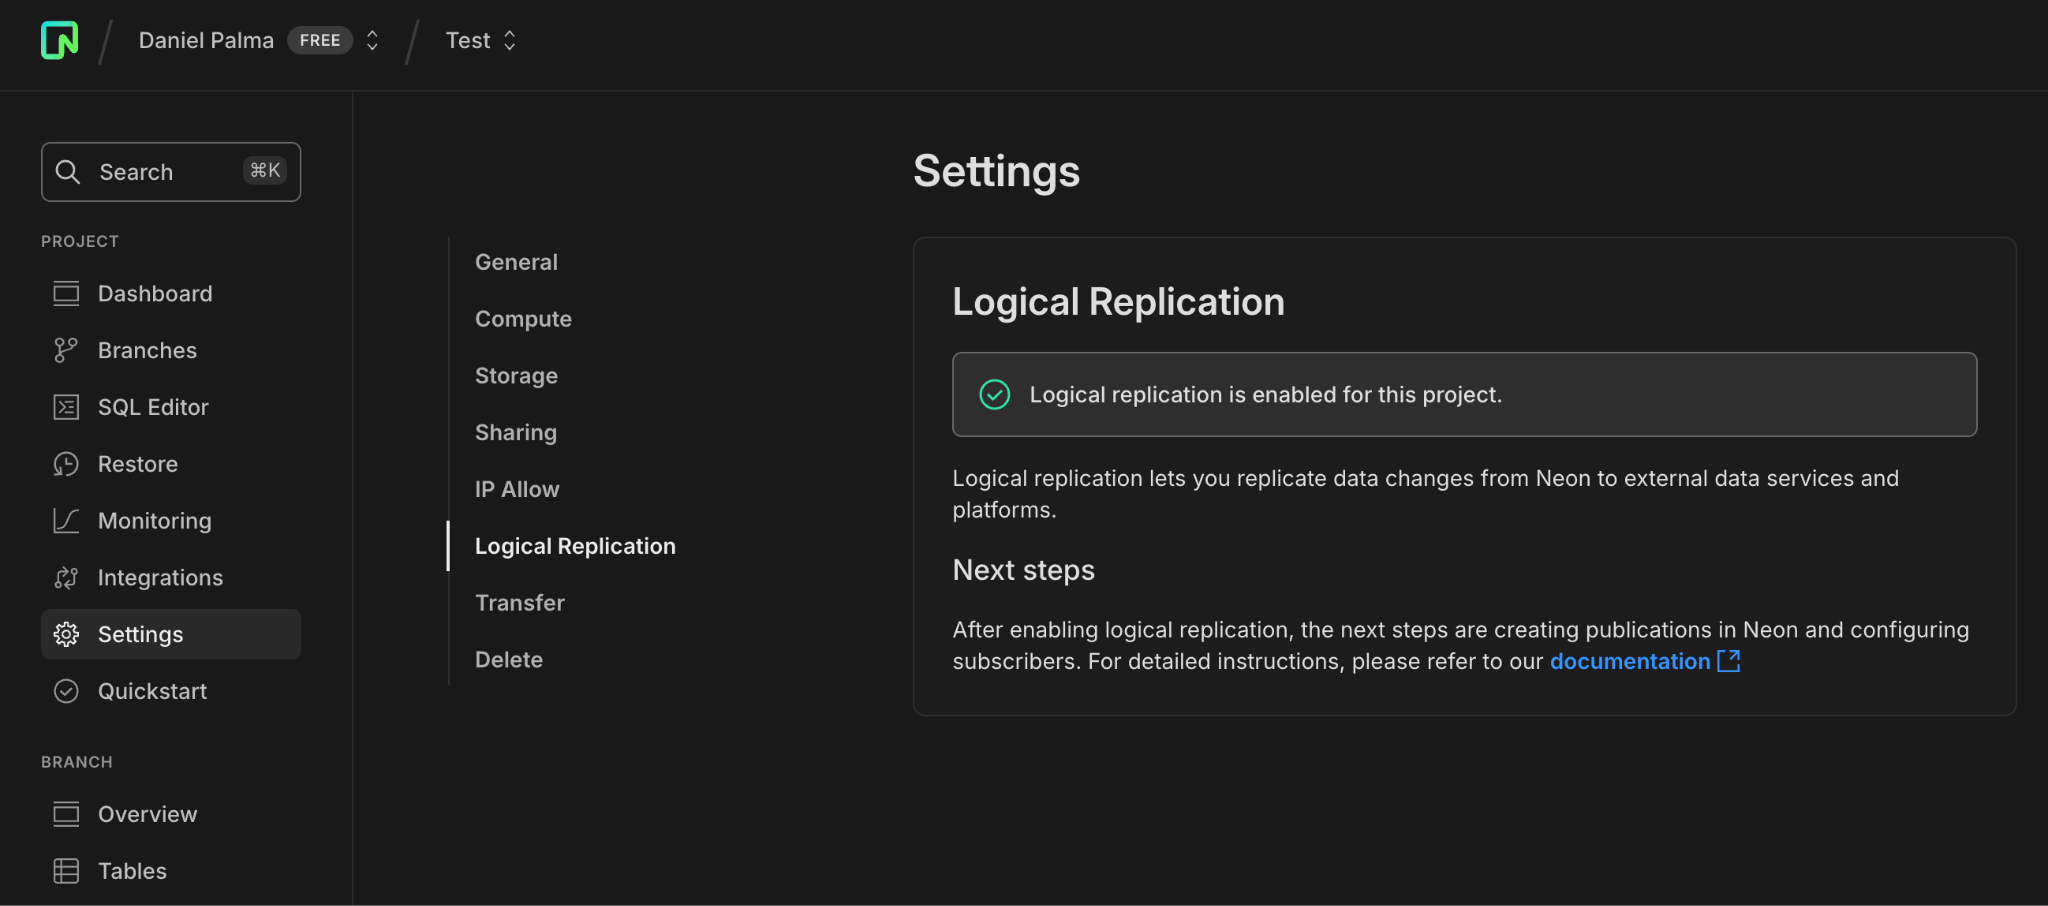
- Log in to the Neon Console and select your project.
- Go to the Neon Dashboard and select "Project settings".
- Click on the "Beta" tab.
- Click "Enable" to turn on logical replication.
Note: This action will modify the wal_level configuration parameter to logical for all databases in your Neon project. This change cannot be reversed and will restart all computes in your project. To verify that logical replication is enabled, run this query in the Neon SQL Editor:
plaintextSHOW wal_level;The result should be logical.
Step 2: Create a Postgres Role for Replication
- Navigate to the Neon Console.
- Select a project.
- Select Branches.
- Select the branch where you want to create the role.
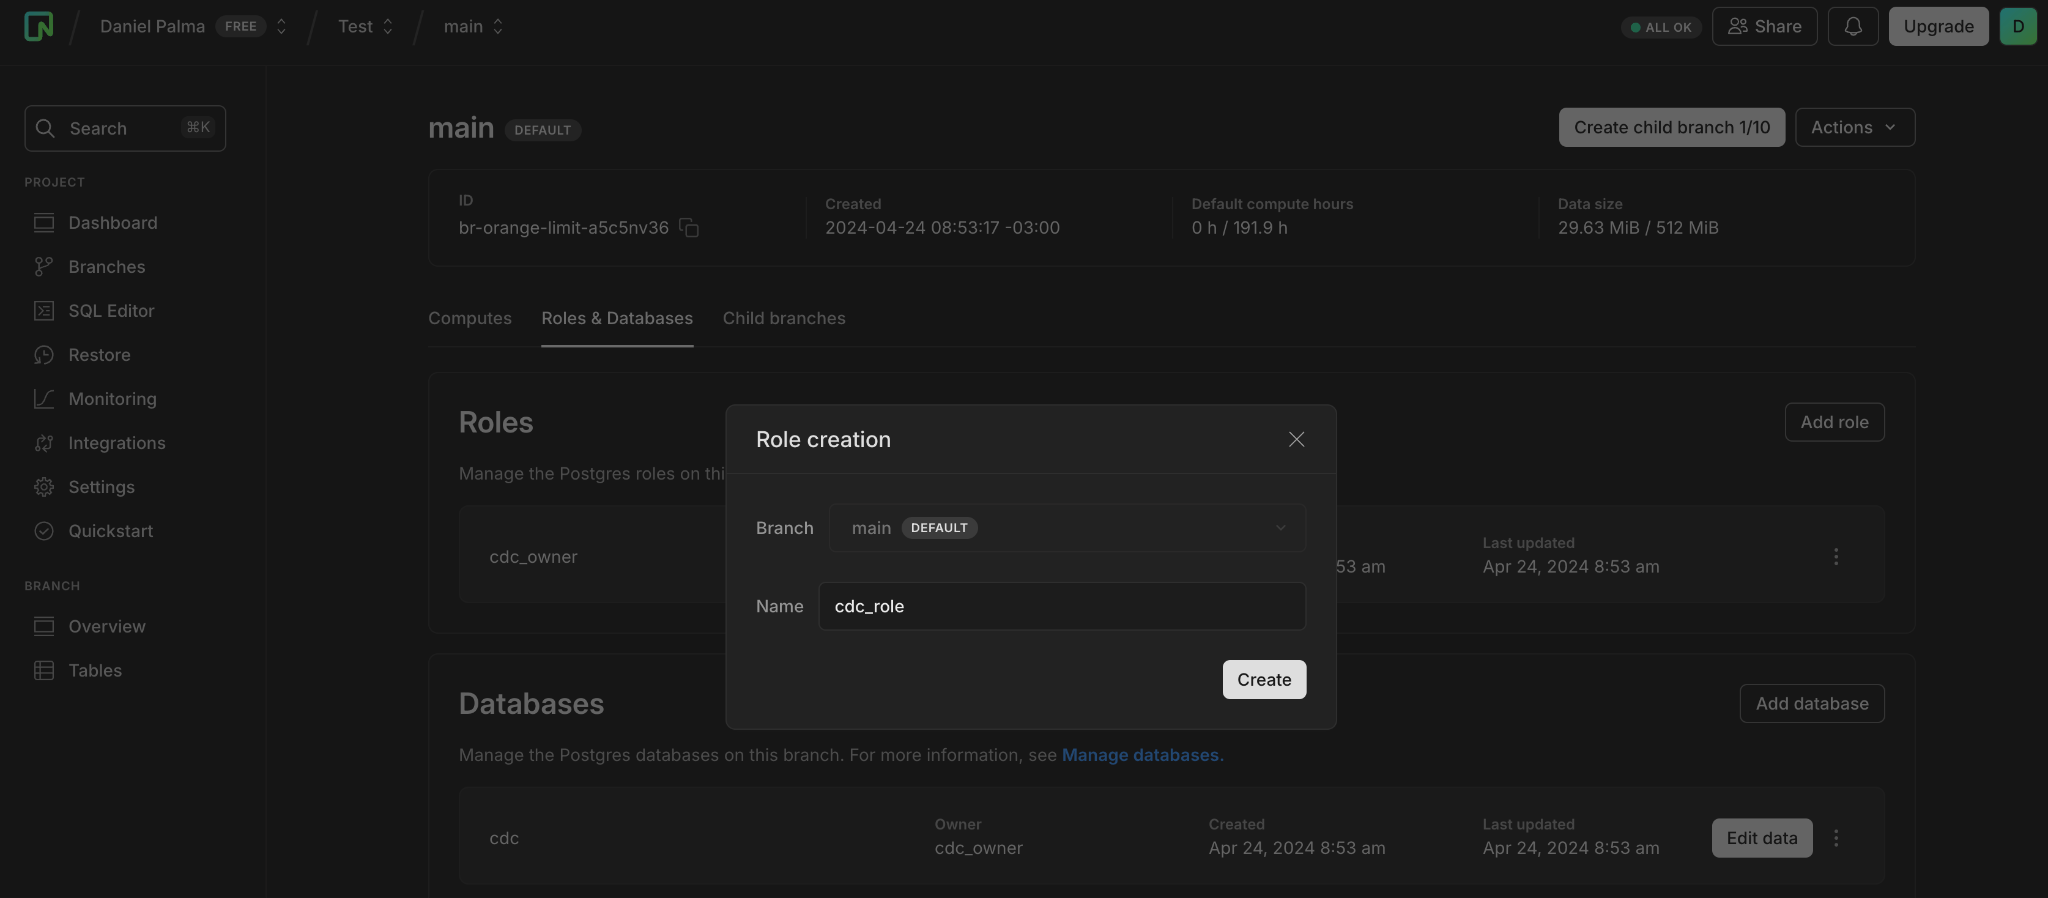
- On the Roles & Databases tab, click Add role.
- Specify a role name (e.g., cdc_role) and click "Create".
- The role is created and you are provided with the password for the role.
Alternatively, you can use the Neon CLI:
plaintextneon roles create --name cdc_roleStep 3: Grant Schema Access to Your Postgres Role
In the SQL Editor of your project, run these SQL commands for each schema you want to replicate:
plaintextGRANT USAGE ON SCHEMA public TO cdc_role;
GRANT SELECT ON ALL TABLES IN SCHEMA public TO cdc_role;
ALTER DEFAULT PRIVILEGES IN SCHEMA public GRANT SELECT ON TABLES TO cdc_role;
Step 4: Create a Publication
Create a publication named flow_publication that includes all the tables you want to ingest into Estuary Flow:
plaintextCREATE PUBLICATION flow_publication FOR TABLE <tbl1, tbl2, tbl3>;
ALTER PUBLICATION flow_publication SET (publish_via_partition_root = true);
Step 5: (Optional) Allow Inbound Traffic
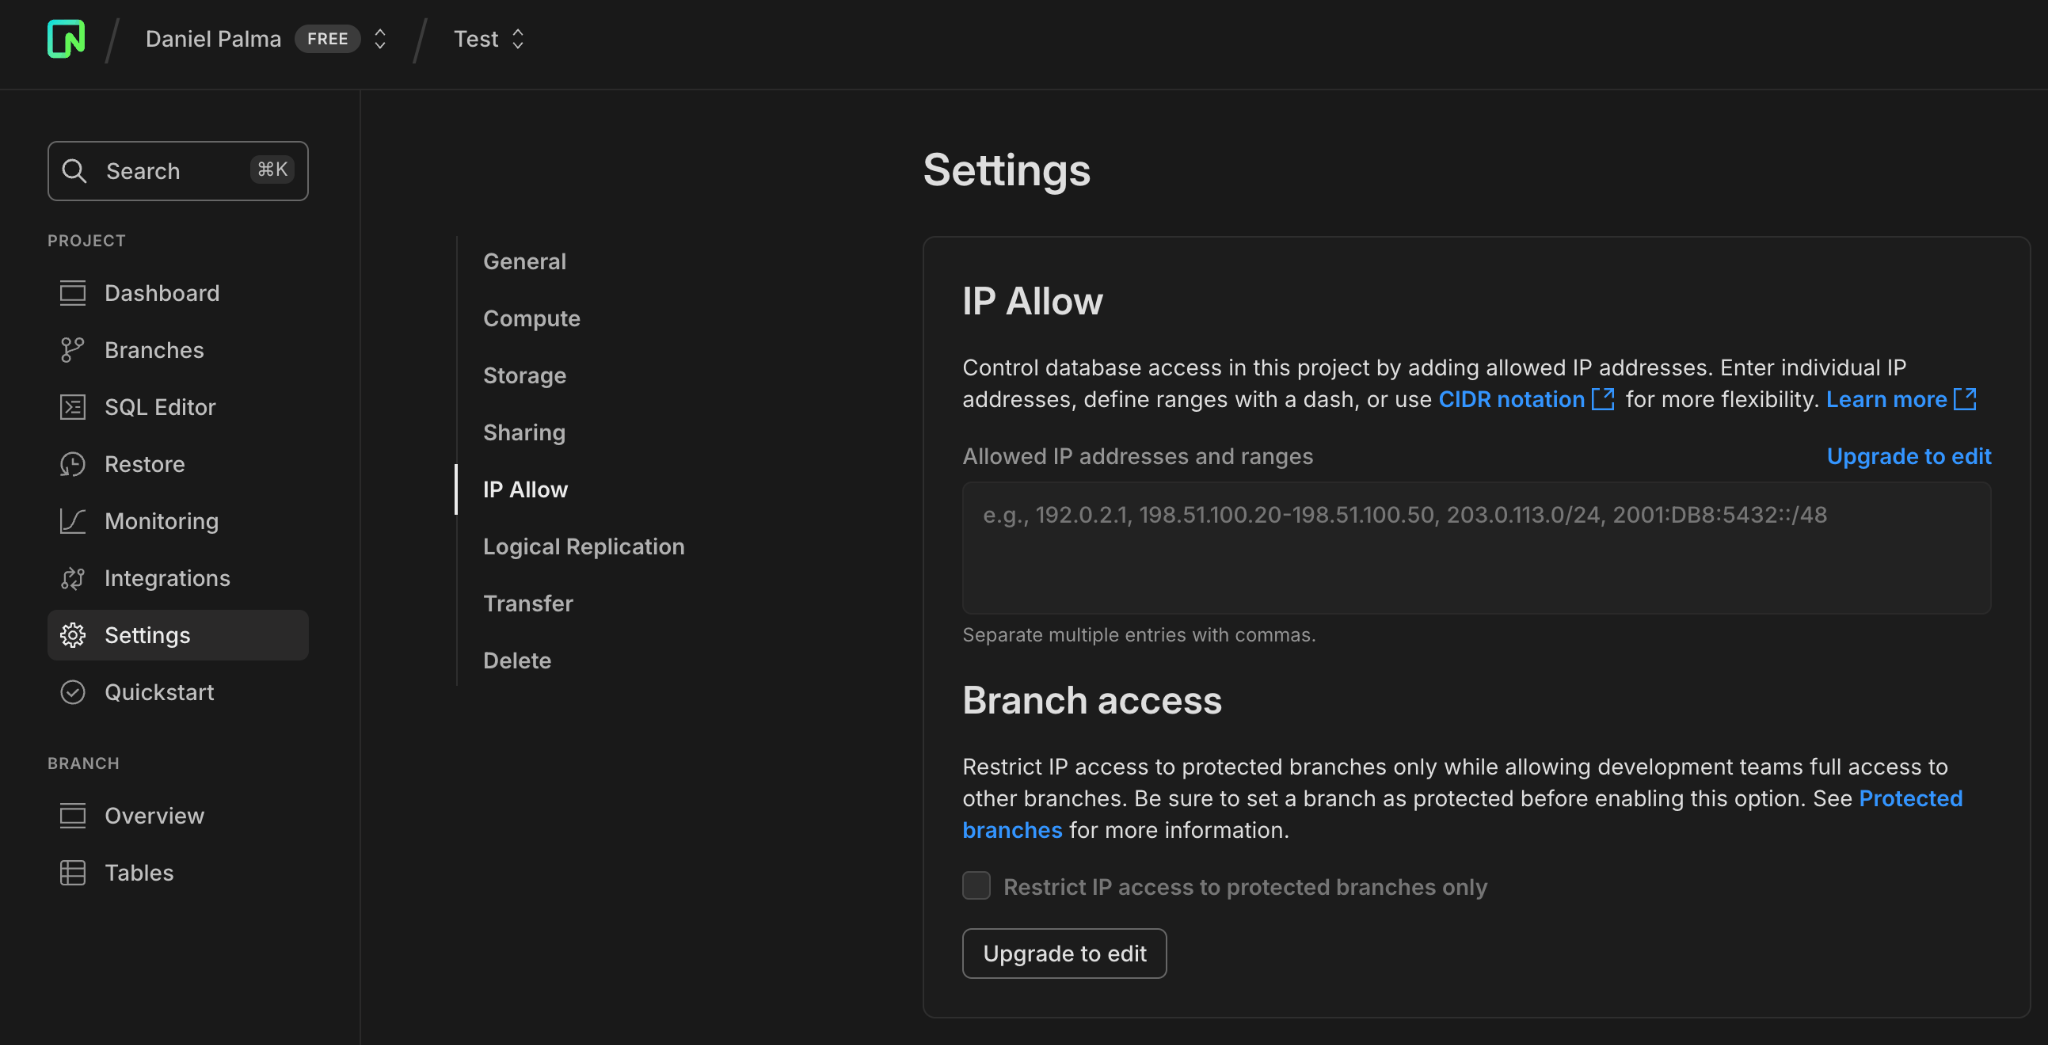
If you're using Neon's IP Allow feature, you'll need to allow inbound traffic from Estuary Flow's IP addresses. Consult the Estuary Flow documentation for the list of IPs to allowlist.
Step 6: Create a Neon Source Connector in Estuary Flow
- In the Estuary Flow web UI, go to "Sources" and click "New Capture".
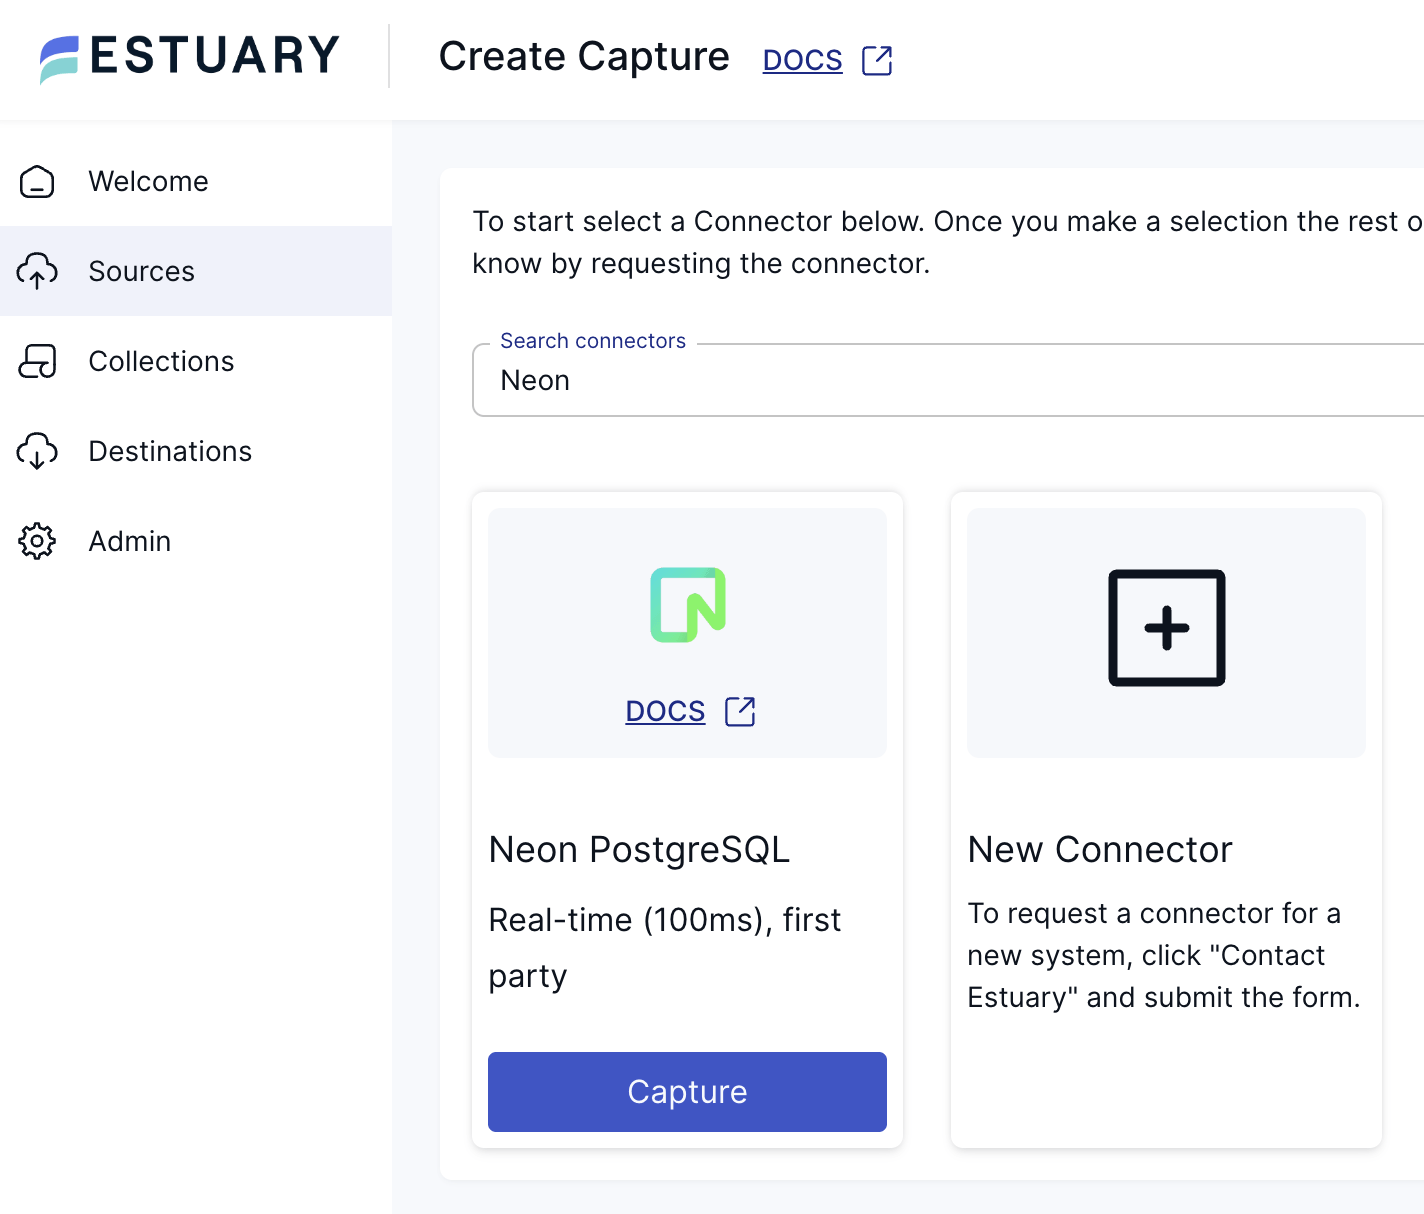
- Search for "Neon PostgreSQL" from the connector catalog and click "Capture".
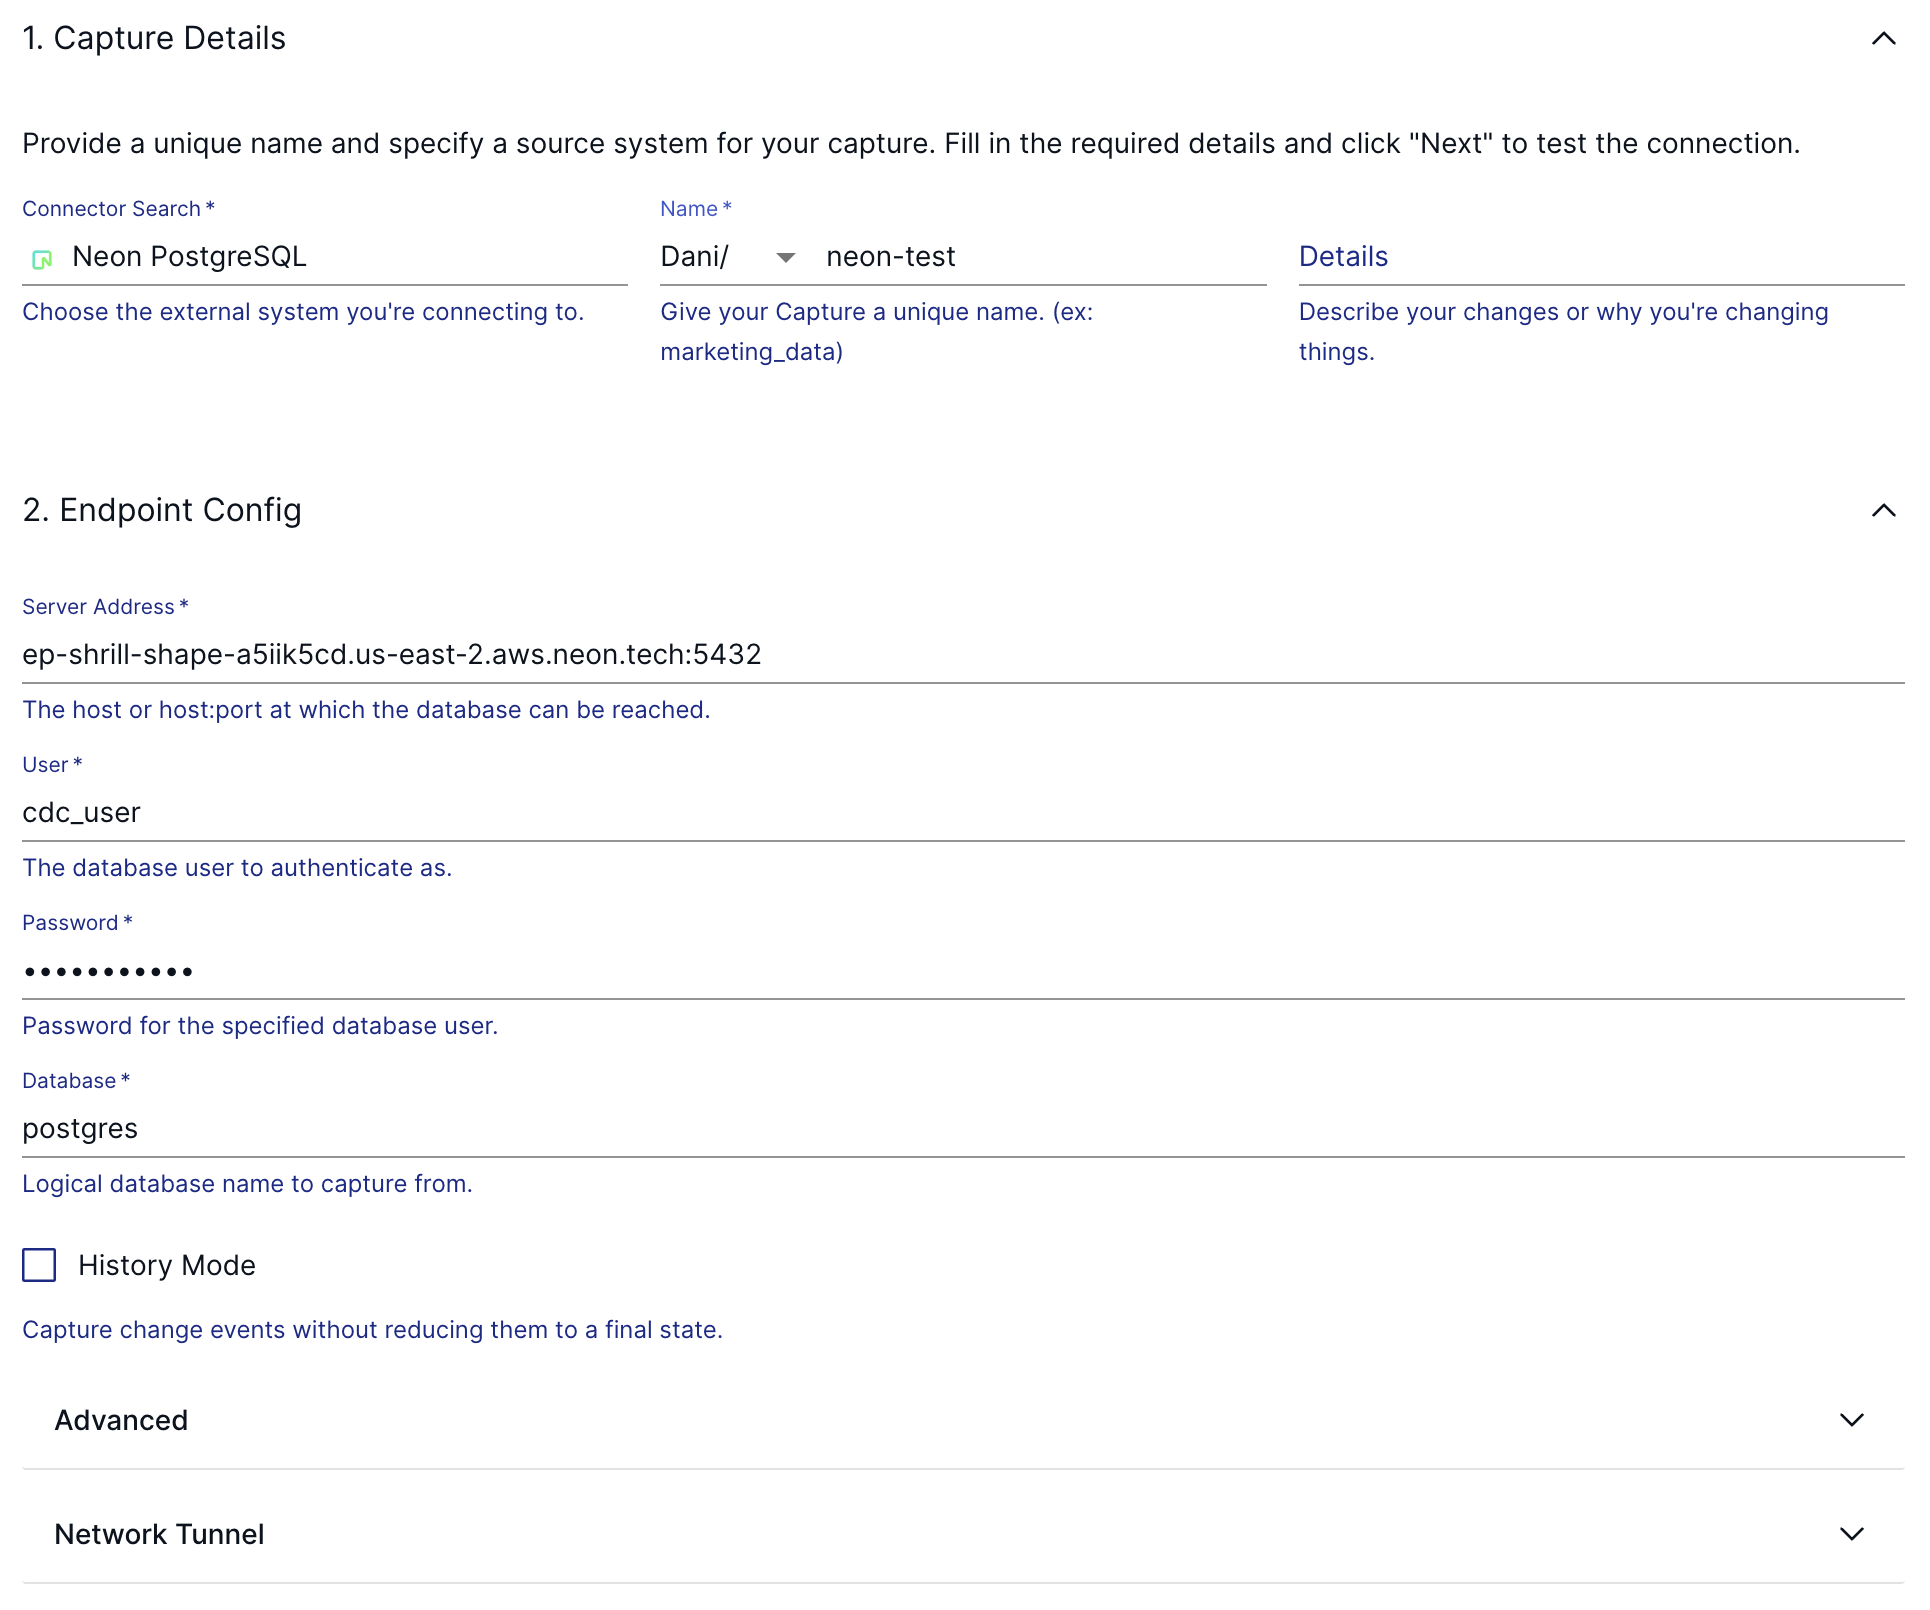
- Enter your Neon database connection details:
- Server Address: (from your Neon connection string)
- User: cdc_role
- Password: (the password for cdc_role)
- Database: (your database name)
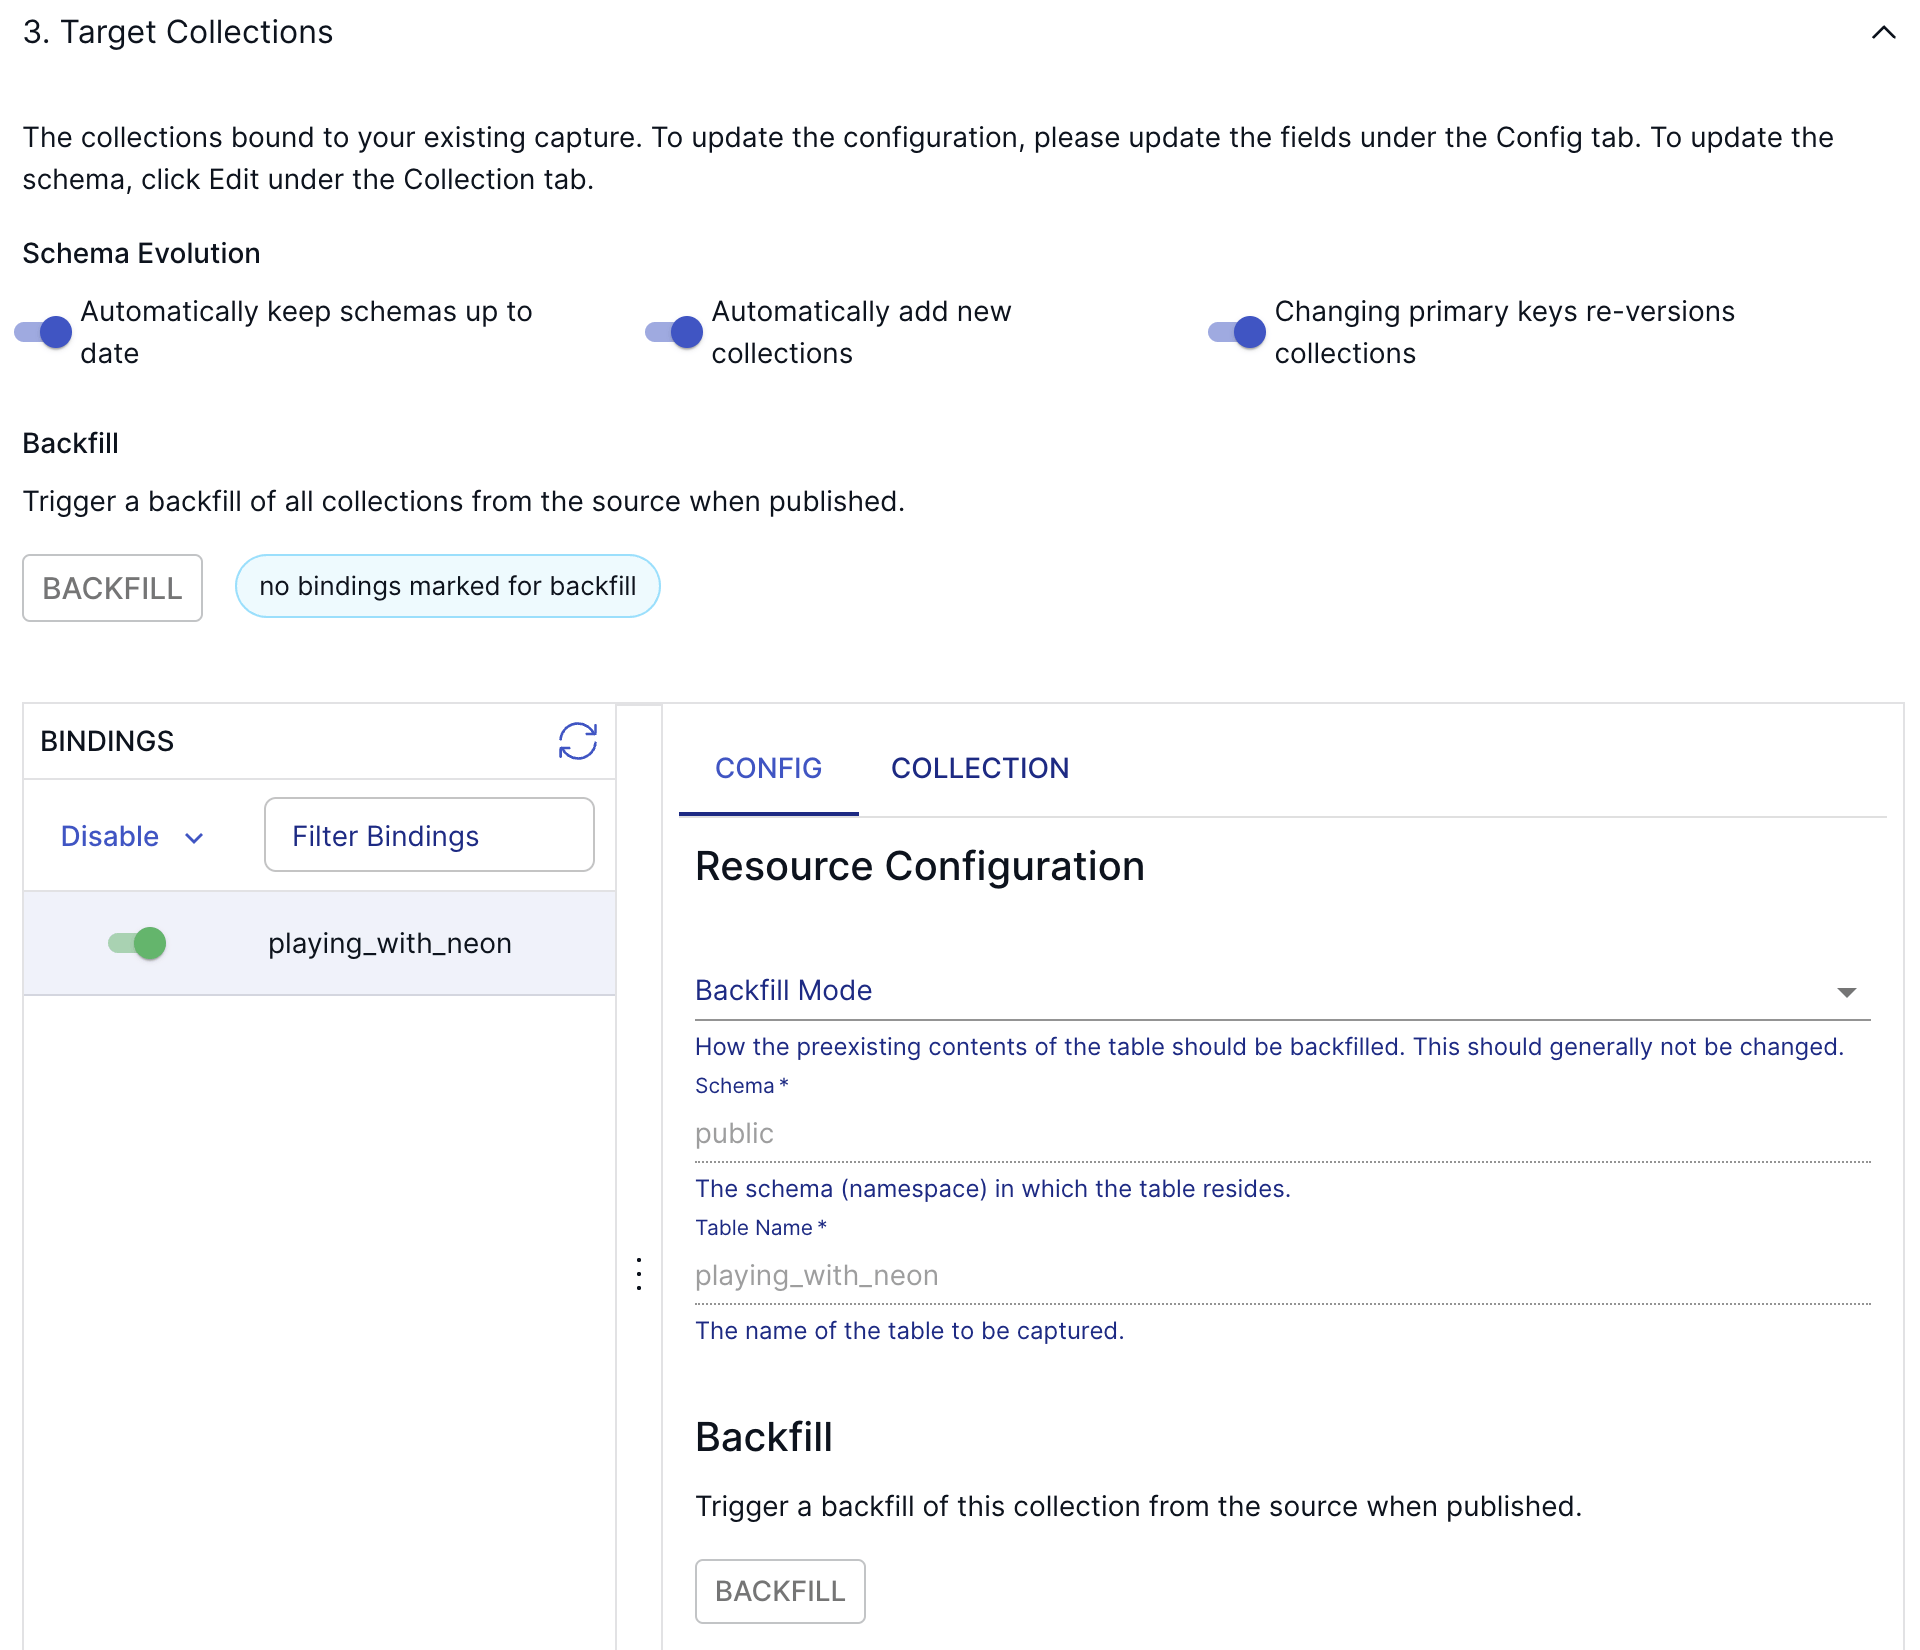
- Click "Next" to scan your database for available tables for replication.
- Select the tables you want to replicate by enabling bindings for them.
- Click "Save and Publish" to start the connector and begin the backfill process.
And that’s it! Estuary Flow will start backfilling all existing data in just a few seconds, then shift into a continuous replication mode to capture all future data changes. From this point, you can either set up some transformations on your data in a true ETL fashion, or you can materialize the incoming records straight into a data warehouse, such as Snowflake, Databricks, or BigQuery.
Conclusion
In this quick guide, you’ve learned how to set up an Estuary Flow Neon change data capture data flow in a just a few minutes. This integration enables you to activate your data for analytics, machine learning, AI, and a heap of other use cases.
Make sure to check out some of our other articles on our blog.
If you have any questions, join us in our community Slack channel!

About the author
Dani is a data professional with a rich background in data engineering and real-time data platforms. At Estuary, Daniel focuses on promoting cutting-edge streaming solutions, helping to bridge the gap between technical innovation and developer adoption. With deep expertise in cloud-native and streaming technologies, Dani has successfully supported startups and enterprises in building robust data solutions.


