


In order to create data-driven decisions, businesses need to keep track of events with their digital interactions. You often need to check all event data in your databases to filter new or updated data. Managing and tracking these billions of events daily, especially when you have a large source of data, could be tedious and time-consuming.
To overcome these issues, you can use dbt to transform event data in the data warehouse quickly. You can use the dbt incremental model with your source data to fetch and transform new data as and when added.
This article will help you build a scalable incremental model in dbt to manage data flow in your Snowflake warehouse.
What is an Incremental Model in dbt?
dbt (data-built tool) is an open-source command line tool that enables data analysts and teams to transform, test, and document data in the cloud data warehouse. dbt does the T of the Extract, Load, and Transform process. It majorly focuses on simplifying the transformation process of data that is already loaded into a data warehouse.
One of the ways to transform data through dbt is by using the incremental model. Dbt incremental models are used with event-style data to capture new updates from the data source. However, when you first run the incremental model, it will build the entire table by transforming all rows of source data. And from the subsequent run, it will only transform the rows—usually the new event data—that you ask dbt to filter.
So, with each dbt run, your model will build incrementally.
Using a dbt incremental model reduces the built time and computational complexity by just transforming the new records. It ensures that data is available for your downstream process or BI tools.
dbt incremental models can be deployed in various modern warehouses like Bigquery, Snowflake, or RedShift. In this article, you will learn to create an incremental model using dbt and Snowflake in three steps.


Image Source: kipi.bi
Why dbt and Snowflake?
Snowflake is a modern cloud-based data warehouse as a service (DWaaS) used by data-driven organizations for managing data efficiently. What makes Snowflake popular is its ability to support concurrent workloads against a single dataset. This allows many users to execute queries simultaneously.
To further extend its capabilities, data engineers use dbt to transform data stored in Snowflake for providing real-time data to downstream processes or BI tools for analytics.
Creating an Incremental Model Using dbt and Snowflake
Prerequisites
To build your dbt incremental model, you will need the following:
- dbt command line tool
- A dbt-Snowflake package
- A Snowflake account with account admin access
- Git
- Python 3.7+
For Windows users, download the prerequisites with the links below.
If you have a large dataset, it would be time-consuming to filter every row to eventually find a few updates. Usually, you might be scanning through millions of rows to find a few rows that were added since you last ran the scan. This could also lead to an increase in computation cost.
But, using an incremental model, you can enhance warehouse performance and reduce computational costs. It speeds up the run time of your data model by identifying rows that contain new information without scanning all the rows of your data source.
Let’s understand the steps in detail on how to create an incremental model with Python using dbt and Snowflake.
Set up a dbt and Snowflake Account
- Install dbt by running
pip install dbt-core - Let’s add some data in Snowflake. Log in to your Snowflake account. Click on Marketplace and then search “Global Weather & Climate Data for BI" database in the search bar. Click on the “Weather Source, LLC.” Next, select “Global Weather & Climate Data for BI.” This database consists of global weather and climate-specific data that is updated on an hourly basis.
- Click on Get to add the database. The database is now added to your Snowflake account.


- Check if your GLOBAL_WEATHER__CLIMATE_DATA_FOR_BI data is added under Data > Databases
- Now click on the +Database button, as shown in the below screenshot, and create a new database. Enter a name for the new database and click on Create. This database will be used as a dbt access point to create and store your tables and views.


- Next, create a warehouse on your Snowflake account. To create a warehouse, click on Admin > Warehouses. Then, click on the + Warehouse button to create a warehouse. Name the warehouse and click on the Create Warehouse button.


2. Set Up Your dbt Project
- The next step to create a dbt incremental model is to install dbt-Snowflake. Create a Snowflake connection by downloading the dbt-snowflake adapter package.
- To install the dbt-snowflake package, type the following command in your command prompt.
pip install dbt-snowflake


- Enter the following command to initialize your dbt project with your Snowflake account.
dbt init - After you run the above command, you will be prompted to enter a name for your project. You can use letters, digits, or underscore to name your project. Then click Enter.
- Next, it will ask you to choose the database. Select the Snowflake database.
- Now, add the Snowflake account details, such as username, password, role, warehouse name, and database name that you created while setting up the Snowflake account. With this information, your dbt project will be created. Check the screenshot below to understand the steps in detail.
After the successful execution of the above step, a folder will be created on your machine. The name of the folder will be your project name. This folder contains some default files and the information you entered in the command prompt. - Next, in the command prompt, change the directory to the created folder using the change directory command.
cd folder_name - Next, run
dbt debugto confirm the connection to Snowflake. On successful connection with Snowflake, you will see the “All checks passed!” in the command prompt. Check the below screenshot for reference.


3. Create a dbt Incremental Model with Snowflake
With this, you have successfully installed and set up your Snowflake account with dbt. Now, you can use dbt to create incremental models.
- In your Snowflake account, you can check the Global Weather Climate Data consists of three tables: CLIMATOLOGY_DAY, HISTORY_DAY, and FORECAST_DAY. You can search them under Databases > GLOBAL_WEATHER__CLIMATE_DATA_FOR_BI > STANDARD_TITLE > Views.
We will use the FORECAST_DAY table, which consists of weather forecast records with their respective locations.


- To start building an incremental model with dbt, create a .sql file within the models folder of your dbt project. The models folder holds the transformation logic of your dbt project.
- Copy the below code in your .sql file.
- Replace {Weather_Database} with the name of your imported weather data and save the file.


Let’s understand the above code:
- In order to use incremental models, you need to tell dbt the unique key of your table and how to filter rows on every incremental run.
config(): config() block includes materialization strategy and a unique key. This block is used to tell dbt what are the unique keys and materialization strategy.- Materialization: It is a way of persisting data in the dbt. There are four types of materialization supported by dbt: table, view, incremental, and ephemeral. In this project, the materialization strategy is incremental.
unique_key: The unique_key is used to check for duplicate records in the incremental model. It will ensure only the new records are appended. In this project, the unique key mentioned are variables representing location by postal code, date of the forecast, and time. On every next execution, time_init_utc will only add those records that come after the max date in the table, eliminating the existing records.is_incremental(): is_incremental function is used to transform data incrementally. This function will filter the records in your incremental model. It will avoid adding duplicate values, so you don’t transform the same data.- Select statement: Transformation logics in dbt are simple SQL
SELECTstatements located in the models folder. In our case, the dbt incremental model will fetch the latest values of min and max temperature from the FORECAST_DAY table and convert them to temperature range. Every time a new record is added, it will fetch the latest data.
- Once you save the file, the incremental model can be executed with the
dbt runcommand. This connects to the target database and runs the relevant SQL model files required to materialize all data models.


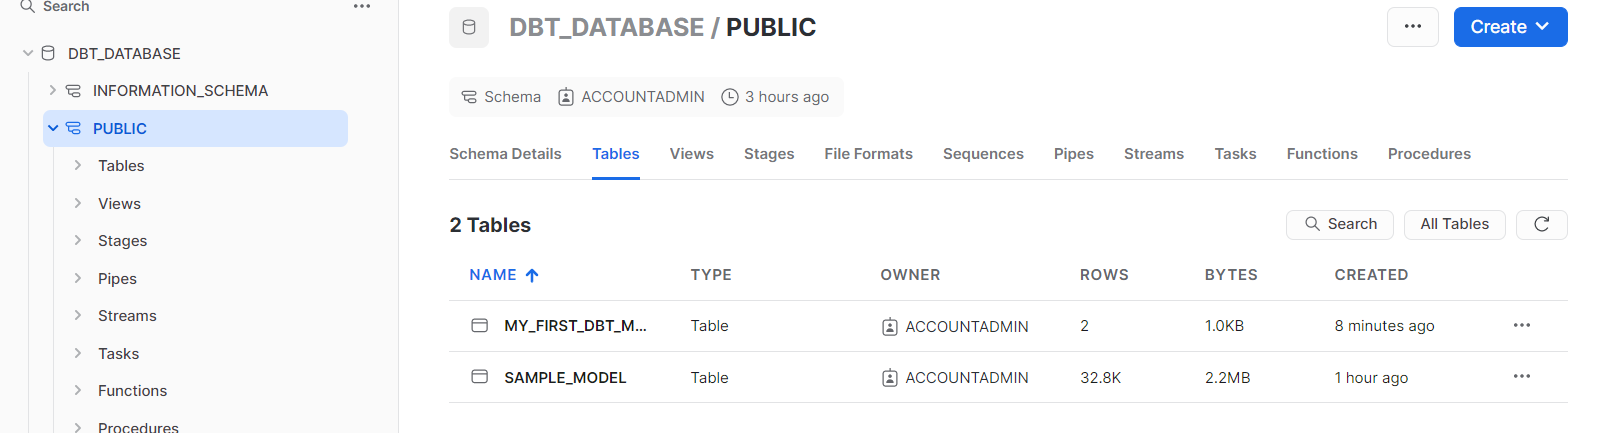
On the first dbt execution, the incremental model will collect and combine all the data.


Image Credit: propeldata
- As the source data keep updating, you can rerun the command (
dbt run) and check updated records in the table.


Image Credit: propeldata
Summary
Creating dbt incremental models with Snowflake data warehouse is one of the easy and cost-effective ways to transform data. It offers numerous benefits to your data-intensive projects. Using an incremental model with dbt will not only streamline your data flow but also ensure data readiness. This eliminates data silos as you can transform the data in real time to consume the collected information. Altogether, this saves computational cost and time while ensuring efficient downstream operations such as analysis, reporting, or predictive modeling.
Incremental dbt models are a great tool for a real-time data pipeline based on Snowflake. But is your data being loaded into Snowflake in real time? Estuary can help you transfer real-time data into Snowflake seamlessly. Try Estuary for Free today to get started.


