Whether you are a data analyst, a data engineer, a data scientist, or someone who needs to analyze data and generate some value from it, this article will provide insights on how to connect Google Sheets to Snowflake data warehouse and improve your workflows using two methods.
Why Connect Google Sheets to Snowflake?
Organizations rely on data analysis to drive decision-making. Snowflake, a powerful cloud-based data warehouse, has gained popularity due to its scalability, performance, and cost-effectiveness. Data can originate from various sources, including CSV files, APIs, IoT sensors, databases, and spreadsheets. Connecting Google Sheets to Snowflake ensures that your data stays centralized, up-to-date, and easily accessible.
What is Snowflake?
Snowflake is a cloud-based data warehouse and analytics platform. Snowflake allows you to organize, store and analyze large amounts of data. This data could be both structured and unstructured.
Snowflake allows you to analyze and generate insights from all your data in one place. Snowflake is widely used and trusted by several organizations because of its:
- Scalability - Snowflake’s architecture is highly scalable. Snowflake can scale with your data. Snowflake is highly effective when your data contains tens of rows to when your data contains millions of rows. This helps you store and analyze huge amounts of data in a fast and optimized manner.
- Ease of use - Snowflake is very easy to get started with. It is very beginner friendly. It also has an encompassing documentation which makes it easy to learn.
- Security - Snowflake is very secure. Snowflake takes security seriously. It provides data security features such as using AES-256 encryption, role-based access control, and audit control. Snowflake also provides data encryption when your data is in transit from one system to another. Hence, you can rest assured that your data is safe.
Methods to Connect Google Sheets to Snowflake
- Method 1: Connect Google Sheets to Snowflake Using Python
- Method 2: Using Estuary Flow (No-Code Solution)
Prerequisites
To connect your Google Sheets to Snowflake, you need the following:
- A Google account. You will need a Google account to manage your Google Sheets. You can create a Google account by clicking here.
- A Snowflake account. Since Snowflake is the destination, you would need a Snowflake account where you can make your migrations to. You can start with a free trial here.
- Google Sheets Data (We will use a sample video game sales dataset).
Method 1: Connect Google Sheets to Snowflake Using Python
In this method, you will use Python to load data from Google Sheets to Snowflake.
Step 1: Enable Public Access to Google Sheets
- Open your Google Sheet.
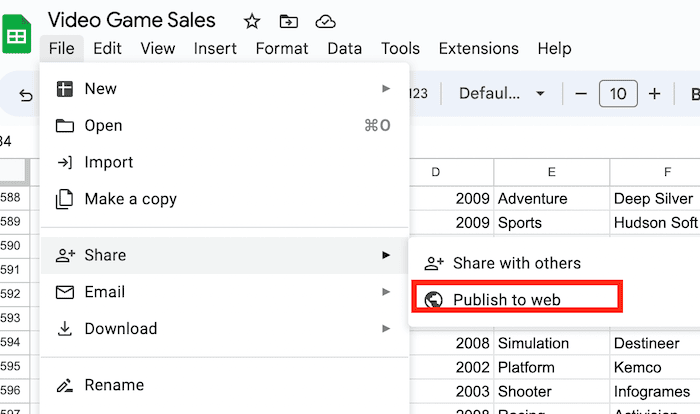
- Click File > Share > Publish to Web.
- Copy the URL, which will look like:
plaintexthttps://docs.google.com/spreadsheets/d/{your_google_sheets_id}/edit#gid=0Step 2: Install Required Python Libraries
Run the following commands:
plaintextpip install pandas snowflake-connector-python pyarrowStep 3: Read Google Sheets Data into Pandas
plaintextimport pandas as pd

data = pd.read_csv(f'https://docs.google.com/spreadsheets/d/{your_google_sheets_id}/pub?output=csv')
print(data.head())
In the code above, you will replace {your_google_sheets_id} with the id from your spreadsheet. You can preview the data by running the command data.head()
You can also check out the number of columns and records by running data.shape
Step 4: Configure Snowflake Credentials
In your Snowflake account, you will have to configure a data warehouse, a database, a schema and a table. To do this, head over to your Snowflake console and run the following commands.
plaintextCREATE WAREHOUSE VIDEO_WH;
CREATE DATABASE VIDEO_DB;
CREATE SCHEMA VIDEO_SCHEMA;
CREATE USER VIDEO_USER;

CREATE TABLE VIDEO_SCHEMA.VIDEO_TABLE(
RANK INT PRIMARY KEY ,
NAME VARCHAR(200),
PLATFORM VARCHAR(20),
YEAR VARCHAR(20),
GENRE VARCHAR(20),
PUBLISHER VARCHAR(20),
NA_SALES FLOAT,
EU_SALES FLOAT,
JP_SALES FLOAT,
OTHER_SALES FLOAT,
GLOBAL_SALES FLOAT
)
Step 5: Loading the data into Snowflake
To load the data into Snowflake in Python, you would have to make use of the Snowflake connector installed earlier. To do this, you can execute the code block below
import snowflake.connector from snowflake.
plaintextconnector.pandas_tools import write_pandas
def write_to_snowflake(data):
    conn = snowflake.connector.connect(
                    user='username',
                    password='password',
                    account='account',
                    warehouse='VIDEO_WH',
                    database='VIDEO_DB',
                    schema='VIDEO_SCHEMA'
                    )
    col=[]
    for i in data.columns:
        col.append(i.upper())
    data.columns=col
    write_pandas(conn, data, table_name='VIDEO_TABLE', database="VIDEO_DB",schema='VIDEO_SCHEMA')
When you run write_to_snowflake(data), you will ingest all the data into your Snowflake data warehouse. You can preview the data by
plaintextSELECT * FROM VIDEO_TABLE LIMIT 10 You can also get the number of records ingested by
plaintext SELECT COUNT(*) FROM VIDEO_TABLEYou can see that all the data was loaded into the Snowflake data warehouse. You can then schedule your Python jobs to run every day or every hour using an orchestration tool like Apache Airflow or Prefect.
Limitations of This Method
- Google Sheet must be made public, posing security risks.
- Requires Python coding and maintenance.
Method 2: Connect Google Sheets to Snowflake Using Estuary Flow (No Code)
In this section, you will learn how to use Estuary Flow to connect Google Sheets to Snowflake.
Step 1: Sign up for an Estuary Flow account
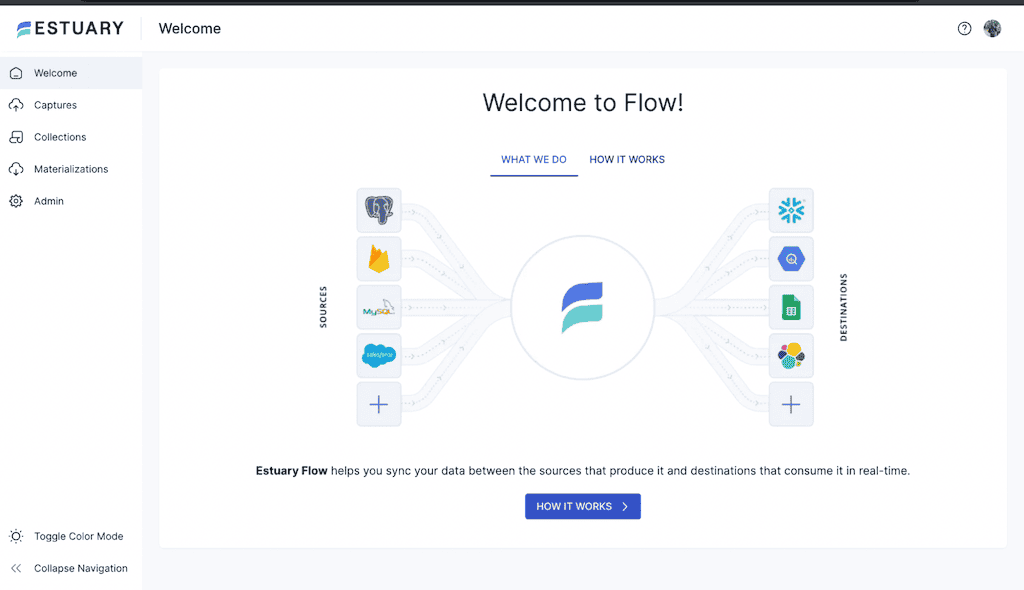
To get started with Estuary Flow, you can create an account by using this link. You can either sign up with your GitHub account or your GMail. After logging in, you will see a welcome page as shown in the image below.
Congratulations!! You have successfully created an Estuary Flow account and taken the first step in connecting Google Sheets to Snowflake.
Step 2: Creating a Service Account
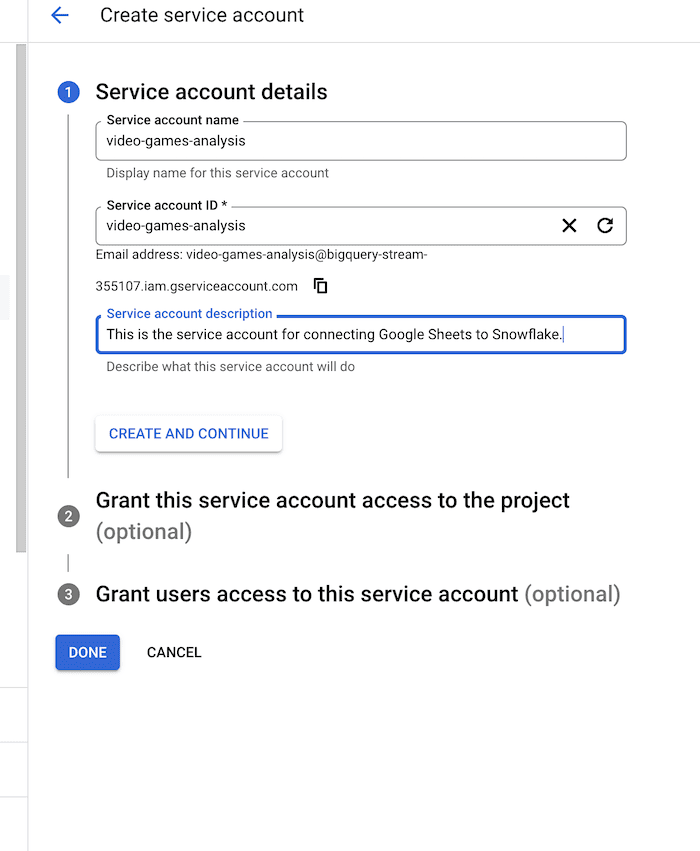
Head over to your Google Cloud account and search for IAM and Admin>> Service Accounts. On the top corner, you will see a button which reads “Create Service Account”.
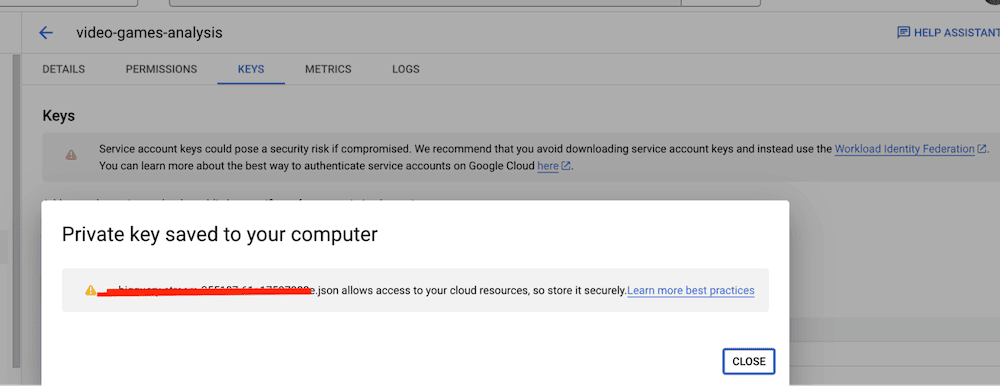
After creating the service account, you will have to create a Key. To do this, click on the service account you just created and go to the Keys tab. You then click on Add Key. When this is done, a JSON key or a P12 key will get automatically downloaded to your local computer. This key is very important because it will serve as a way to authorize your Google Sheets with Snowflake.
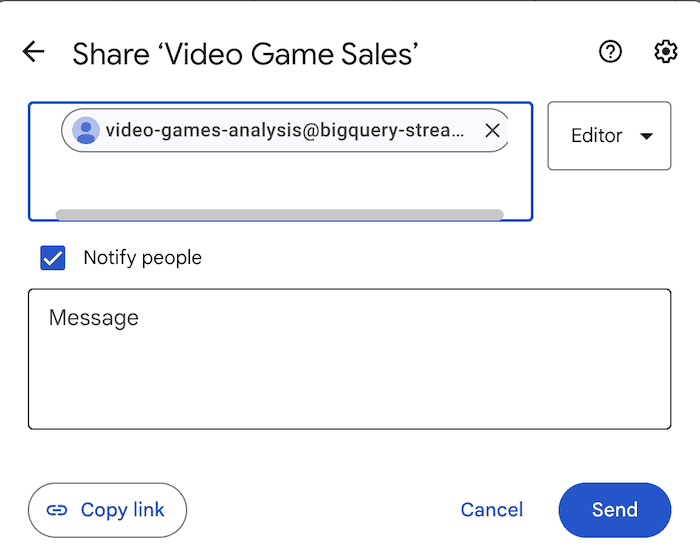
After creating a Key, the next thing you need to do is to attach it to your Google Sheets. In your downloaded Key, you will see a client email. Copy that email and share your Google Sheet with that email address.
Step 3: Creating a Capture
You can now create a capture in the Flow application by clicking on New Capture.
After clicking on New Capture, you then select your source. In this case, your source connector is Google Sheets.
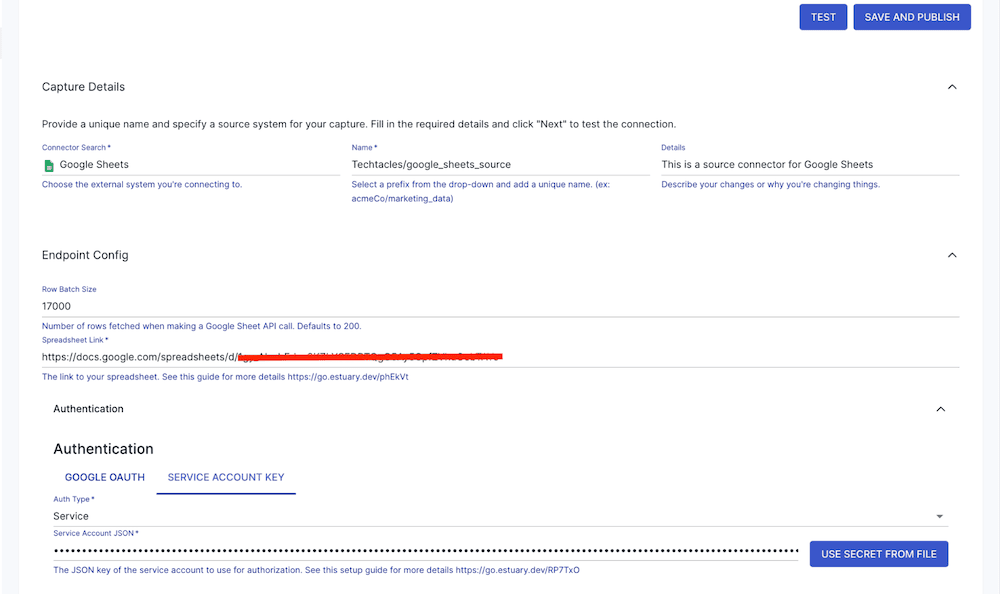
Whilst creating your capture, you specify your capture name, capture details, your spreadsheet link and your Service Account Key. Recall, the Service Account Key was downloaded to your local computer from Google.
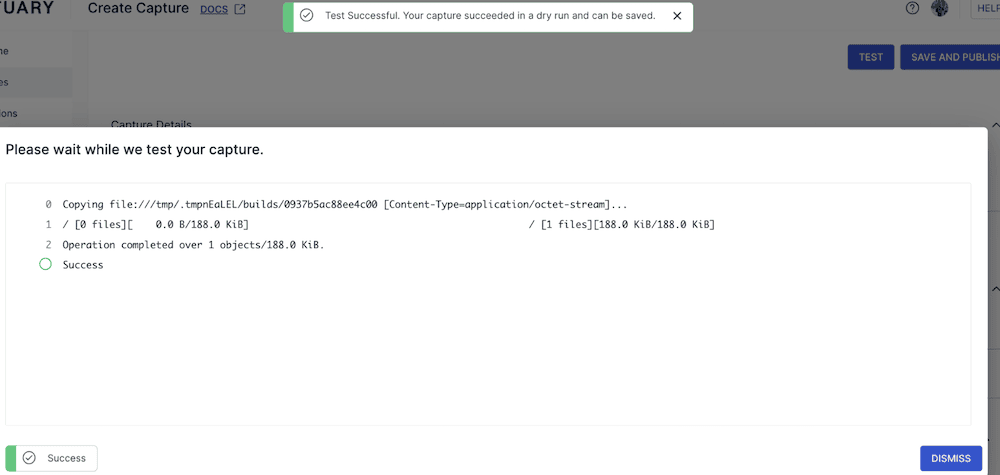
When you input these credentials, you can test your capture.
From the image above, you can see that the test was successful.
Step 4: Create a Materialization
To create a materialization, you can navigate to the Materialization tab in the Estuary Flow UI and click on Materialization.
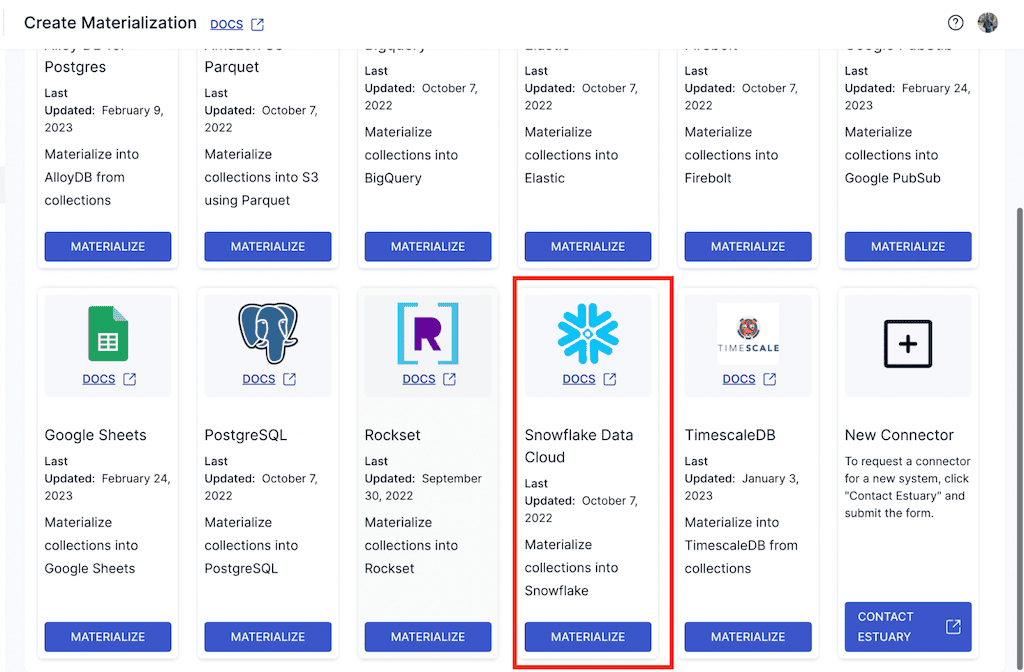
You then specify your destination as Snowflake data cloud.
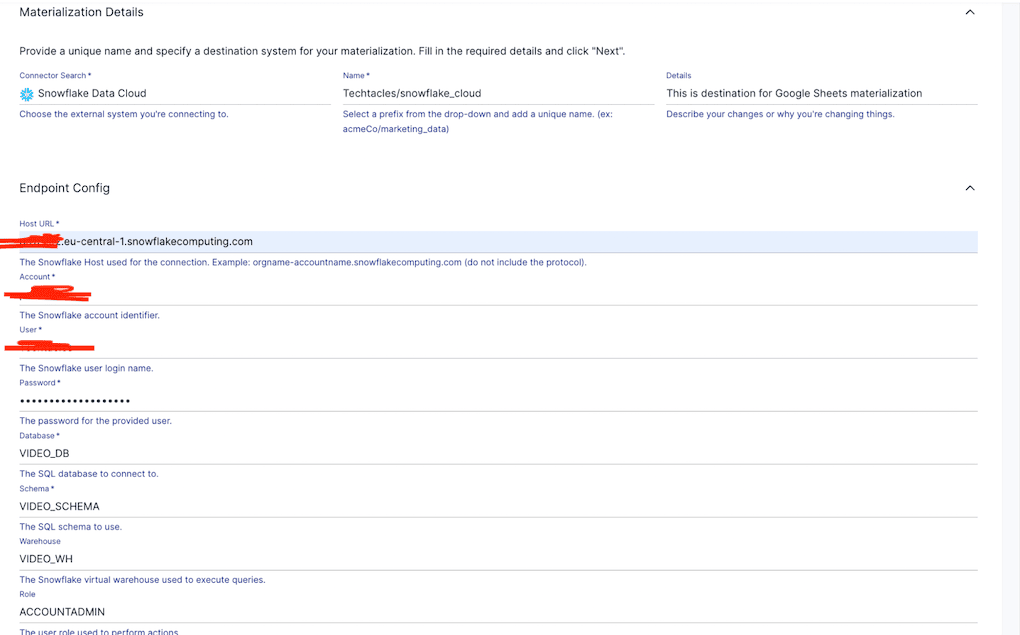
When you select your destination, you will have to configure it by specifying the endpoints, snowflake database name, warehouse name, account name, password, and some other configuration credentials.
You will also have to specify your collection.
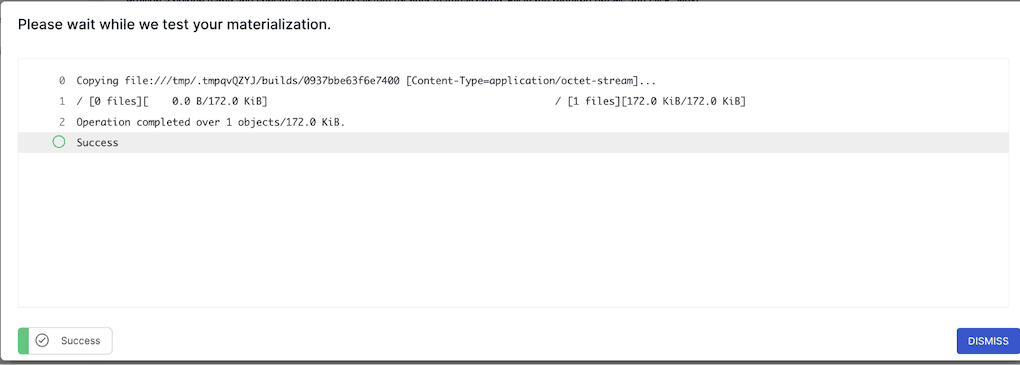
After specifying your collection, you then test your materialization.
From the image above, your materialization was successful.
Step 5: Verify the results
If you check the materializations, you will notice that data has already been written to Snowflake.
In this section, you will verify the records in Snowflake.
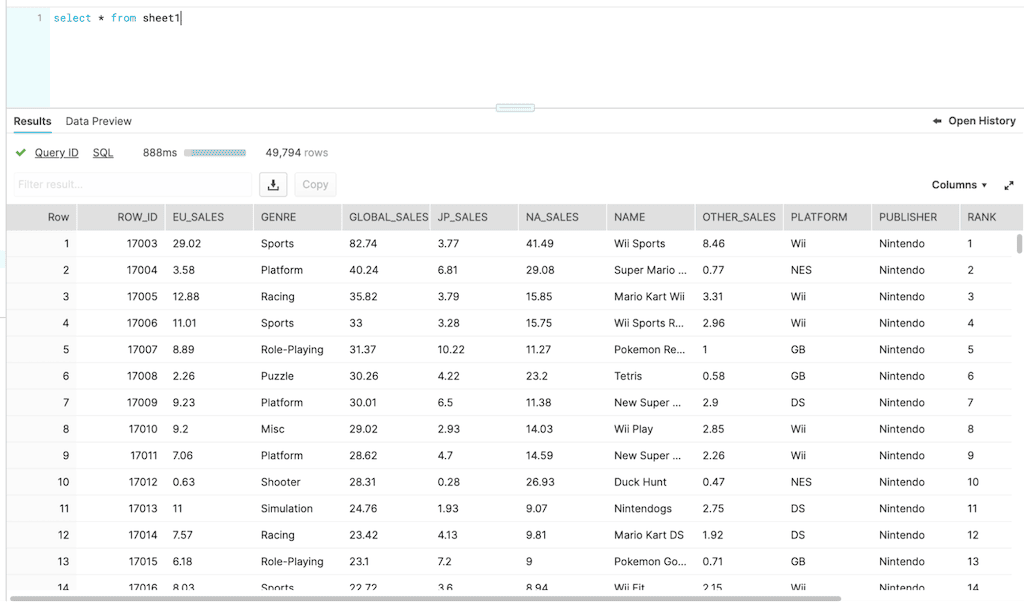
You can preview the data in Snowflake by running the command
SELECT * FROM SHEET1
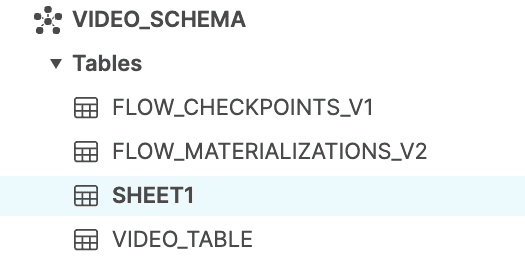
By default, Estuary Flow creates a table corresponding to the name of your spreadsheet. Flow also creates some default tables such as FLOW_CHECKPOINTS and FLOW_MATERIALIZATIONS.
You can also check the number of records ingested by executing the command
SELECT COUNT(*) FROM SHEET1
You can see that all the data from your Google Sheets table was migrated to the Snowflake data warehouse.
This method is much more secure than the previous method because the data was not public and only the Google API had access to your spreadsheet.
Conclusion
In this guide, we explored two methods to connect Google Sheets to Snowflake:
- Python-Based Approach – Flexible but requires coding and exposes data to security risks.
- Estuary Flow No-Code Solution – Secure, automated, and beginner-friendly.
For seamless real-time data integration, try Estuary Flow. Start your free trial today and streamline your data workflows!

About the author
With over 15 years in data engineering, a seasoned expert in driving growth for early-stage data companies, focusing on strategies that attract customers and users. Extensive writing provides insights to help companies scale efficiently and effectively in an evolving data landscape.


