Everything you actually need to know to use Estuary Flow
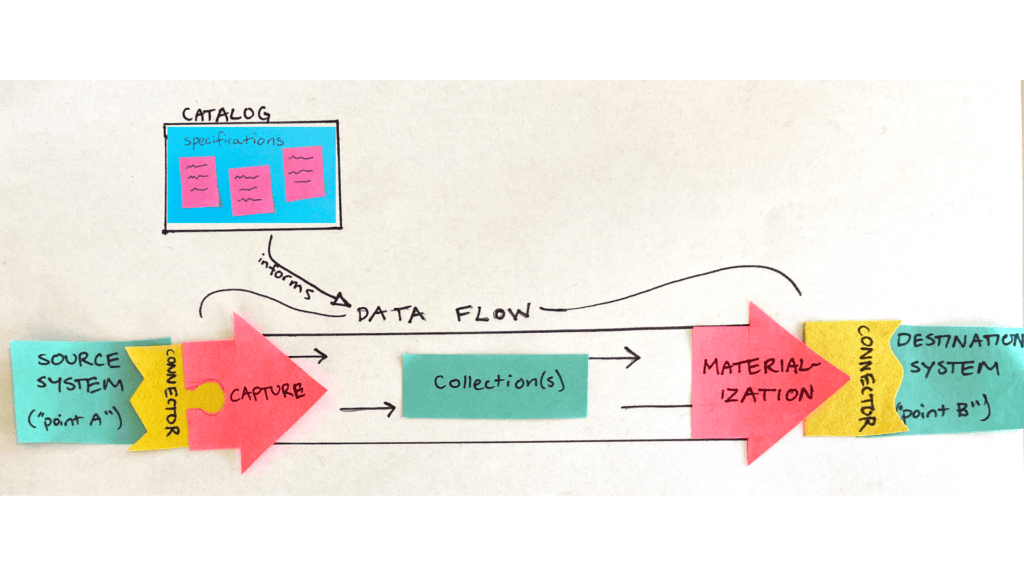
There are only a few core concepts you need to know to start using Estuary Flow. We explain them with illustrations.
We’ve gotten a bit of feedback from you, our community of users and beta testers, about Estuary Flow terminology. Specifically, you’ve pointed out that there’s a lot of it.
As the team technical writer (the person in charge of the docs) I will be the first to admit that, yes, we use a lot of jargon. That jargon is super important because it helps us talk about the unique way that Flow works.
But most of it is absolutely not a prerequisite to using Flow!
In this post, I’ll walk you through a few concepts you do need. I’ll illustrate them with some excellent diagrams, which I created with cut-up sticky notes and a marker, but which I promise will be helpful nonetheless.
(And even if you’re an engineering type who prefers to think about multiple levels of abstraction layered atop a unique streaming infrastructure, this post won’t be a bad place to start.)
What is Estuary Flow?
Before we dive in, let’s quickly touch on what exactly Estuary Flow is, and what it does.
Flow is a service that allows you to connect a wide variety of data systems in real time. It’s designed to allow data stakeholders around the organization to collaborate on this work — from engineers to leadership and everyone in between.
You probably use Flow, or are considering it, because you want to sync data between two different systems easily and in real time. If so, you’ve met the first prerequisite: you understand the importance of data integration and have a goal in mind that relates to your business.
Now, there are just a handful of Flow-specific concepts you need to understand to accomplish this with the Flow web app.
Data flow
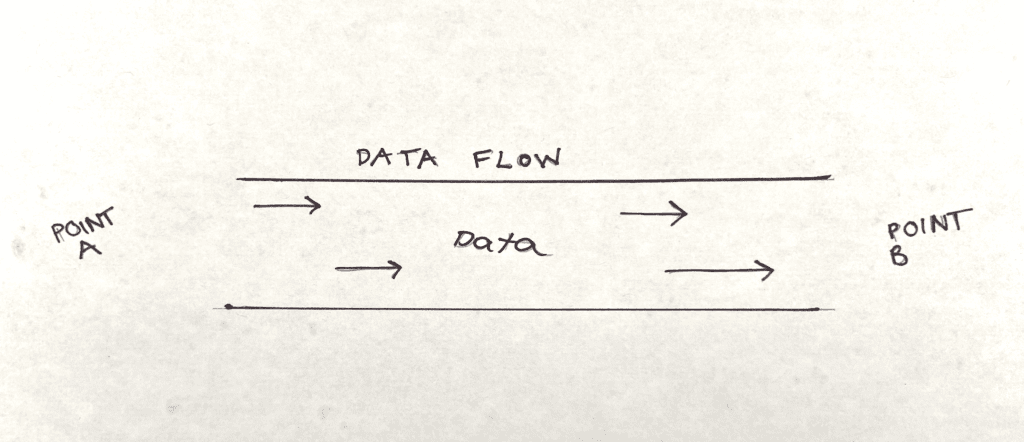
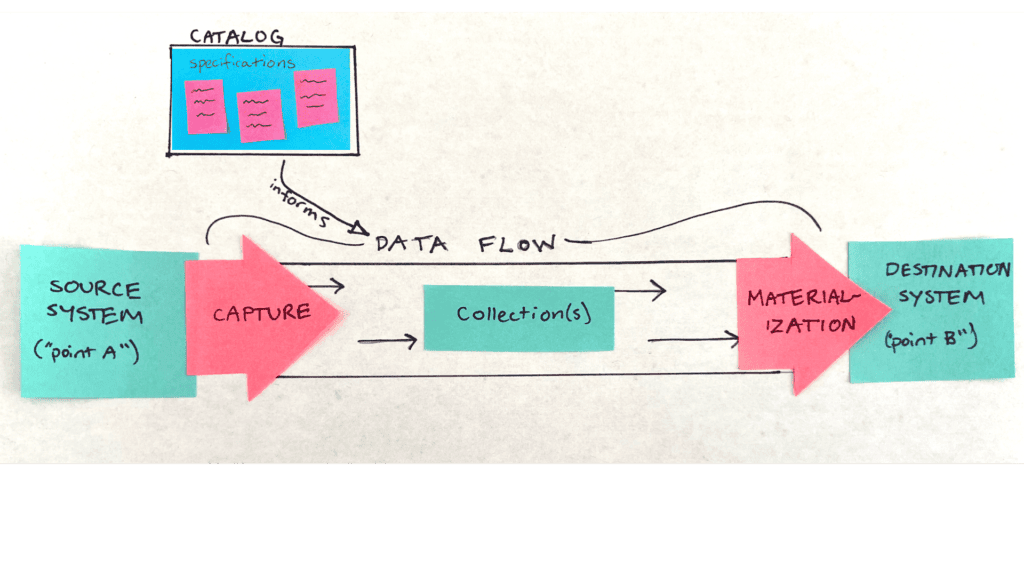
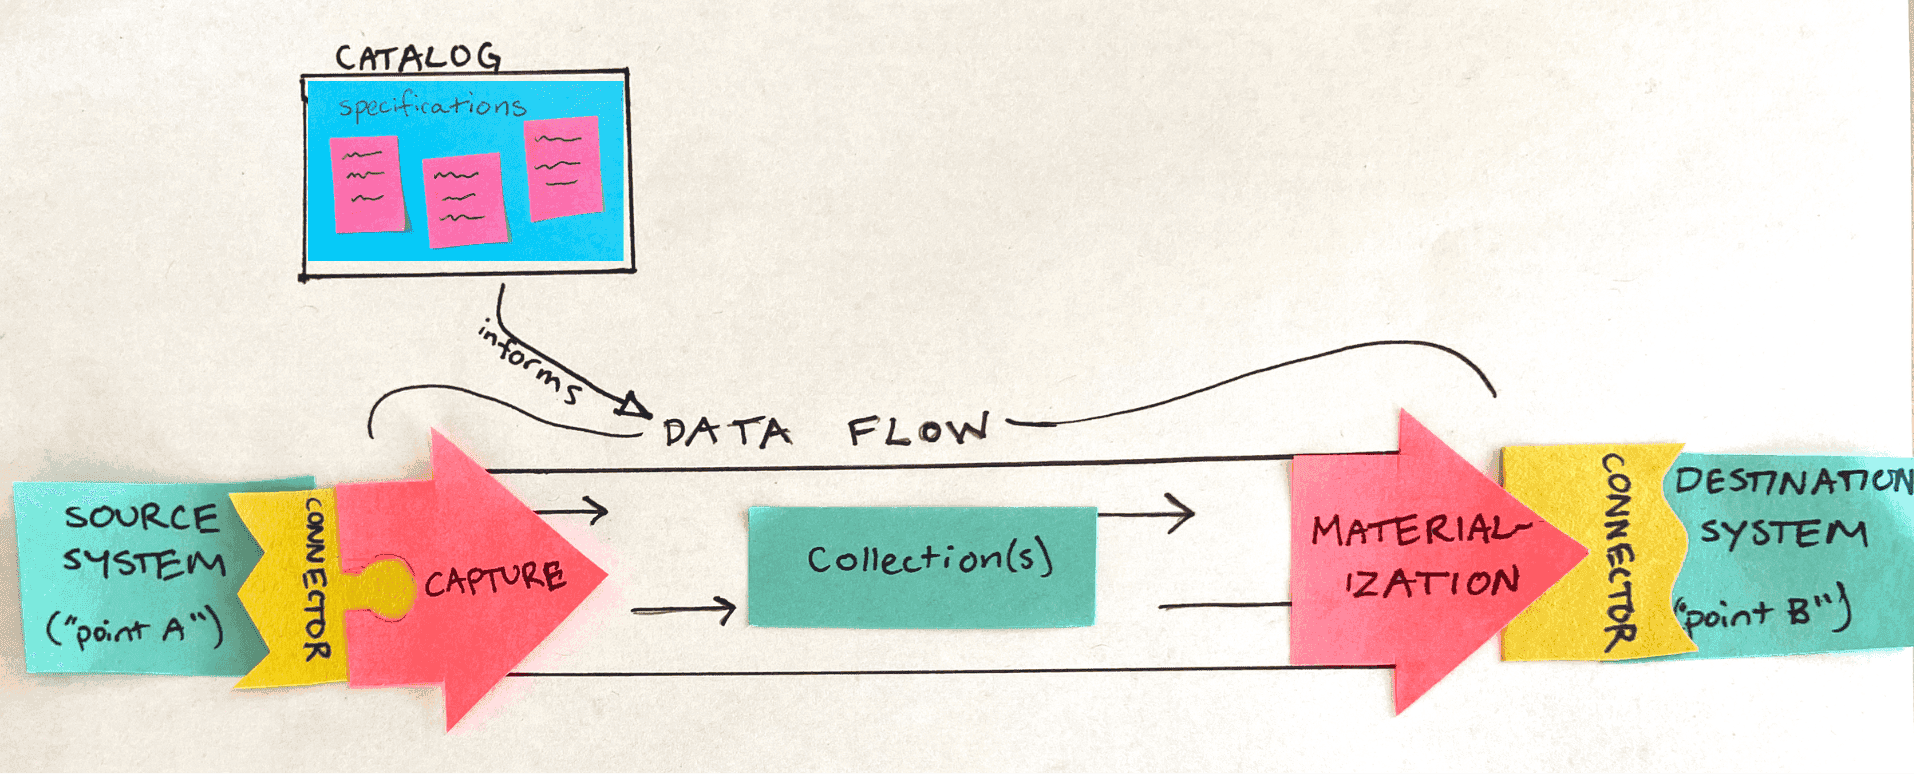
“Data Flow” basically means “data pipeline” in the Estuary Flow universe. It’s what you’re using Flow to build: a current of data moving from point A to point B.
Catalog
A Data Flow isn’t actually a discrete unit. Each one is made up of multiple building blocks, which we’ll discuss shortly.
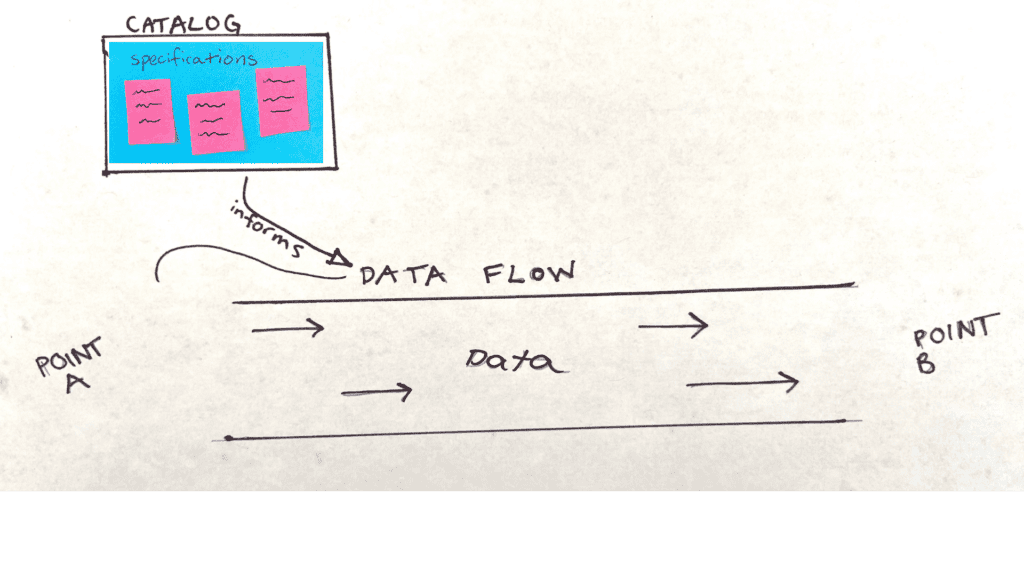
Each of these building blogs is defined in the catalog. You can think of the catalog as a library of blueprints that Flow is using to keep all of your Data Flows deployed. These blueprints dictate how your data is stored, where it is pulled from, where it will be sent, and more.
When you add a new component to your Data Flow (or create a completely new Data Flow) you start by creating a draft. You then publish the draft to the catalog, bringing your new Data Flow to life.
After you add it to the catalog, the item you described runs continuously until you stop it.
Now, you might be wondering, what exactly are the blueprint-like items you publish to the catalog? Good question. The descriptive files that define everything in the catalog are called Flow specifications. They are written in YAML.
In the web app, each time you fill in a form to create a catalog item, you’re shown a preview of the YAML. If data serialization languages aren’t your jam, do not fret — you are under no obligation to edit the YAML; it simply reflects the information you already submitted. You can edit it, if you want, or just go back and edit the form.
There are 3 critical pieces that make up the Data Flow and are defined in the catalog.
Captures
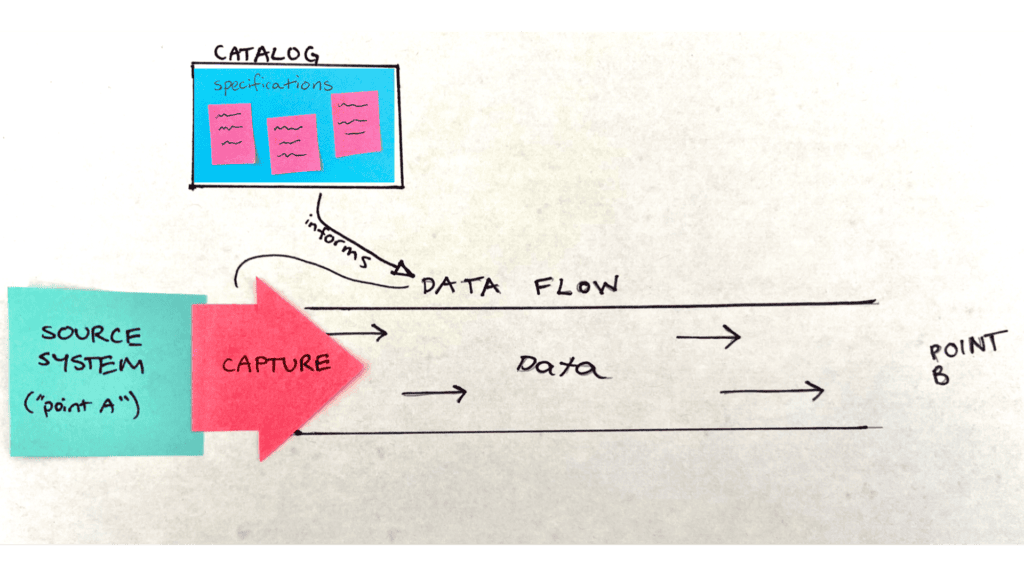
A capture is the process of pulling data in from a source system: a database, streaming system, API, or wherever your source data happens to live.
Collections
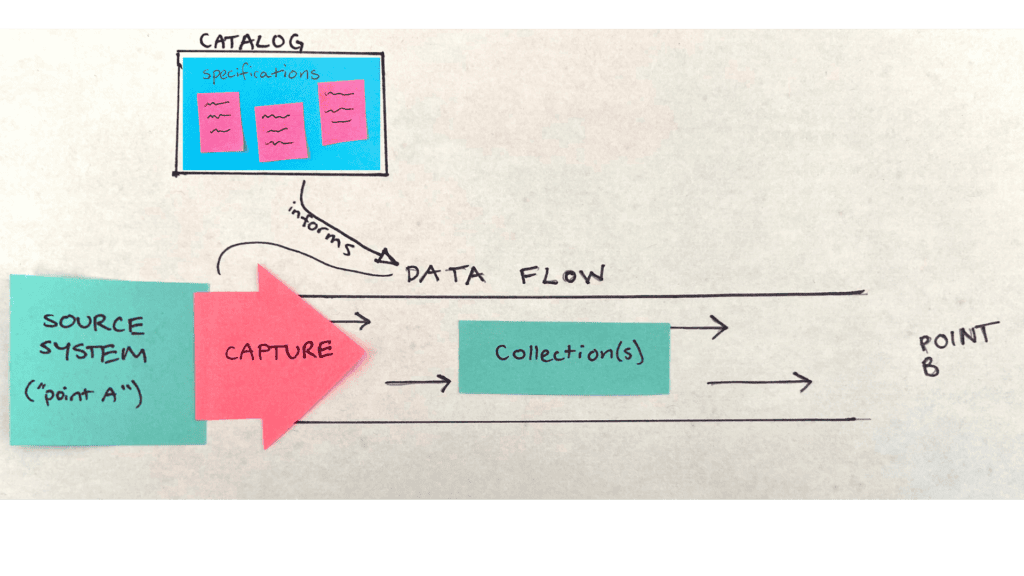
When data enters your Data Flow through a capture, it doesn’t immediately exit. Even if the data is only passing through for a few milliseconds, Flow needs to back up a copy of it in the cloud. These stored datasets are called collections.
When you create a capture, the process also includes the creation of a collection, so that Flow will know where to put the data it captures. There may be just one collection per capture, or multiple, depending on the data’s structure. When you work in the web app, Flow automatically discovers the appropriate number of collections.
Advanced users can also apply real-time transformations to collections. We call those derivations, but that’s a slightly more advanced topic that we won’t get into today.
Materializations
The final step in a Data Flow is pushing data from the collection(s) into your destination system: another database, streaming system, API, etc. We call this materialization, and it’s the inverse of the capture.
These are all the ingredients of a basic Data Flow. You can mix and match and make things more complicated, of course, but these are the essentials.
There’s one more important concept to be covered here.
Connectors
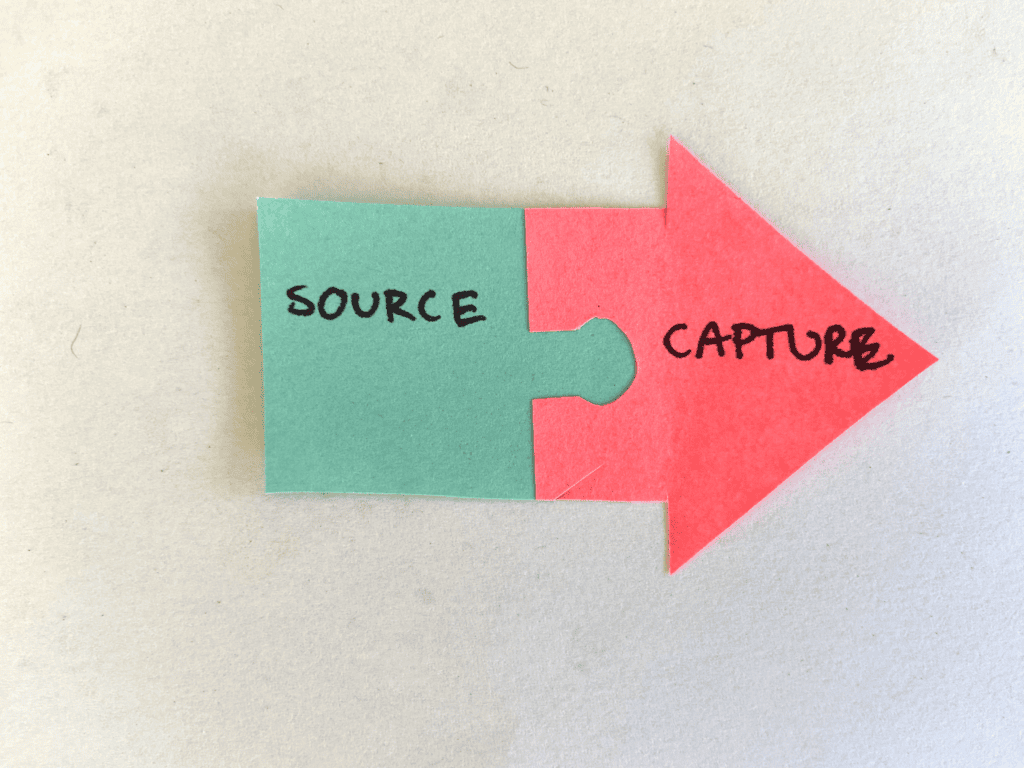
Flow captures data from and materializes it to a lot of different data systems. Each one requires a specific interface to be able to connect. Let’s take a closer look at a capture:
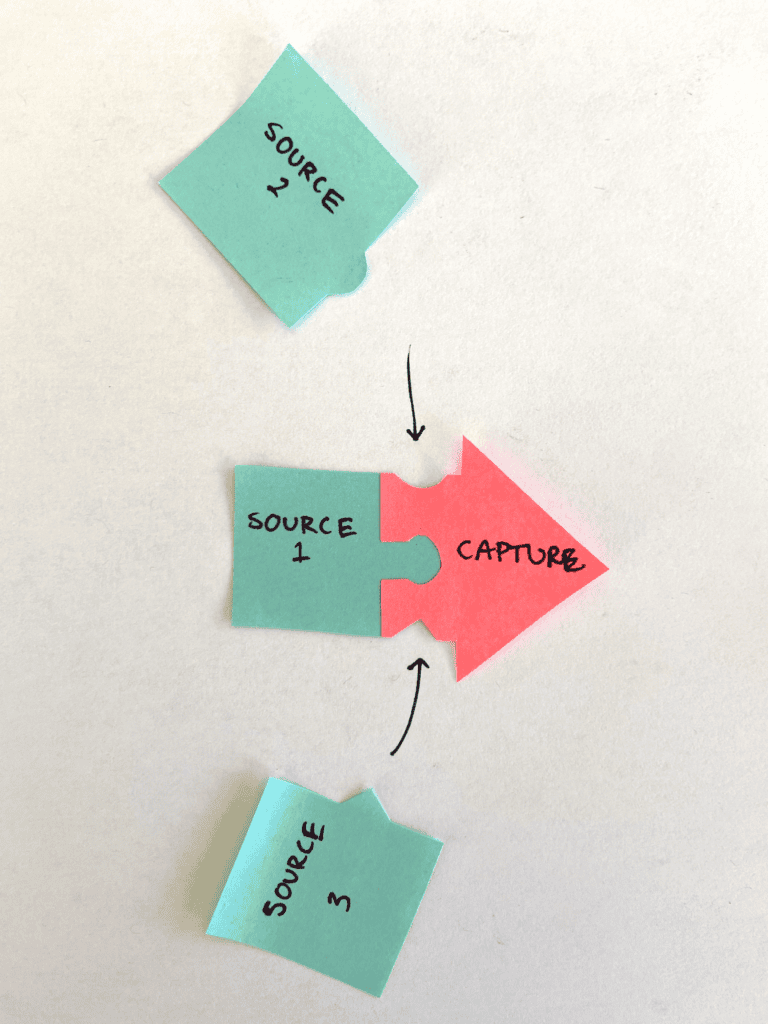
When we have to account for all these different interfaces, the system starts to get complex:
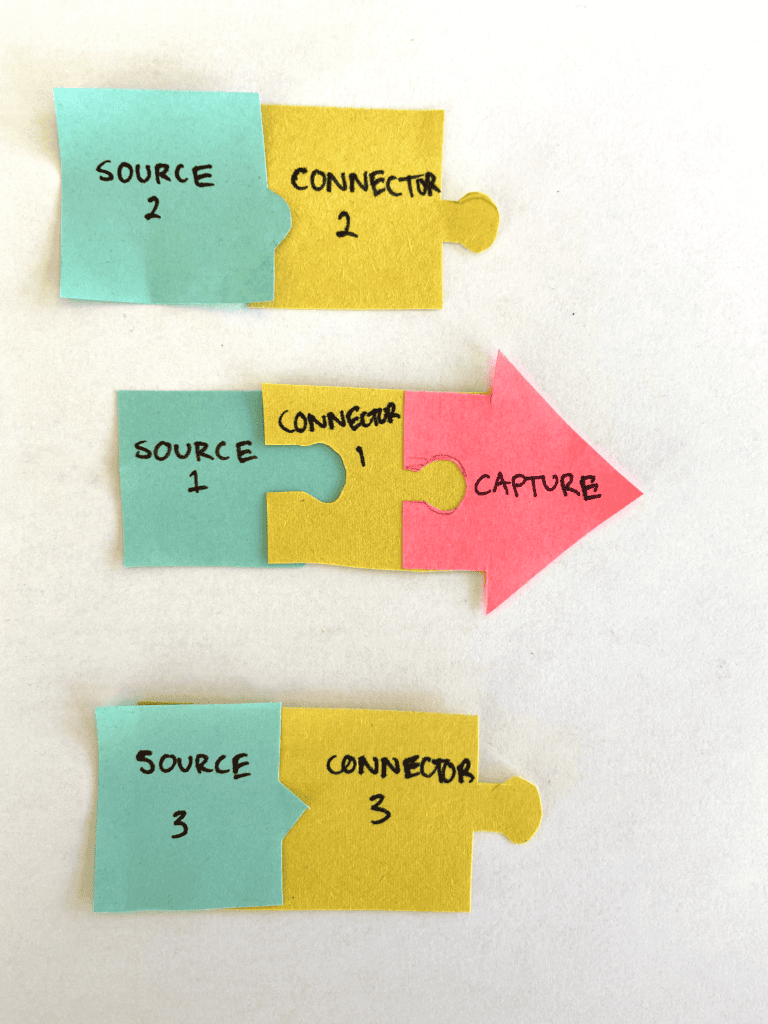
Instead, Flow uses a model called connectors. Connectors essentially bridge the gap between the main Flow system and the huge variety of external data systems on the market today.
This makes it much easier to swap connectors out and build new interfaces for new systems. Estuary uses an open-source connector model, so some of the connectors you’ll use were made by our team, and others are from third parties.
There are separate sets of connectors for captures and materializations, which represent the data systems Flow supports. You can find them listed on our website and in our docs. We add new connectors often, so check in frequently.
Now, let’s put everything together:
Want to know more?
This blog covers all you need to know to create your first Data Flow. But there’s plenty more to learn in the Flow documentation.
If you’d like a step-by-step guide to walk through the process, you can find one here.
To dig deeper into the Flow concepts (and unlock more data integration superpowers, like transforming your collections, making the most of schemas, and working with your Data Flows from the command line) start here.
If you’d like more details on anything you read, let me know in the comments!
Have you tried Flow yet?
If not, you can get started for free. Go here to sign up.

About the author
Olivia Iannone is a technical writer who creates clear, accessible content on data engineering, real-time systems, and developer tools.


