


There’s more digital data being created, tracked, aggregated, and analyzed than ever. There are also more data systems, sources, destinations, APIs, and transformations to be wired together, making data architecture increasingly complex. In the midst of this abundance, a unified data platform makes a very attractive proposition: all your data in one location, ready for querying, modeling, and reporting.
Fabric is Microsoft’s answer to a unified data platform, collecting structured and unstructured data in OneLake, and providing a number of tools to transform and analyze that data. However, there are limited native ingestion options, which also limits how unified your data can actually get.
A data pipeline provider like Estuary can cover this gap, allowing you to expand the types and number of data sources you can store to Fabric. A few of the connectors that Estuary provides that are unavailable natively in Fabric include standbys like non-Atlas MongoDB instances, Amazon Aurora databases, S3 buckets, Firestore, and Google Cloud SQL, among many others.
To add data from any of these sources to Fabric using Estuary, follow this guide. We’ll cover how to set up an Estuary materialization connector to a Fabric warehouse step by step.
What is Microsoft Fabric?

Microsoft Fabric is a unified data platform, combining ingestion, analytics, and visualization. It acts as a subset of Microsoft Azure, selecting individual services, like Microsoft Data Factory and Microsoft Power BI, and displaying them together in a dashboard view. It provides more unified data management than any individual component service while staying more focused than the entire Azure cloud platform.
For a deep dive on Microsoft Fabric, its features, and competitors, see Microsoft Fabric: A Unified Data Platform with Power BI.
About Estuary

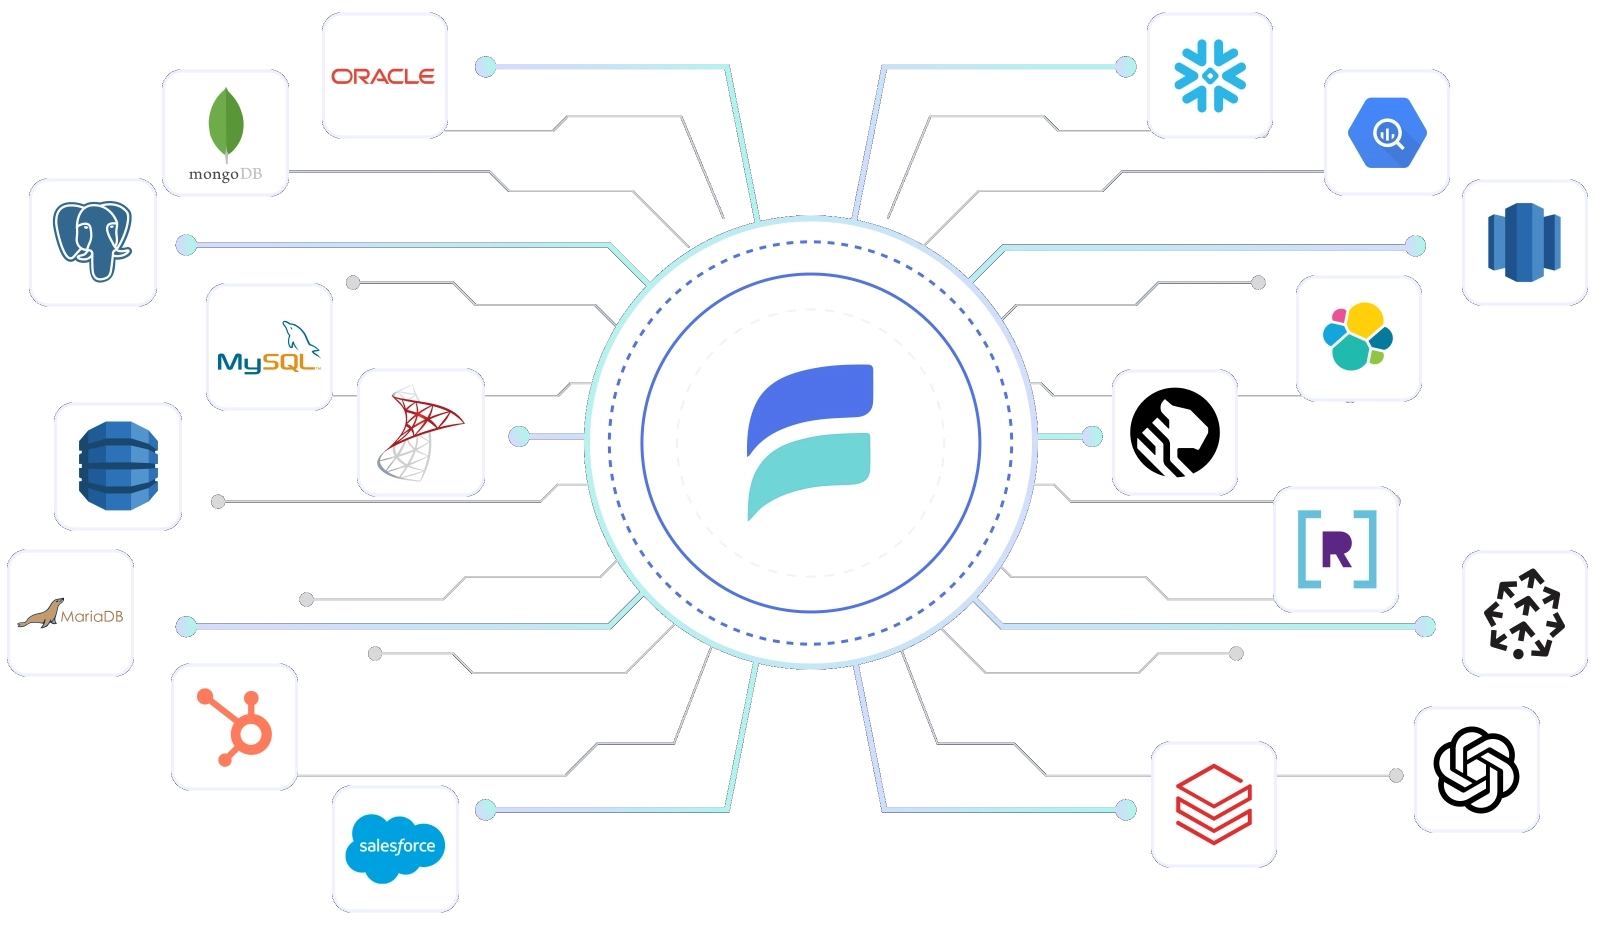
Estuary is a low-latency ETL and ELT data pipeline platform. With hundreds of connector options, Estuary lets you stream CDC and transfer batch data seamlessly. If you want to materialize your data to a unified data platform like Fabric, Estuary’s expansive selection of high-quality connectors let you tap into data sources that Fabric doesn’t natively support. And with a low, intuitive price point, Estuary can fit any budget–even free.
Why use Estuary with Microsoft Fabric?
- Expanded Data Sources: Connect to databases like MongoDB, Amazon Aurora, Google Cloud SQL, and more.
- Low Latency: Real-time data movement ensures up-to-date analytics.
- User-Friendly: Intuitive dashboard with easy setup.
- Affordable: Flexible pricing, including a free tier.
How to Set Up a Fabric Warehouse Materialization in Estuary
Follow these step-by-step instructions to connect Microsoft Fabric with Estuary for seamless data integration.
Prerequisites
- A free Estuary account
- A Microsoft Azure account, including Entra and Storage Account access
- Fabric enabled on your Azure account
Step 1: Select a Warehouse in Fabric
To store data in Microsoft Fabric, you will need to have access to a Fabric warehouse. You can select an existing warehouse or create a new one. Either way, navigate to the Fabric dashboard.
To create a new warehouse:
- In your Workspace, click the New Item button.
- Search for, and select, “Warehouse.”
- Give your warehouse a name and click Create.
To connect to your warehouse later, you will need its SQL connection string. To find this:
- In your Workspace, hover over your desired warehouse.
- Click the “More options” menu.
- Select “Copy SQL connection string” and click Copy.


Save this string for later: we’ll use it when setting up the Fabric connector in Estuary.
Step 2: Configure a Service Principal to Access the Warehouse
Estuary will need to go through a service principal for the proper permissions to connect to and modify your warehouse. You can create a new service principal using Microsoft Entra, Azure’s trust and security platform. If you run into any issues while following these steps, see Microsoft’s documentation for a more detailed discussion of Entra and service principals.
To create a new app registration for your service principal:
- In the Entra dashboard, find the Identity section in the sidebar and select Applications > App registrations.
- Click New Registration.
- Enter a name and ensure “Accounts in this organizational directory only” is selected under Supported Account Types.
- Click Register.
- On the App registration overview screen, note the Application (client) ID for later.


- Then, select Certificates & secrets.
- In the “Client secrets” tab, click the button to create a New client secret.
- Enter a description and click Add.
- Make sure to copy the generated secret Value before leaving the screen.
Once you have your app registration’s client ID and secret value, you will also need to enable access to Fabric for it. Note that you will need to be a Fabric admin for your tenant to access these settings. To allow your service principal to access Fabric:
- In your Fabric dashboard, select Settings at the top of the screen.
- In the Settings dropdown, choose the Admin portal under the “Governance and insights” section.
- Under Tenant settings, search for “service principals”.
- Ensure the “Service principals can use Fabric APIs” setting is Enabled.


- Then add your specific service principal to Fabric. From your workspace dashboard, navigate to your Fabric Workspace’s Manage access option.
- Select Add people or groups.
- Enter your service principal’s name, select the Contributor role, and click Add.
You will then be able to use your service principal’s credentials to update and manage your Fabric instance.
Step 3: Set Up a Microsoft Storage Account
Before we can create our Estuary connector, there’s one more Microsoft resource to set up. Estuary will need access to a storage location to write temporary files as it migrates data to the Fabric warehouse. You will therefore also need to set up a Microsoft Storage Account.
If you already have a suitable storage account and container, you may simply note their names and access key, skipping the rest of this step.


To create and configure a new storage account:
- In the Azure portal, navigate to the Storage accounts page.
- Click the Create button.
- Fill out basic details for your storage account:
- Subscription
- Resource group
- Storage account name
- Region
- Performance
- Redundancy
- Click Review + Create or continue to the Advanced tab if you would like to configure details around Security, Networking, Data protection, and other options.
- Once your storage account is created, view the Security + Networking menu and select Access Keys.


- Select Show next to one of the keys.
- Copy the storage account key. Estuary will use this key to access the storage account.
- Then navigate to the Storage browser from the sidebar menu and select Blob containers. We will need a specific container in the storage account where Estuary will stage files.
- Click the Add Container button.
- Provide a name and click Create.
You should then be ready to add everything to Estuary!
Step 4: Configure the Estuary Connector
Once all of your Microsoft resources are configured, setting up with Estuary should be a snap. Log in to your Estuary dashboard to get started.
To set up your Fabric Warehouse materialization connector in Estuary:
- In the Destinations tab, click to create a New Materialization.
- Search for and select the “Azure Fabric Warehouse” materialization.
- Fill out the connector configuration fields:
- Name: a unique name for your materialization
- Client ID: the application ID for your service principal
- Client Secret: the secret value of your service principal’s client secret
- Warehouse: the name of your Fabric warehouse
- Schema: schema for bound collection tables, such as “main”
- Connection String: the SQL connection string for your Fabric warehouse
- Storage Account Name: the name of your storage account
- Storage Account Key: the access key for your storage account
- Storage Account Container Name: the container in the storage account where temporary files will be written


- Set any desired optional configuration, such as adding a directory prefix or updating the sync schedule.
- Select Source from Capture or add individual collections to choose which data resources will replicate to your Fabric Warehouse.
- Click Next, then Save and Publish.
Your Microsoft Fabric Warehouse connector is all set up and ready to go!
Next Steps
Now that you’re streaming data to your Microsoft Fabric warehouse using Estuary, you can use Fabric’s analytics and reporting tools, like Power BI, to help you discover and highlight data stories. Add extra data to Microsoft’s unified data platform by selecting more data sources to materialize in Estuary. Or, if you don’t want all of your sources materializing to the same warehouse, you can set up additional warehouse connectors to organize your data exactly how you’d like in Fabric.
If you run into any issues or just want to say hi, join our Slack channel. And stay up to date with everything Estuary by subscribing to our Data Flow Digest on LinkedIn.
Conclusion
Integrating Microsoft Fabric with Estuary simplifies data ingestion, enabling real-time pipelines from diverse sources. This step-by-step guide ensures seamless setup, unlocking Fabric’s powerful analytics and reporting.
Ready to unify your data? Start your free trial with Estuary today!


