AlloyDB is a robust database management system that has been a reliable solution for handling diverse datasets. However, the need for enhanced scalability, real-time analytics, and seamless integration might prompt you to consider migrating your data to Snowflake. With its cloud-based architecture, Snowflake provides a powerful platform for efficient data warehousing and analytics.
In this tutorial, we’ll show you how to load data from AlloyDB to Snowflake using the automated method and also the manual approach.
AlloyDB Overview
AlloyDB is a relational database service offered by Google Cloud. It is a strong contender in the cloud database market, particularly for PostgreSQL workloads. Built on the foundation of PostgreSQL, AlloyDB inherits the robust features and widespread adoption of its open-source counterpart.
Here are a few key characteristics that set AlloyDB apart:
- Automatic and Adaptive Indexing: Unlike traditional databases that require manual index creation and maintenance, with AlloyDB, you can automatically create and manage indexes based on workload patterns. This automation ensures optimal query performance without the need for human intervention.
- Machine Learning-Powered Performance Optimization: With AlloyDB, you can use machine learning to continuously analyze query patterns and resource utilization. It will then automatically adjust settings like buffer pool allocation and vacuum scheduling to optimize performance for your workload.
- Self-Service Scaling: You can quickly scale your database up or down in seconds to meet changing demands. This eliminates the need to provision and manage additional hardware, making it ideal for busy workloads and unpredictable traffic.
Introduction to Snowflake
Snowflake is a cloud-based data warehouse offered by Snowflake Inc. Unlike traditional data warehouses that are built on hardware and require a significant upfront investment, Snowflake utilizes the elasticity and scalability of the cloud to provide a pay-as-you-go service. This makes it an attractive option for your organization as you only need to pay for the storage and resources you use.
Here are some of the key features of Snowflake:
- Separation of Storage and Compute: Snowflake decouples storage and compute resources to allow independent scaling for cost optimization. It also enables you to scale up computes for heavy workloads without additional storage costs for data growth.
- Multi-Cluster Data Architecture: It allows you concurrent access to the same data from multiple clusters without performance degradation. Snowflake lets you efficiently utilize resources and collaborate across teams or departments within your organization.
- Zero-Copy Cloning: With Snowflake, you can create immediate, isolated copies of databases for development testing or analytics. It can achieve this without data movement or performance overhead to ensure complete data consistency.
How to Migrate Data From AlloyDB to Snowflake
The two ways to connect AlloyDB to Snowflake include:
- The Automated Method: Using Real-Time ETL with Estuary Flow
- The Manual Approach: Using the COPY INTO command
The Automated Method: Using Real-Time ETL Tools Like Estuary Flow
This method uses Estuary Flow, a cloud-based migration tool, to automate data transfer from AlloyDB to Snowflake. It offers several advantages over manual approaches and traditional ETL (Extract, Transform, Load), including pre-built connectors, real-time updates, incremental loading, change data capture (CDC), and monitoring capabilities. If you prioritize efficiency and ease of use, Estuary Flow is a suitable alternative to manual data transfer methods.
Prerequisites:
- An active Estuary Account
- AlloyDB and Snowflake connection details like username, password, hostname, and port number
- Familiarity with your data schema
Step 1: Create a New Flow
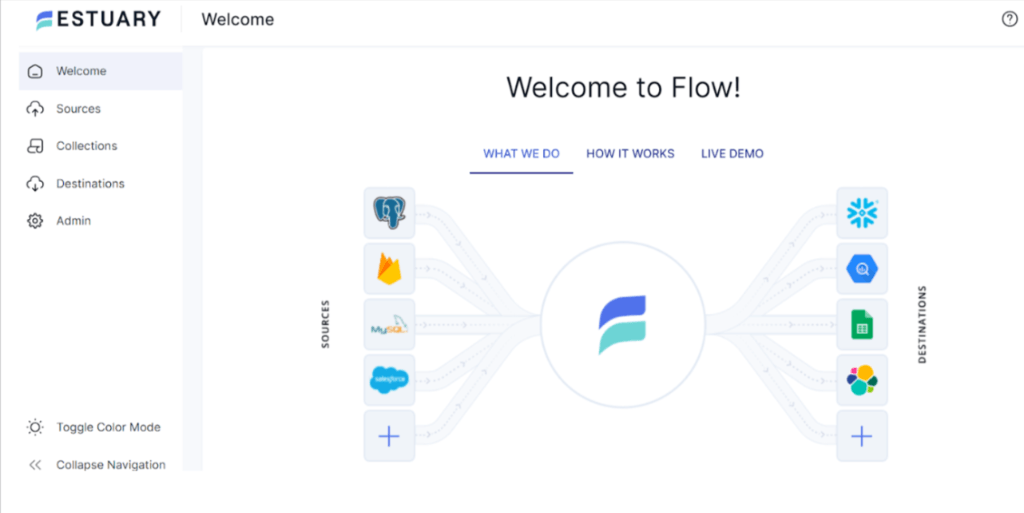
- Go to https://estuary.dev/ and log into your Estuary Account.
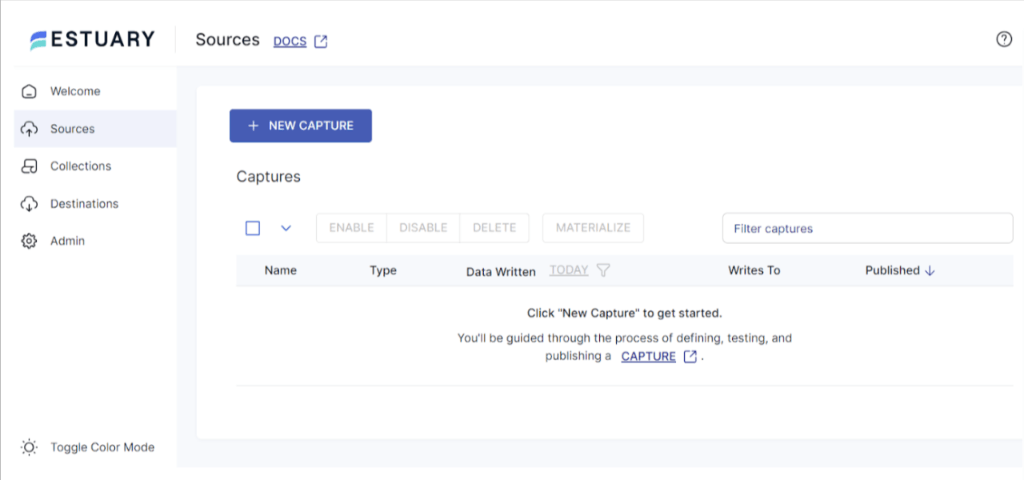
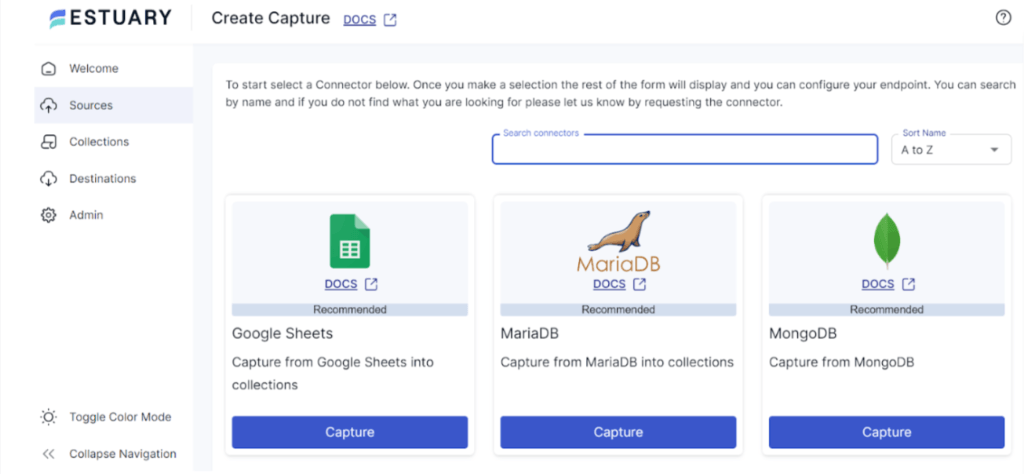
- Navigate to the Sources tab in your Estuary Flow Dashboard.
- Click on the + NEW CAPTURE button.
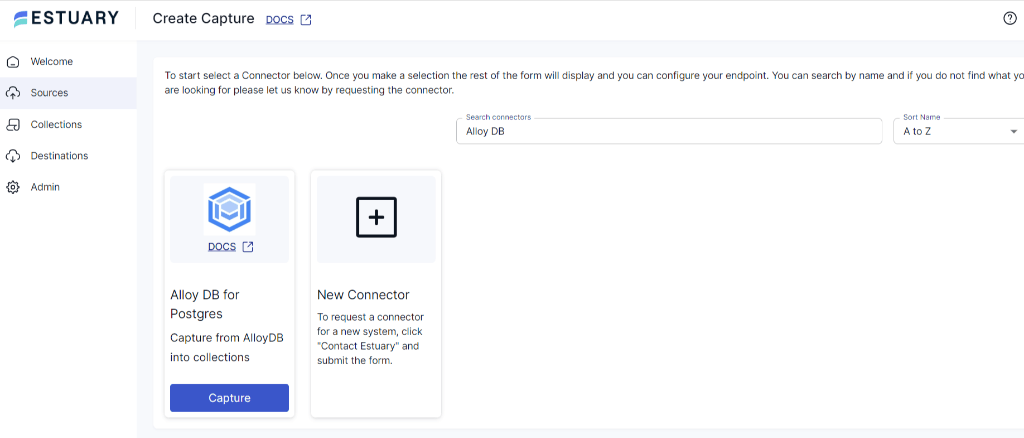
- In the Search connectors field, type Alloy DB.
- Click on the Capture button of the Alloy DB connector.
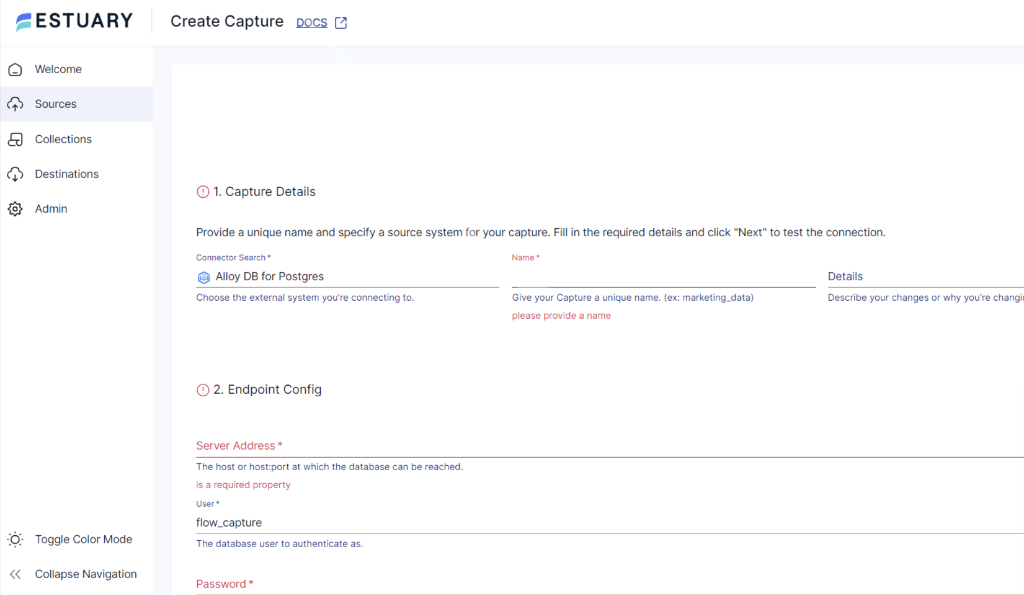
- Enter a unique Name for your capture in the Capture details section.
- Provide your AlloyDB connection details.
- In the Table field, specify the table from which you want to extract data.
- Configure any filtering options using the Filter section.
- Click NEXT to proceed to the Schedule section.
Step 2: Schedule the Capture (Optional)
- Choose a capture frequency: Manual, Hourly, Daily, or Custom.
- Select the specific time for capture if using Scheduled options.
- Click NEXT to proceed to the SAVE AND PUBLISH Section.
Step 3: Save & Publish Capture
- Review the capture configuration summary.
- Click SAVE AND PUBLISH to activate the data flow from AlloyDB to Estuary Flow.
Step 4: Configure Snowflake Destination
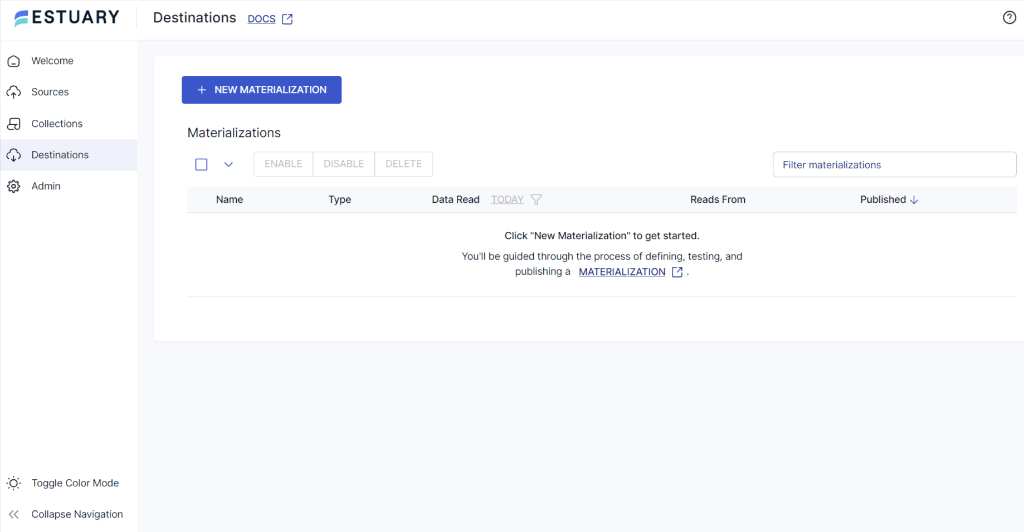
- Navigate to the Destinations tab from the Estuary Flow Dashboard.
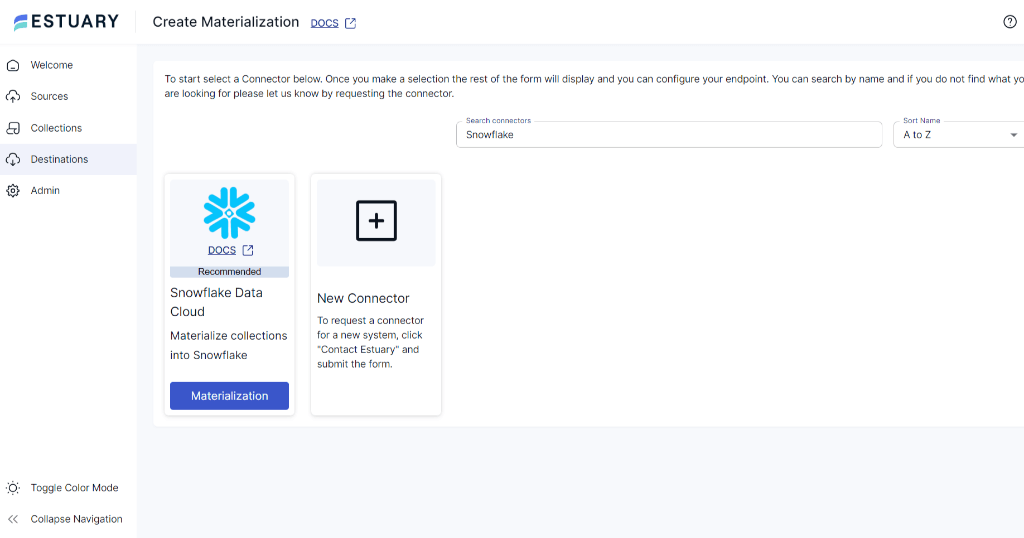
- Click the + NEW MATERIALIZATION button.
- In the Search connectors field, type Snowflake.
- Click on the Materialization button of the Snowflake connector.
- Enter a Name for your Materialization in the Materialization details section.
- Provide your Snowflake connection details.
- Select the Snowflake target table where you want to load the data.
- Map the Estuary source field to the corresponding Snowflake table column; use Estuary Flow’s auto-mapping or adjust manually.
- Click NEXT to proceed.
- You get the option to Schedule Materialization, which is Optional and is similar to scheduling the Capture.
- Click SAVE AND PUBLISH to activate the data flow from Estuary Flow to Snowflake.
Step 5: Monitor and Manage
- You can use Estuary Flow’s monitoring dashboard to track data transfer progress, view logs, and identify any issues.
- You can also adjust configurations, schedule, or troubleshoot issues as needed.
To learn more, you can follow Estuary’s official documentation:
Key Features of Estuary Flow
Intuitive User Interface: It is easy to use since users can easily operate different parts of Estuary Flow without having to be very knowledgeable in the technical aspects. It is easy to navigate and manage for most users and is well suited for efficient workflows.
Real-Time Data Integration: Flow support near real-time data processing, which means that data is updated in real time and available at that time. This feature is valuable for businesses that require current data to make informed and data-driven decisions.
Scalable Architecture: Estuary Flow is designed for scalability, allowing for an increasing volume of data to be processed without slowing down the system, ideal for both small and large operations. It’s also designed in a way where it can self-allocate resources depending on the amount of data that it receives in order to maintain the same level of performance.
Extensive Connectivity: There are numerous connectors that are available to help integrate data from different sources to various destinations without any hassle. Such connectivity makes it easier to establish data pipelines without having to spend a lot of time and effort.
Change Data Capture (CDC): Flow provides CDC capabilities as it captures any change operations in the data source in real time, which helps import any modified data almost instantaneously. This cuts down on the data processed and transmitted, which in turn reduces the time taken to execute the task.
The Manual Approach: Using the COPY Command
This method utilizes Snowflake’s COPY command. It involves exporting data from AlloyDB to your local system and importing it into Snowflake. It is suitable for smaller datasets or one-time data transfers from AlloyDB to Snowflake.
Prerequisites:
- An active Snowflake account with necessary privileges (e.g., CREATE STAGE, COPY INTO)
- AlloyDB endpoint details (host, port, username, password, etc)
- A running AlloyDB instance containing the data you want to export.
- An active GCP project with AlloyDB enabled.
- A VM instance in the same GCP region as your AlloyDB, with sufficient permissions (check IAM roles) to access AlloyDB and Cloud Storage (if you choose to use it).
- Tools Installed on VM: Install the following on your VM:
Step 1: Exporting Data from AlloyDB
- Navigate to the AlloyDB instances page in the Google Cloud Console.
- Find your instance and click on it to view details.
- Under Overview, you'll find the IP address. This is the Primary Instance IP address.
- Follow standard Google Cloud documentation to connect to your Compute Engine VM using SSH.
- Run the following command to export the data, replacing placeholders:
plaintextpg_dump -h [AlloyDB_IP_ADDRESS] -U postgres -F plain [DATABASE_NAME] > [OUTPUT_SQL_FILE] - -h: Specifies the AlloyDB hostname (your IP address).
- -U postgres: Connects as the default postgres user (modify if needed).
- -F plain: Specifies plain-text output for easier import into Snowflake.
- [DATABASE_NAME]: The name of the database to export.
- [OUTPUT_SQL_FILE]: The desired name for the output SQL dump file.
- You can also upload it to cloud using the following command:
plaintextgsutil cp [OUTPUT_SQL_FILE] gs://[YOUR_BUCKET_NAME]/Step 2: Import Data in Snowflake
- Install SnowSQL client
- Connect to your Snowflake account using SnowSQL.
- Create an internal stage using the command:
plaintextCREATE OR REPLACE STAGE my_stage;- Now upload the file using the command:
PUT file:///[local_path]/[OUTPUT_SQL_FILE] @my_stage;
- Replace /local_path/ with the location of the file on your machine.
- Load the data using the command
plaintextCOPY INTO [TARGET_TABLE]
FROM @my_stage;- To import from the cloud storage, you need to create an external storage using the command
plaintextCREATE OR REPLACE STAGE my_external_stage
    url = 'gs://[YOUR_BUCKET_NAME]/'
credentials = (aws_key_id = '...' aws_secret_key = '...'); - Replace bucket name and provide AWS credentials for access.
- Now load data using the command
plaintextCOPY INTO [TARGET_TABLE]
FROM @my_external_stage/[OUTPUT_SQL_FILE]
Limitations
- Limited data type support: While pg_dump can handle the most common data types, it might not translate all complex data types from AlloyDB to a format readily interpretable by Snowflake. You might need to perform post-processing or schema adjustments in Snowflake to ensure data integrity.
- Security considerations: The method involves creating a temporary SQL dump file on your local machine or Cloud Storage. This introduces potential security risks if the file contains sensitive data. You need to ensure proper access controls throughout the process to minimize these risks.
- Scalability challenges: While the method works well for smaller datasets, it might become difficult and time-consuming for large databases. You can explore alternative tools or techniques like Snowflake's Snowpipe to handle massive data transfers efficiently.
- Limited error handling: The basic pg_dump command offers limited built-in error handling capabilities. In case of errors during the export or import process, you might need to analyze logs and troubleshoot issues manually. Consider using more robust data migration tools with advanced error-handling features.
- Vendor lock-in: This method relies on specific tools and services from Google Cloud (AlloyDB, Cloud Storage, and potentially Compute Engine). If you plan to migrate away from Google Cloud in the future, this approach might not be ideal due to potential vendor lock-in.
Conclusion
There are two main approaches to loading data from AlloyDB to Snowflake. You can use the COPY INTO command, which offers a straightforward approach for smaller, infrequent transfers. This comes with limitations concerning scalability, security, and data compatibility.
For larger datasets or continuous data pipelines, it could make more sense to use a powerful real-time ETL tool like Estuary Flow, which provides scheduling, transformation capabilities, and a simplified user experience. However, the best method depends on your data migration needs.
If you’re looking to connect AlloyDB to Snowflake, or even involve other data sources and destinations, try Estuary Flow and get started in minutes. Register now for a free account to set up your first pipeline.
FAQs
What is the performance of AlloyDB?
AlloyDB, a fully-managed PostgreSQL-compatible database service, is 4x faster than standard PostgreSQL for transactional workloads and up to 100x faster for analytical queries.
What language is used in Snowflake?
Developers, data scientists, and data engineers can accelerate their workflows by using Python and other programming languages, such as Scala and Java, in Snowflake Snowpark.
Can Snowflake load data from on-premises sources?
Yes, Snowflake can load data from on-premises sources. You can use tools like SnowSQL to transfer data files to a Snowflake stage. Then, Snowpipe can help automate the loading of these files into Snowflake tables.

About the author
Rob has worked extensively in marketing and product marketing on database, data integration, API management, and application integration technologies at WS02, Firebolt, Imply, GridGain, Axway, Informatica, and TIBCO.


